Introduzione
This guide shows how to remove and disassemble the joystick from the controller. This will allow the user to clean under the joystick or replace it.
Warning: Use caution when placing the joystick face down on the table. The joystick can crack if placed down too hard. Be sure to gently turn the device over and place it face down. It can be helpful to balance the other side of the device to distribute the weight.
Cosa ti serve
-
-
Place the controller face down (buttons and joystick down).
-
Use a Phillips Head #1 screwdriver to remove the eight 9.65mm screws located on the felt and metal backplate.
 Chiedi a FixBot
-
-
-
Open the door for the cord storage compartment on the right side of the device.
-
Reach under the panel and push upwards on the back panel. Lift it up and remove it from the device.
-
-
-
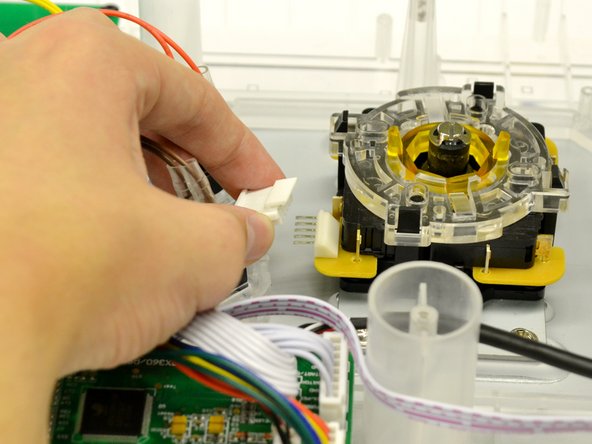
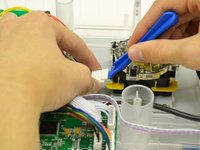
Use the large plastic opening tool to softly pry the lip on the white 5 pin connector to relieve pressure while pulling the 5 pin connector.
-
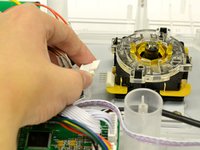
Remove the white connector from the microswitch assembly.
-
-
-
-
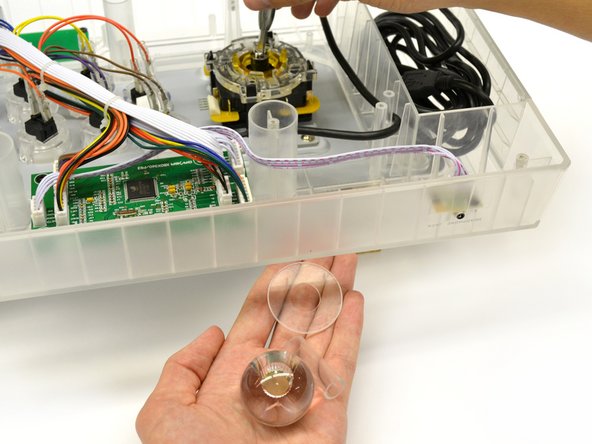
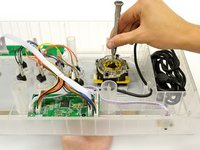
Insert a #4 Flat Head screwdriver into the shaft of the joystick and grasp the ball topper with your other hand.
-
Turn the flat head screwdriver counter clockwise for a quarter turn while tightly holding the ball topper.
-
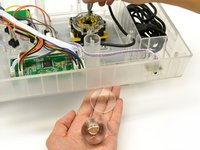
The ball topper should now be loose enough to unscrew by hand.
-
Set aside the shaft cover, dust cover, and ball topper.
-
-
-
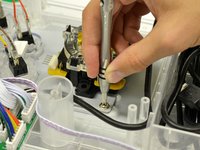
Remove the four 8.35 mm screws from the mounting plate of the joystick using a Phillips Head #2 screwdriver.
-
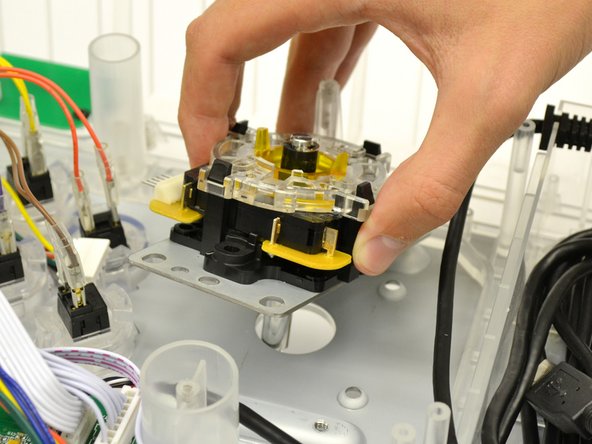
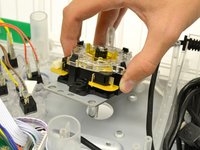
Remove the joystick assembly from the controller.
-
-
-
Place joystick assembly on a hard, flat surface.
-
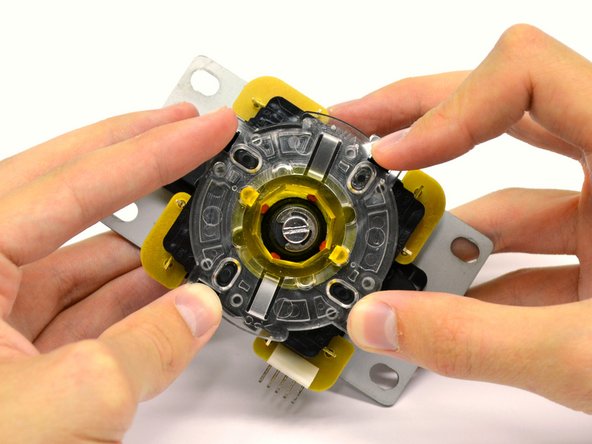
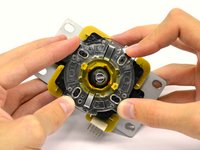
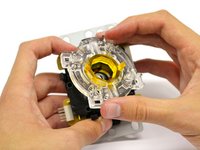
Gently press on the four black tabs on each side of the assembly.
-
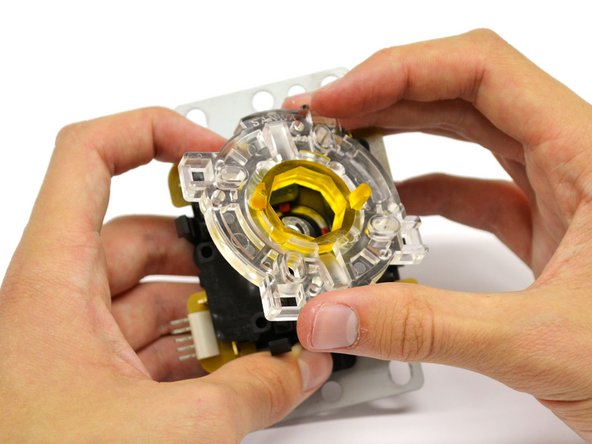
With the tabs depressed, lift the clear restrictor plate from the assembly.
-
-
-
Remove the switch housing from the assembly by lifting straight up.
-
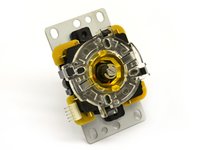
The joystick assembly is now ready to be replaced or cleaned.
-






To reassemble your device, follow these instructions in reverse order.
Annulla: non ho completato questa guida.
Un'altra persona ha completato questa guida.

Team

Cal Poly, Team 17-35, Amido Winter 2015 Membro di Cal Poly, Team 17-35, Amido Winter 2015
CPSU-AMIDO-W15S17G35
4 Membri
5 guide realizzate
