Salta al contenuto principale
Unisciti alla Community delle riparazioni - Crea un account

Dremel MultiPro 395 Armature Replacement

Cosa ti serve

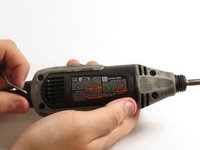
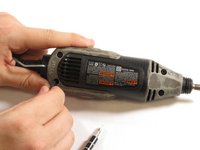
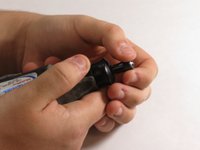
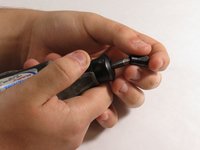
    1. Dremel MultiPro 395 Armature Replacement, Remove the Blue caps: passo 1, immagine 1 di 2 Dremel MultiPro 395 Armature Replacement, Remove the Blue caps: passo 1, immagine 2 di 2
      Strumento utilizzato in questo passaggio:
      Flathead 3/32" or 2.5 mm Screwdriver
      $5.49
      • Remove the blue caps located on either side of the MultiPro, using a 3 mm flathead screwdriver.

      Chiedi a FixBot

      Aggiungi Commento

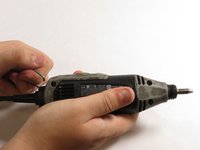
    2. Dremel MultiPro 395 Armature Replacement, Remove the carbon brushes: passo 2, immagine 1 di 2 Dremel MultiPro 395 Armature Replacement, Remove the carbon brushes: passo 2, immagine 2 di 2
      • Carefully remove the carbon brushes attached at the end of the springs by gently pulling on the springs using your hands.

      Chiedi a FixBot

      Aggiungi Commento

    3. Dremel MultiPro 395 Armature Replacement, Removing the Hanger: passo 3, immagine 1 di 2 Dremel MultiPro 395 Armature Replacement, Removing the Hanger: passo 3, immagine 2 di 2
      • Pull one side of the hanger up and then pull away from the Multipro until the other side can be pulled out.

      Chiedi a FixBot

      Aggiungi Commento

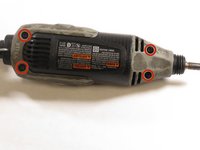
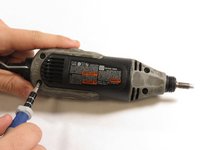
    4. Dremel MultiPro 395 Armature Replacement, Remove the screws in the casing: passo 4, immagine 1 di 3 Dremel MultiPro 395 Armature Replacement, Remove the screws in the casing: passo 4, immagine 2 di 3 Dremel MultiPro 395 Armature Replacement, Remove the screws in the casing: passo 4, immagine 3 di 3
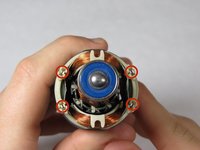
      • Remove the 4 screws located on the bottom of the Multipro with a T15 screwdriver.

      Chiedi a FixBot

      Aggiungi Commento

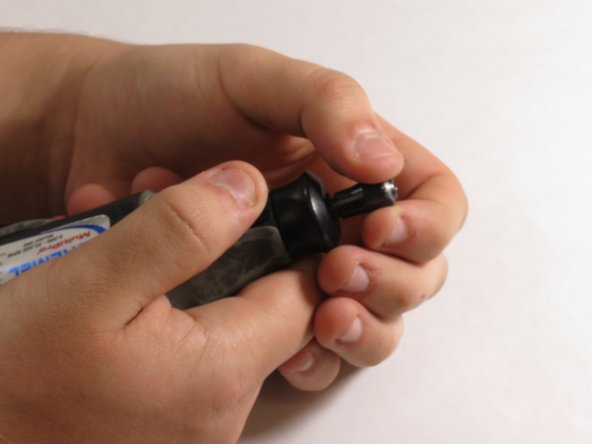
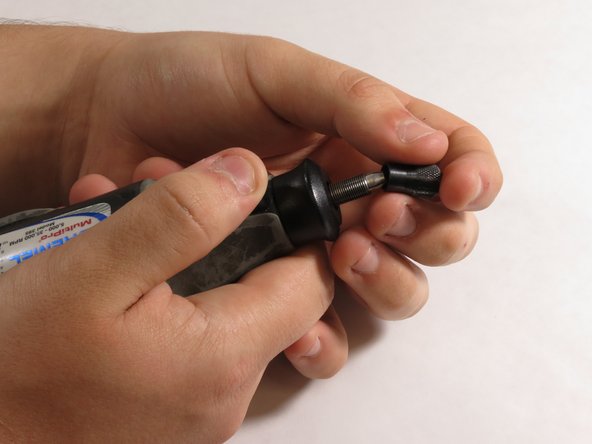
    5. Dremel MultiPro 395 Armature Replacement, Removing the chuck cap: passo 5, immagine 1 di 3 Dremel MultiPro 395 Armature Replacement, Removing the chuck cap: passo 5, immagine 2 di 3 Dremel MultiPro 395 Armature Replacement, Removing the chuck cap: passo 5, immagine 3 di 3
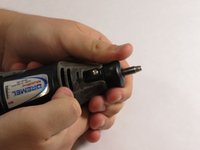
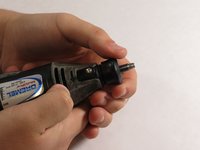
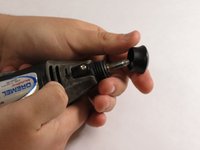
      • Hold down the collet lock, remove the chuck cap from the top of the Multipro by screwing counterclockwise.

      Chiedi a FixBot

      Aggiungi Commento

    6. Dremel MultiPro 395 Armature Replacement, Removing the black housing cap: passo 6, immagine 1 di 3 Dremel MultiPro 395 Armature Replacement, Removing the black housing cap: passo 6, immagine 2 di 3 Dremel MultiPro 395 Armature Replacement, Removing the black housing cap: passo 6, immagine 3 di 3
      • Remove the black housing cap from the Multipro located directly below the chuck cap.

      Chiedi a FixBot

      Aggiungi Commento

    7. Dremel MultiPro 395 Armature Replacement, Removing the outer casing: passo 7, immagine 1 di 3 Dremel MultiPro 395 Armature Replacement, Removing the outer casing: passo 7, immagine 2 di 3 Dremel MultiPro 395 Armature Replacement, Removing the outer casing: passo 7, immagine 3 di 3
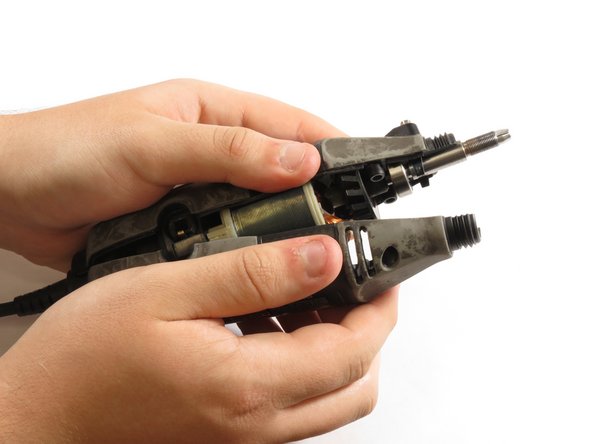
      • Pull the bottom side of the casing up to remove it.

      Chiedi a FixBot

      Aggiungi Commento

    8. Dremel MultiPro 395 Armature Replacement, Removing the motorshaft: passo 8, immagine 1 di 3 Dremel MultiPro 395 Armature Replacement, Removing the motorshaft: passo 8, immagine 2 di 3 Dremel MultiPro 395 Armature Replacement, Removing the motorshaft: passo 8, immagine 3 di 3
      • Gently lift the motor shaft out of the Multipro.

      Chiedi a FixBot

      Aggiungi Commento

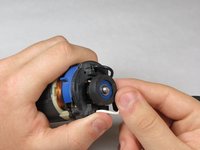
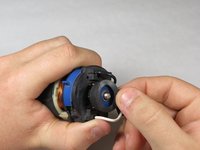
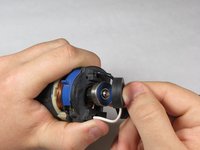
    9. Dremel MultiPro 395 Armature Replacement, Removing the rubber ring: passo 9, immagine 1 di 3 Dremel MultiPro 395 Armature Replacement, Removing the rubber ring: passo 9, immagine 2 di 3 Dremel MultiPro 395 Armature Replacement, Removing the rubber ring: passo 9, immagine 3 di 3
      • Remove the rubber ring from the bottom of the armature.

      Chiedi a FixBot

      Aggiungi Commento

    10. Dremel MultiPro 395 Armature Replacement, Removing the on/off switch: passo 10, immagine 1 di 3 Dremel MultiPro 395 Armature Replacement, Removing the on/off switch: passo 10, immagine 2 di 3 Dremel MultiPro 395 Armature Replacement, Removing the on/off switch: passo 10, immagine 3 di 3
      • Pull the on/off switch off of the 120V field, paying careful attention to the prongs on the on/off switch.

      • For reassembly, make sure the prongs are touching the metal connectors on the bottom of the 120V field

      Chiedi a FixBot

      Aggiungi Commento

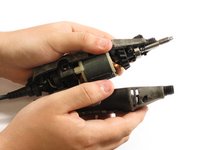
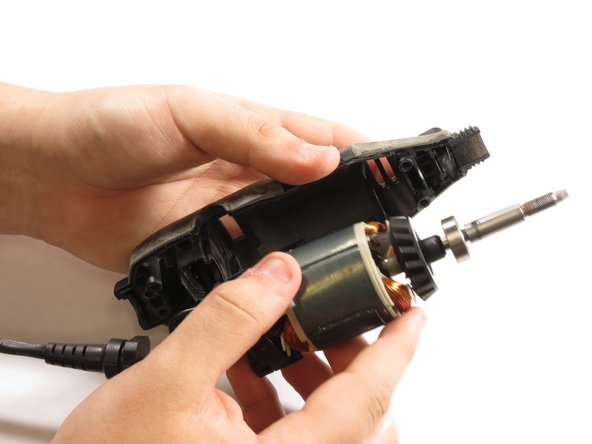
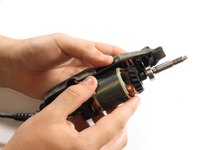
    11. Dremel MultiPro 395 Armature Replacement, Removing the armature: passo 11, immagine 1 di 3 Dremel MultiPro 395 Armature Replacement, Removing the armature: passo 11, immagine 2 di 3 Dremel MultiPro 395 Armature Replacement, Removing the armature: passo 11, immagine 3 di 3
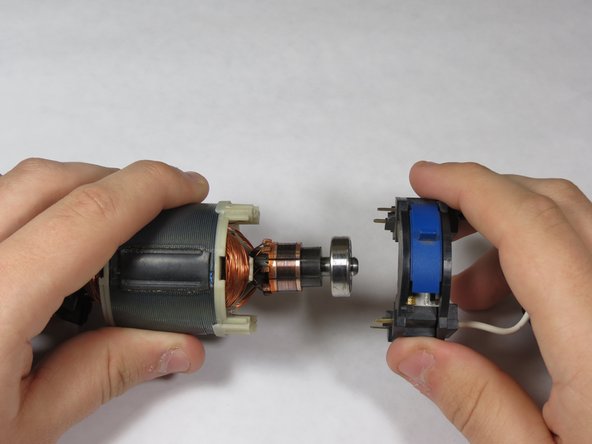
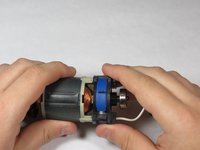
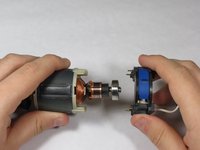
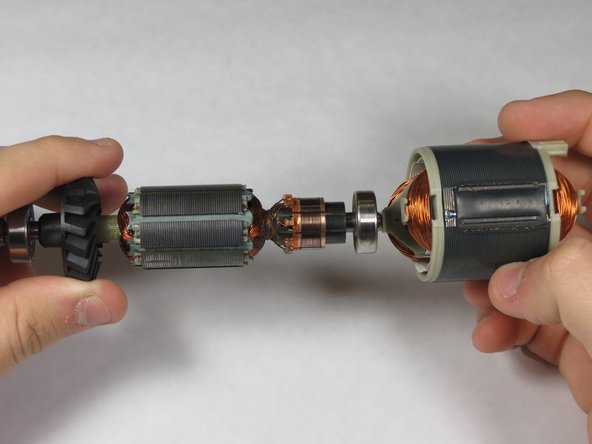
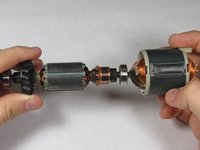
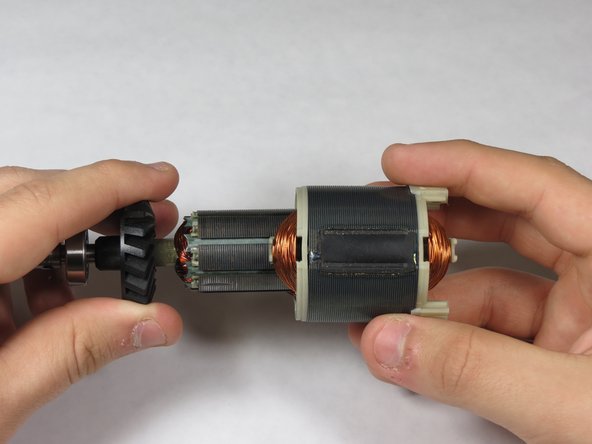
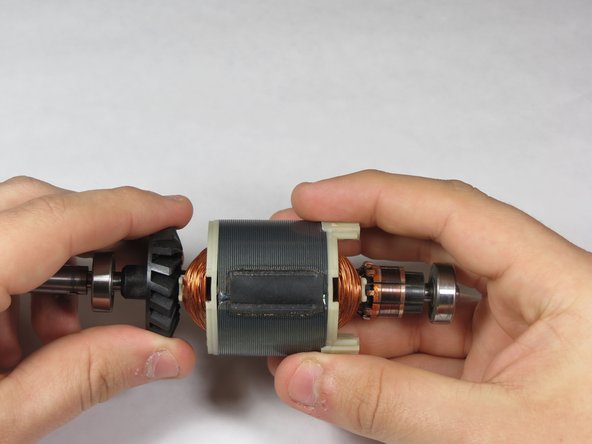
      • Carefully slide the armature out of the 120V field.

      Chiedi a FixBot

      Aggiungi Commento

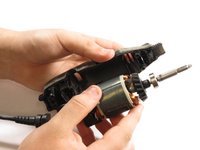
    12. Dremel MultiPro 395 Armature Replacement, Inserting new armature: passo 12, immagine 1 di 3 Dremel MultiPro 395 Armature Replacement, Inserting new armature: passo 12, immagine 2 di 3 Dremel MultiPro 395 Armature Replacement, Inserting new armature: passo 12, immagine 3 di 3
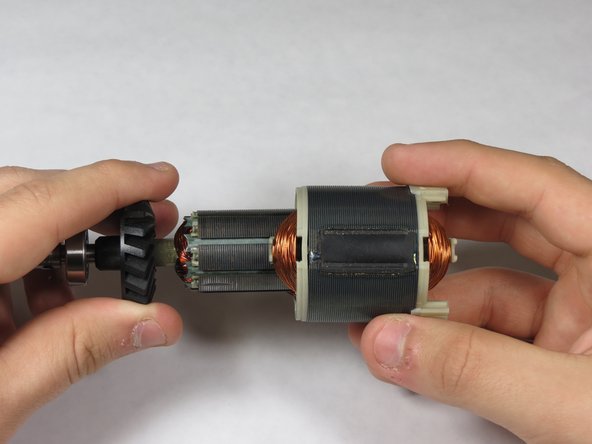
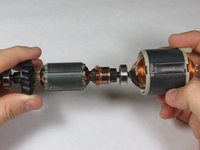
      • Carefully slide the new armature back into the 120V field.

      Chiedi a FixBot

      Aggiungi Commento

Conclusione

To reassemble your device, follow these instructions in reverse order.

Annulla: non ho completato questa guida.

Altre 6 persone hanno completato questa guida.

7Commenti sulla guida

This part does not seem to be my problem the only thing I have left on the shaft is the copper coil the fan and whatever the part above the fan it spins freely around and it seems to be set on a device that allows it to tilt. I am struggling with this, please point me in the right direction of the removal of the copper core coil.... There has got to be an easier way to remove this.

Johnny Reb - Rispondi Condividi

You dont remove the armature coil, you replace the entire rotating armature assembly...why are you trying to take the coil off?!?

Tracy Bueller - Rispondi Condividi
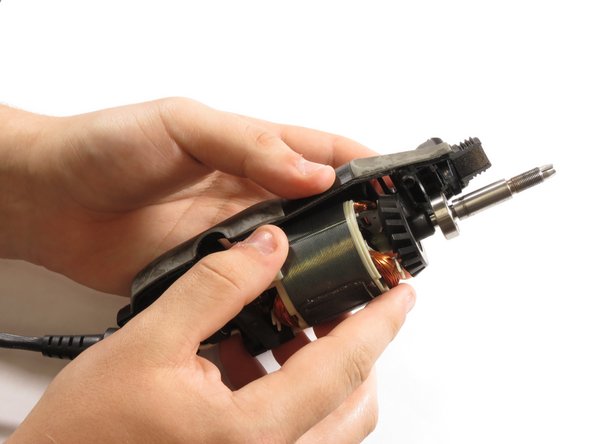
The article does not mention why an armature needs to be replaced. So why is it necessary to replace an armature? If there is no obviously visible problem, what could be wrong with it?

mycle85719 - Rispondi Condividi

Failed front bearing. I have a 398 and the front bearing gets bathed in whatever youre cutting ... Like drywall dust, plaster, stone dust. And you cant just pull the collet mount off and replace the bearing, so you have to replace the whole armature (great design, dremel!). The good news is youll have fresh bearings and commutator (which should help the brush whine some). Youll also have a spare armature to carefully cut the collet shaft off of (hopefully in a way you can remount it...remember to rebalance the armature afterwards), then use a gear puller to take the front bearing off, and replace it with a better, more shielded one. Then youll have a replacement armature for when the first replacement front bearing jams up!

There could also be a broken fan, bent shaft, an electrical issue inside the windings...lots of reasons to need to replace the armature. Its just stupid you cant take the freaking front bearing off and have to replace the whole %#*@ assembly....

Tracy Bueller - Rispondi Condividi

very good article, congratulations for the content

<a href="https://comodemorarpragozar.com/"> comodemorarpragozar </a>

tiagoraro - Rispondi Condividi

Aggiungi Commento

Visualizza statistiche:

Ultime 24 ore: 6

Ultimi 7 giorni: 20

Ultimi 30 giorni: 80

Tutti i Tempi: 9,469