Questa traduzione è stata generata automaticamente e non è stata ancora revisionata da una persona. Parli questa lingua? Dai un’occhiata.
Introduzione
Questa guida ti mostrerà il modo più rapido per rimuovere il frontale del dispositivo, così da poter accedere ai componenti interni.
Cosa ti serve
-
-
-
Utilizzando un cacciavite a croce Phillips, rimuovi le otto viti a croce Phillips da 9,5 mm sui lati sinistro e destro del dispositivo.
 Chiedi a FixBot
-
-
-
Rimuovi queste sette viti da 11,5 mm e mettile5 mm e mettile da parte.
-
-
-
Solleva il lato destro dal dispositivo e mettilo da parte.
-
Ripeti per il lato sinistro.
-
-
-
Solleva delicatamente ma con decisione la parte superiore dal retro del dispositivo. Lasciala riposare sul retro senza riattaccarla.
-
-
-
Solleva delicatamente le linguette indicate per sganciarle dai ganci che le tengono in posizione.
-
-
-
-
Solleva la parte superiore facendola scorrere saldamente verso il retro del dispositivo.
-
Il prossimo passaggio è un ingrandimento dell'area indicata.
-
-
-
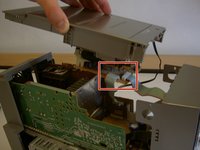
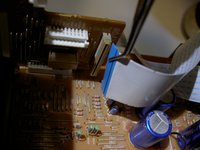
Utilizzando delle pinzette o le dita, rimuovi il piccolo cavo nero indicato.
-
Afferra il cavo vicino alla base e tira delicatamente ma con fermezza finché non fuoriesce dall'alloggiamento.
-
-
Strumento utilizzato in questo passaggio:Tweezers$4.99
-
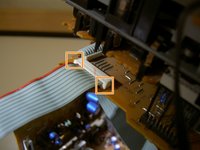
Questo passaggio riguarda l'area indicata del dispositivo.
-
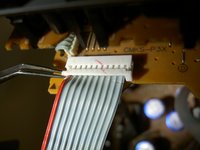
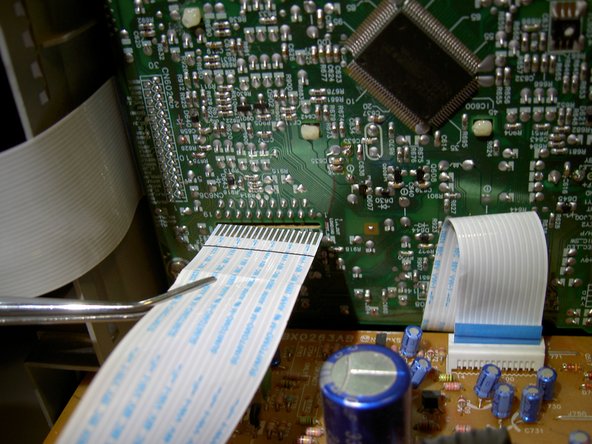
Usando le dita o le pinzette, solleva le linguette indicate finché il fermo del cavo non appare come nell'immagine finale.
-
Tira delicatamente il cavo vicino alla sua base finché non si libera dal fermo.
-
-
-
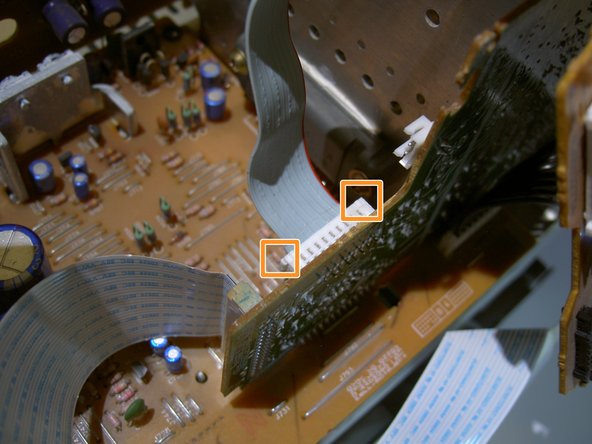
Questo passaggio riguarda l'area indicata del dispositivo.
-
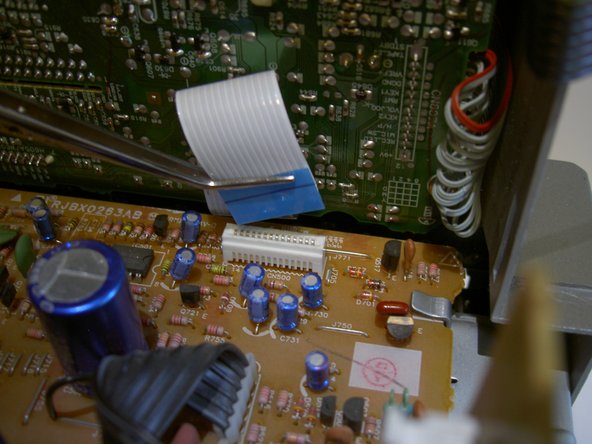
Solleva le linguette indicate finché il fermo non appare come nell'immagine finale.
-
Tira delicatamente il cavo finché non si libera dall'attacco.
-
La sezione superiore del dispositivo dovrebbe ora essere separata dal corpo. Mettila da parte in un luogo sicuro.
-
-
-
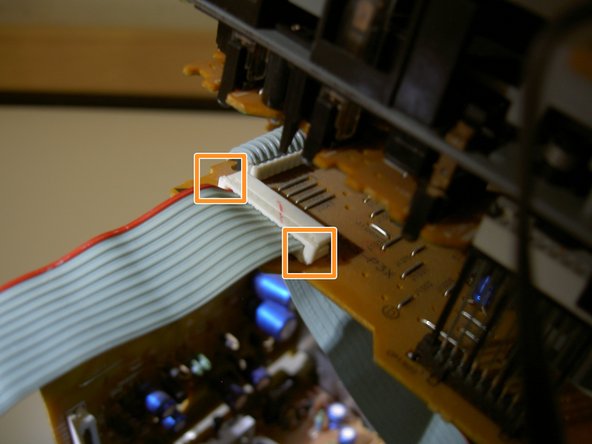
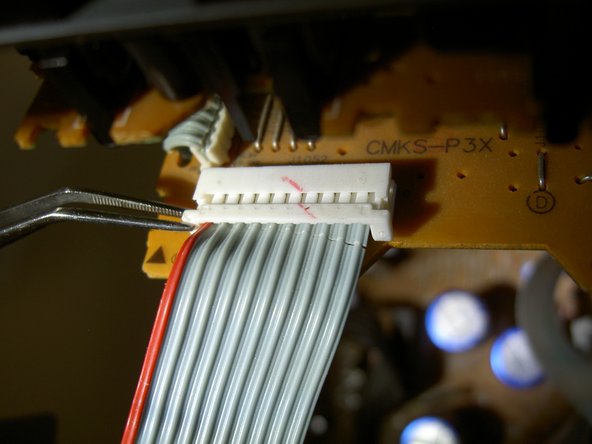
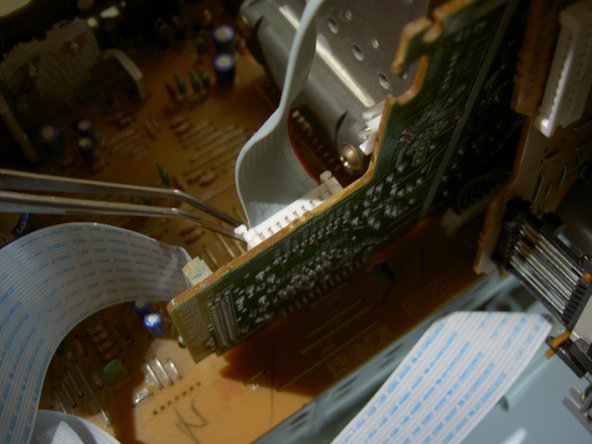
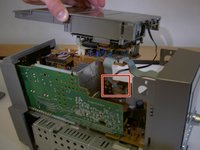
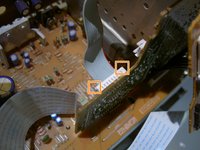
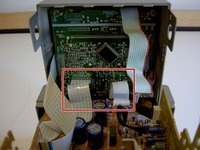
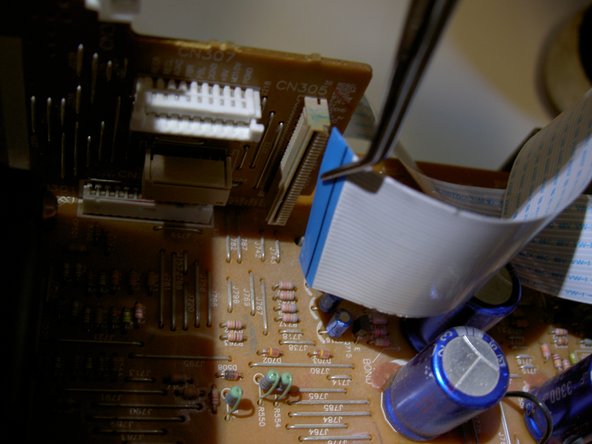
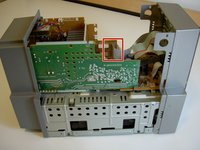
Questo passaggio riguarda la porzione indicata del dispositivo.
-
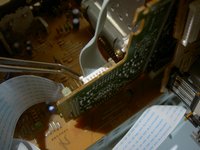
Solleva le linguette indicate finché non appaiono come nell'immagine finale.
-
Tira delicatamente il cavo finché non si libera dal suo fissaggio.
-
-
-
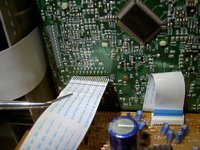
Questo passaggio riguarda l'area indicata del dispositivo.
-
Nessuno dei cavi indicati presenta dei fermi come i precedenti. Usa le pinzette o le dita per tirare con decisione la base di ogni cavo finché non si stacca.
-
-
-
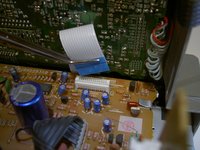
Questo passaggio riguarda l'area indicata del dispositivo.
-
Usa le pinzette o le dita e tira con decisione il cavo verso l'esterno finché non si sgancia.
-
-
-
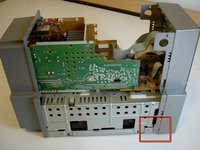
Questo passaggio riguarda l'area indicata del dispositivo.
-
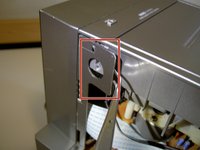
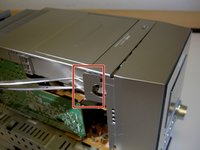
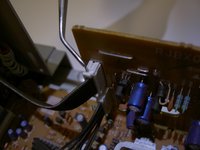
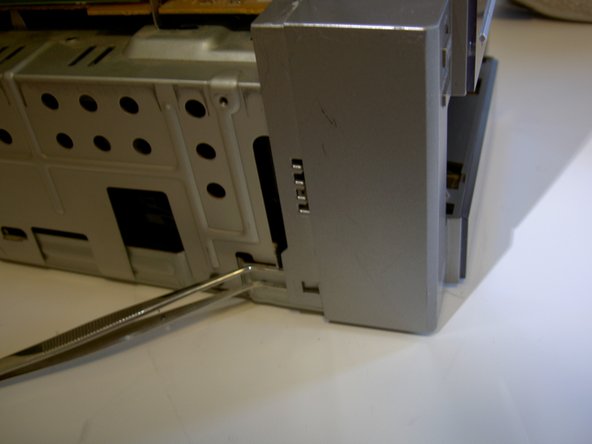
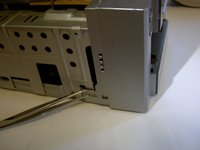
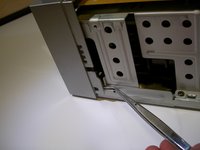
Utilizzando le pinzette o le dita, solleva delicatamente la linguetta indicata per liberare la parte anteriore dal corpo del dispositivo.
-
Ruota il dispositivo di 180 gradi e ripeti l'operazione sull'altro lato.
-
Ruota leggermente la parte anteriore in avanti per evitare che le linguette si riaggancino ai loro ganci.
-
-
-
Muovi delicatamente la parte anteriore tirandola in avanti finché non si stacca dal corpo del dispositivo.
-
-







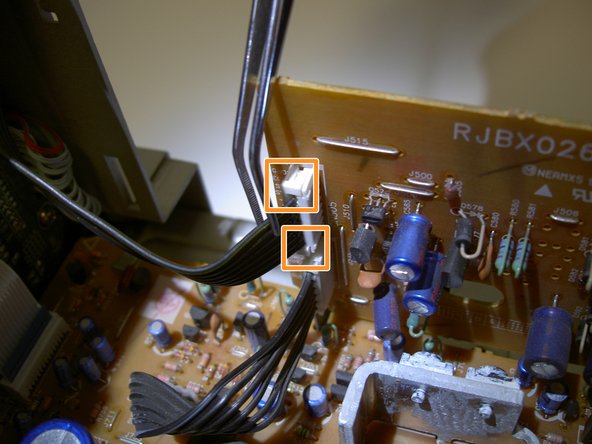
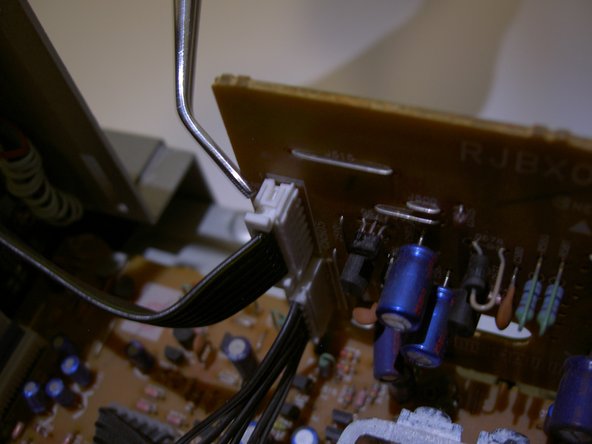





Per rimontare il dispositivo, segui queste istruzioni in ordine inverso.
Annulla: non ho completato questa guida.
Altre 3 persone hanno completato questa guida.

Team

Cal Poly, Team 4-1, Regan Spring 2011 Membro di Cal Poly, Team 4-1, Regan Spring 2011
CPSU-REGAN-S11S4G1
3 Membri
60 guide realizzate
3Commenti sulla guida
Excellent and clear instructions, thankyou. Only trouble is the CD Changer device door is not opening! As I have not actually carried out the Front Panel removal at present I am hoping my problem will expose itself when I complete your instructions in practicality. Thanks again. Denis.
Thanks a lot for the guide! I was able to fix my problem of cassettes playing too slow. You rock!
Thanks for the guide, had a problem with CD player causing horrible screeching noises when initialising each CD. However opening it up, the CD player is still contained within an unopenable sub-unit so no luck for me. Putting it back together, the side panels were a bit annoying. Note that on each side panel, both of the rear tabs go over the outside of the rest of the unit, not on the inside/underneath. a
