Salta al contenuto principale
Unisciti alla Community delle riparazioni - Crea un account

Disassembling VTech MobiGo Touch Learning System Keyboard

Cosa ti serve

    1. Disassembling VTech MobiGo Touch Learning System Keyboard, Case: passo 1, immagine 1 di 1
      • Remove the battery covers and the four batteries.

      Chiedi a FixBot

      Aggiungi Commento

    2. Disassembling VTech MobiGo Touch Learning System Keyboard: passo 2, immagine 1 di 2 Disassembling VTech MobiGo Touch Learning System Keyboard: passo 2, immagine 2 di 2
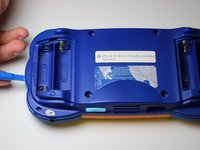
      • Remove the four plastic caps with a metal spudger to expose the 6.0 mm Philips JIS #0 case screws.

      • Remove the eight 6.0 mm JIS #0 case screws.

      Chiedi a FixBot

      Aggiungi Commento

    3. Disassembling VTech MobiGo Touch Learning System Keyboard: passo 3, immagine 1 di 2 Disassembling VTech MobiGo Touch Learning System Keyboard: passo 3, immagine 2 di 2
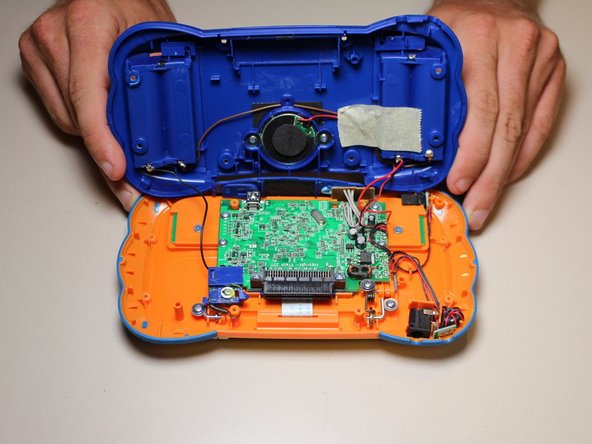
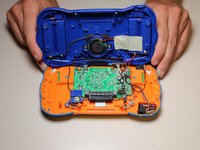
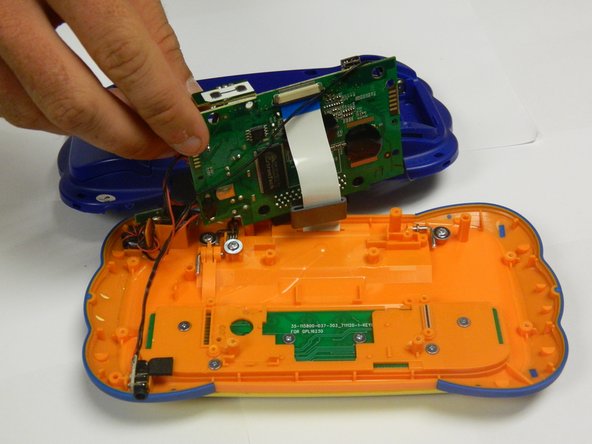
      • Using a plastic opening tool, separate the two pieces of the case carefully.

      Chiedi a FixBot
      Aggiungi Commento

    1. Disassembling VTech MobiGo Touch Learning System Keyboard, Disassembling VTech MobiGo Touch Learning System Keyboard: passo 4, immagine 1 di 2 Disassembling VTech MobiGo Touch Learning System Keyboard, Disassembling VTech MobiGo Touch Learning System Keyboard: passo 4, immagine 2 di 2
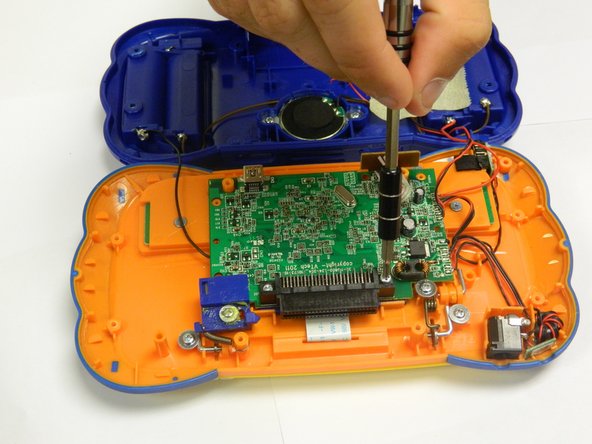
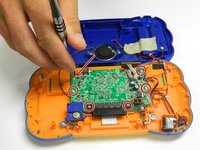
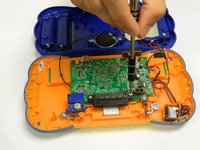
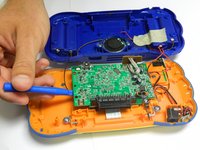
      • Remove the six 6.5 mm Philips J0 screws that are connected to the circuit board.

      • Use light pressure to prevent damage to the circuit board.

      Chiedi a FixBot
      Aggiungi Commento

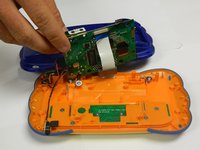
    2. Disassembling VTech MobiGo Touch Learning System Keyboard: passo 5, immagine 1 di 1
      • Remove the 9.0 mm Philips J0 screw from the blue plastic cover.

      • Once the screw is removed, remove the blue plastic cover.

      Chiedi a FixBot
      Aggiungi Commento

    3. Disassembling VTech MobiGo Touch Learning System Keyboard: passo 6, immagine 1 di 2 Disassembling VTech MobiGo Touch Learning System Keyboard: passo 6, immagine 2 di 2
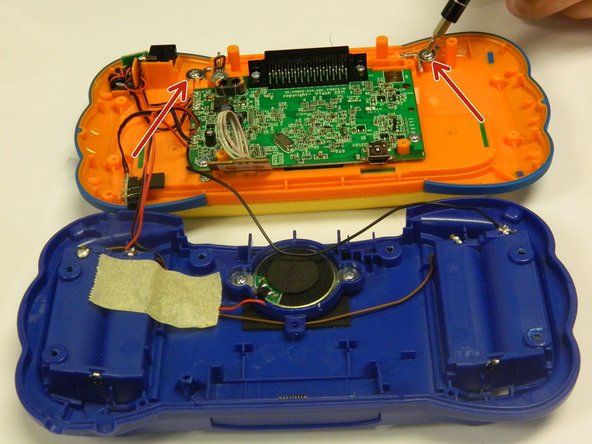
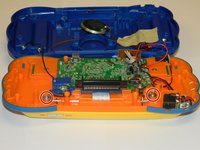
      • Remove the two 4.0 mm Philips J0 screws located on the orange case.

      • Use gentle force to prevent stripping of screws.

      Chiedi a FixBot

      Aggiungi Commento

    4. Disassembling VTech MobiGo Touch Learning System Keyboard: passo 7, immagine 1 di 3 Disassembling VTech MobiGo Touch Learning System Keyboard: passo 7, immagine 2 di 3 Disassembling VTech MobiGo Touch Learning System Keyboard: passo 7, immagine 3 di 3
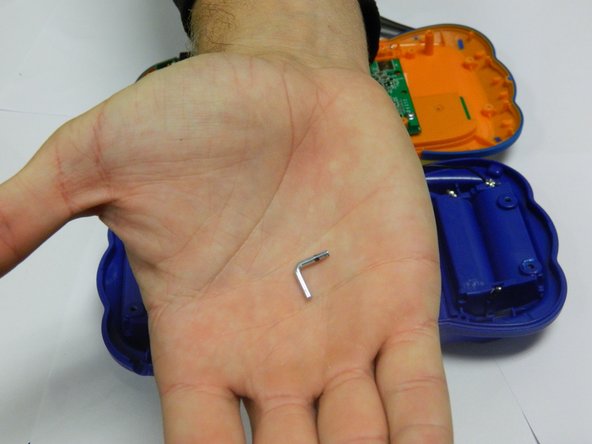
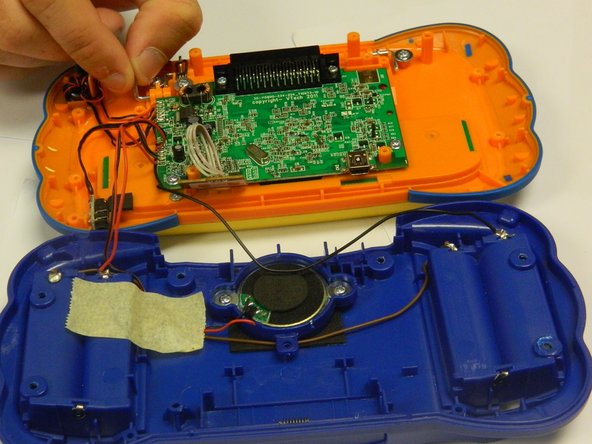
      • Remove the two "L" shaped brackets located on both sides of the device.

      • Use the magnetic mat to store these brackets.

      Chiedi a FixBot

      Aggiungi Commento

    5. Disassembling VTech MobiGo Touch Learning System Keyboard: passo 8, immagine 1 di 1
      • Locate the spring that was connected to the "L" shaped bracket and slowly remove it.

      Chiedi a FixBot

      Aggiungi Commento

    6. Disassembling VTech MobiGo Touch Learning System Keyboard: passo 9, immagine 1 di 2 Disassembling VTech MobiGo Touch Learning System Keyboard: passo 9, immagine 2 di 2
      • Gently lift the circuit board from the case using a plastic opening tool.

      • Make sure to use a plastic opening tool for this step.

      Chiedi a FixBot

      Aggiungi Commento

    7. Disassembling VTech MobiGo Touch Learning System Keyboard: passo 10, immagine 1 di 1
      • Remove the 3.5 mm Philips J0 screw located underneath the circuit board.

      • Keep the circuit board out of the way to avoid damaging it.

      Chiedi a FixBot

      Aggiungi Commento

    8. Disassembling VTech MobiGo Touch Learning System Keyboard: passo 11, immagine 1 di 1
      • Slowly remove the keyboard panel.

      • Use a spudger if necessary.

      • The keys will fall out once the keyboard panel is removed.

      • Remove all of the keys and set them aside with the keyboard panel.

      Chiedi a FixBot

      Aggiungi Commento

    9. Disassembling VTech MobiGo Touch Learning System Keyboard: passo 12, immagine 1 di 1
      • Gently remove the keyboard circuit board with a plastic opening tool.

      Chiedi a FixBot

      Aggiungi Commento

Conclusione

To reassemble your device, follow these instructions in reverse order.

Annulla: non ho completato questa guida.

RBansil

Membro da: 08/27/15

221 Reputazione

2 guide realizzate

Team

USF Tampa, Team 8-3, Eyestone Fall 2015 Membro di USF Tampa, Team 8-3, Eyestone Fall 2015

USFT-EYESTONE-F15S8G3

3 Membri

17 guide realizzate

1Commento della guida

Was gifted a mobigo2 for my niece but it came without keyboard .. I was curious if you knew where I might find a replacement keyboard?

ROXXY - Rispondi Condividi

Aggiungi Commento

Visualizza statistiche:

Ultime 24 ore: 3

Ultimi 7 giorni: 11

Ultimi 30 giorni: 43

Tutti i Tempi: 2,448