Introduzione
Disassembly of Translucent Flashlight for Analysis or Replacement Parts
-
-
Remove light mechanism from body containing battery. Twist light bulb (red circle) counterclockwise while holding base of flashlight (black circle).
 Chiedi a FixBot
-
-
-
Angle body of flashlight until two AA batteries fall out. Store battery components.
-
-
-
Pull off rubber chassis of flashlight. Peel back rubber on battery side of flashlight first (red circle). Grip remaining rubber (black circle) and pull off plastic/metal body in direction counter to opening.
-
-
-
-
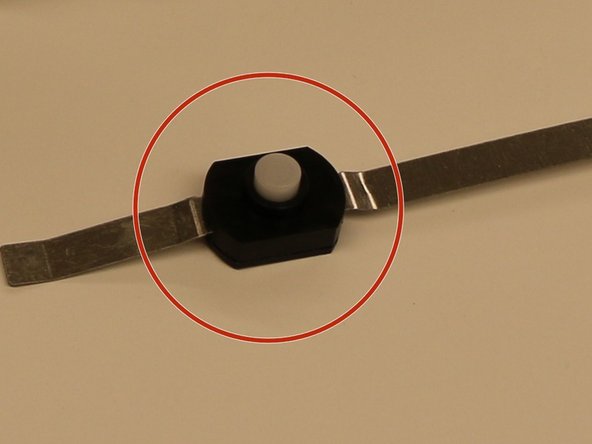
Remove metal apparatus containing button switch first by bending piece in arc shape. Carefully pull out clipped tip as shown.
-
-
-
Using the freed tip, detach the bottom of the metal switch connected to the spring of the grounded/negative end where the AA batteries are located (circle).
-
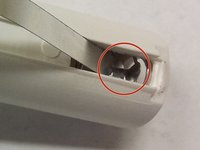
Push metal end into square hole so clip detaches from battery spring (circle). Pull out rest of clip avoiding spring, so metal switch freed from body.
-
-
-
Spring connected to flashlight base removed using tip of metal switch (circle) hooking and pulling into opening.
-
Initiate battery switch disassembly (circle).
-
-
-
The switch mechanism disassembly removes the button attached to the lid (red circle) from the grooves (blue circle) containing the switch components.
-
Next, remove the spring first and then metallic, grooved pressure plate which contained the spring (red circle) using hand.
-
Finally, remove metal connections of battery switch by lifting holes (red circle) off containment piece.
-
-
-
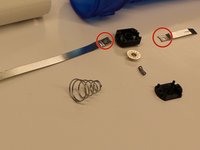
The battery components of translucent flashlight completely disassembled.
-






To reassemble your device, follow these instructions in reverse order.
Annulla: non ho completato questa guida.
Altre 5 persone hanno completato questa guida.

Team

Cal Poly, Team 8-18, Maness Winter 2012 Membro di Cal Poly, Team 8-18, Maness Winter 2012
CPSU-MANESS-W12S8G18
4 Membri
12 guide realizzate
