Questa traduzione è stata generata automaticamente e non è stata ancora revisionata da una persona. Parli questa lingua? Dai un’occhiata.
Introduzione
Questa guida mostra come rimuovere il motore di vibrazione dal Nokia 3560.
Cosa ti serve
-
-
-
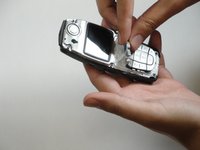
Premi sulla levetta di rilascio nella parte inferiore della copertura.
-
Una volta rilasciata la levetta, solleva la copertura dal telefono.
 Chiedi a FixBot
-
-
-
-
-
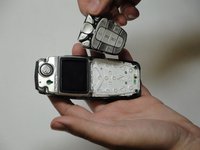
Solleva la scocca anteriore dal corpo del telefono.
-
-
-
-
-
-
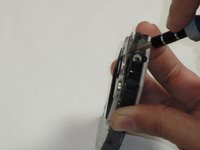
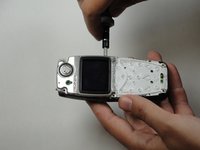
Lo schermo è fissato al corpo da sei viti.
-
-
-
Svita le sei viti con un cacciavite Torx (punta a forma di stella a sei punte).
-
-
-
Inserisci un cacciavite piatto tra il corpo nero e lo strato di plastica.
-
-
-
Fai leva per separare gli strati. Il display LCD e lo strato di plastica si solleveranno come un unico pezzo.
-
-
-
-
-
Dopo aver rimosso le viti, la scheda logica può essere estratta dal corpo a mano.
-
-
-
-
Strumento utilizzato in questo passaggio:Tweezers$4.99
-
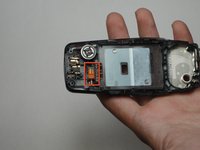
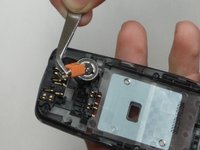
L'elemento arancione è il motore di vibrazione.
-
Non è fissato in alcun modo.
-
Rimuovilo con le pinzette.
-
-






Per rimontare il dispositivo, segui queste istruzioni in ordine inverso.

Team

Cal Poly, Team 30-39, Garner Spring 2010 Membro di Cal Poly, Team 30-39, Garner Spring 2010
CPSU-GARNER-S10S30G39
5 Membri
96 guide realizzate
