Introduzione
My camera stopped working, and technical support told me that there was a fault with the optical sensor, and it couldn't be repaired.
I thought, "I wonder why it failed?", and then started exploring the inside of this security camera. After some adventuring I discovered moisture had eaten away connections on the camera ribbon cable and that needed repair.
The cause of the problem was a poor seal of hot-glue and silicon lube. The failure happened out of warranty, but was really a manufacturer defect.
This guide explains how to take a Netatmo Presence Outdoor Camera to pieces and access the electronics.
Cosa ti serve
-
-
Remove the plate at the bottom of the camera by inserting a screwdriver in the slot, and bending while pulling.
-
The panel will lift up and can be removed.
 Chiedi a FixBot
-
-
-
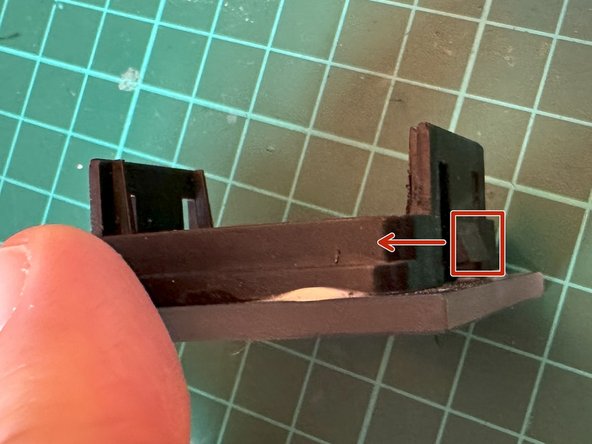
Insert a flathead screwdriver into each hole at the front of the camera and push the two tabs to the centre and forwards.
-
It's hard to see, but you need the triangular part at the front, rather than what appears to be a tab at the back.
-
Pushing towards the centre allows the lens cover to come off. These can be done one at a time.
-
-
-
-
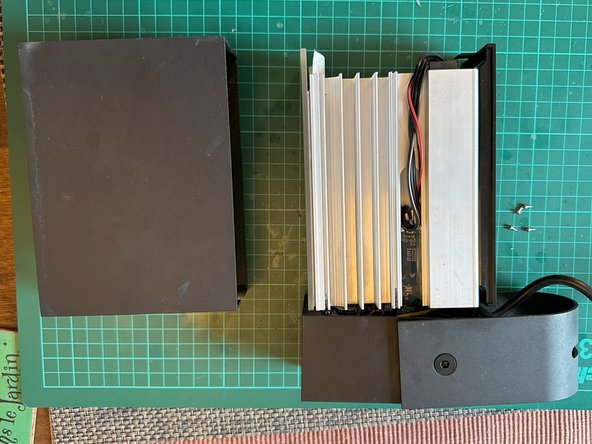
Separate the two pieces by pulling slightly on the lower module.
-
Pull the metal housing forward.
-
Pushing the light from the inside can help in removing the shell.
-
-
-
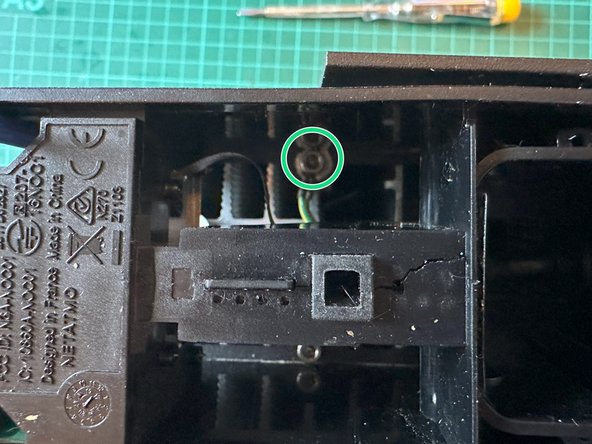
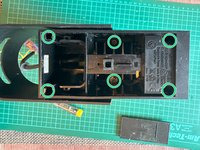
Using a 1.5mm hex screwdriver remove the four screws holding on the camera module.
-
-
-
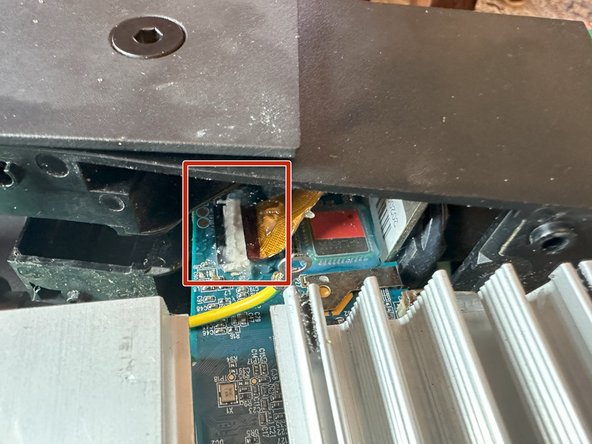
From this point the housing can be worked up and diagonally to reveal the circuit board, and ribbon cable.
-










To reassemble your device, follow these instructions in reverse order.
Annulla: non ho completato questa guida.
Un'altra persona ha completato questa guida.

