Salta al contenuto principale
Unisciti alla Community delle riparazioni - Crea un account

Disassembling Kodak Advantix F350 View Finder

Cosa ti serve

    1. Disassembling Kodak Advantix F350 View Finder, Back Cover: passo 1, immagine 1 di 1
      • Turn off the camera.

      • Locate the power switch on the front of the camera below the camera lens.

      • Slide the switch to the off position.

      Chiedi a FixBot

      Aggiungi Commento

    2. Disassembling Kodak Advantix F350 View Finder: passo 2, immagine 1 di 2 Disassembling Kodak Advantix F350 View Finder: passo 2, immagine 2 di 2
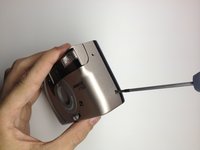
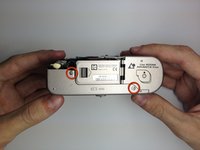
      • Locate the 3 screws that hold the back cover to the camera.

      • One screw is located on the film opener side of the camera.

      • The other screws are located on the opposite side of the camera.

      Chiedi a FixBot

      Aggiungi Commento

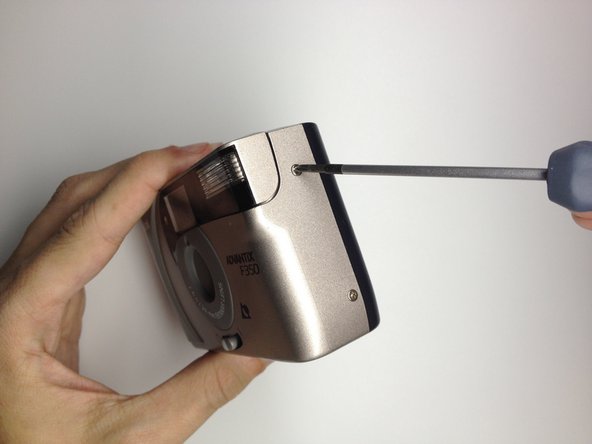
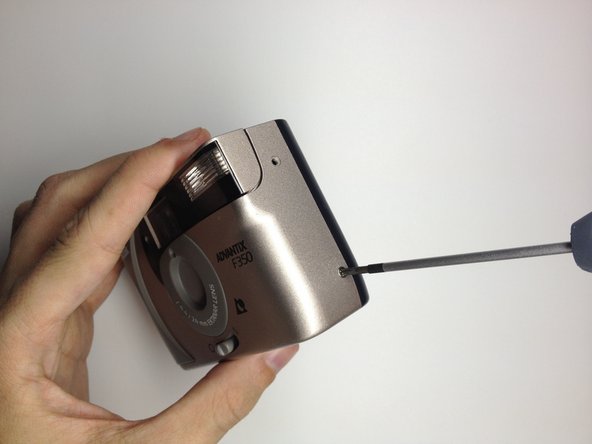
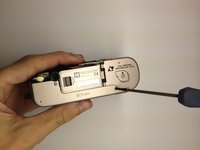
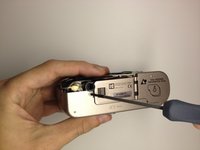
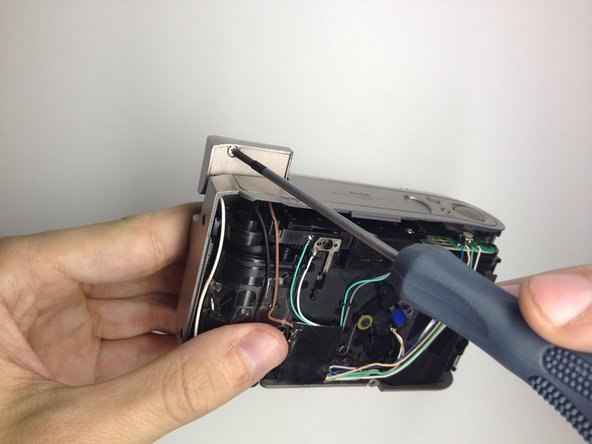
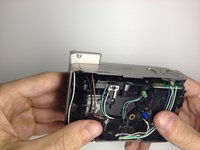
    3. Disassembling Kodak Advantix F350 View Finder: passo 3, immagine 1 di 3 Disassembling Kodak Advantix F350 View Finder: passo 3, immagine 2 di 3 Disassembling Kodak Advantix F350 View Finder: passo 3, immagine 3 di 3
      • Use the Phillips #00 Precision Screwdriver and remove the screws on the back cover.

      Chiedi a FixBot

      Aggiungi Commento

    4. Disassembling Kodak Advantix F350 View Finder: passo 4, immagine 1 di 2 Disassembling Kodak Advantix F350 View Finder: passo 4, immagine 2 di 2
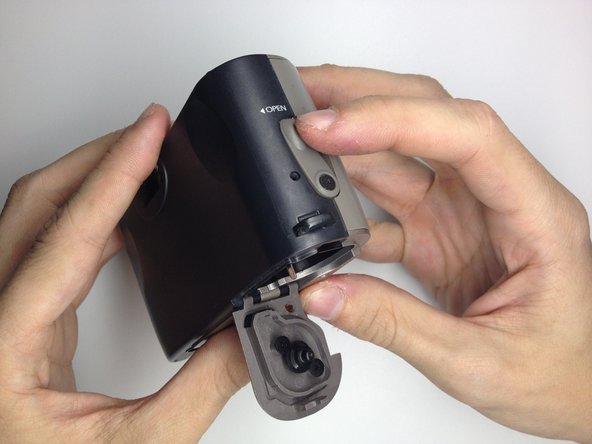
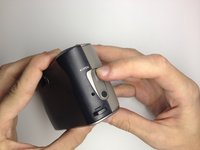
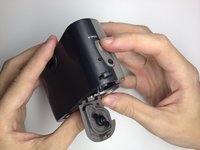
      • Open the film door to remove the back cover.

      • Slide the film door lever to the left until the film door opens.

      Chiedi a FixBot

      Aggiungi Commento

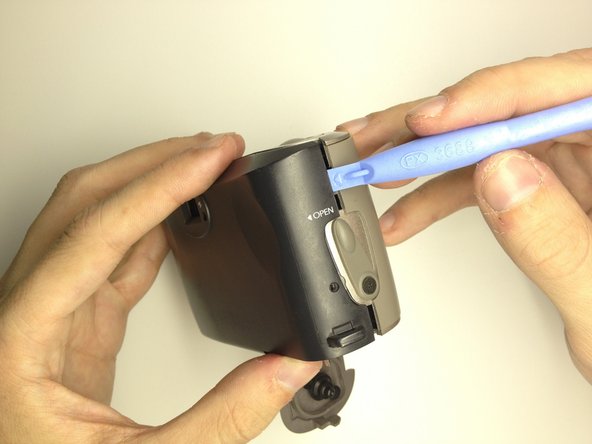
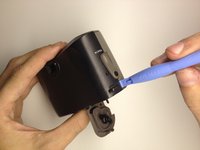
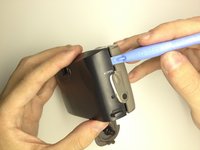
    5. Disassembling Kodak Advantix F350 View Finder: passo 5, immagine 1 di 2 Disassembling Kodak Advantix F350 View Finder: passo 5, immagine 2 di 2
      • Use a plastic opening tool to pry the case open until a small gap is present.

      • Repeat this process at the top and bottom of the film door to loosen it.

      Chiedi a FixBot

      Aggiungi Commento

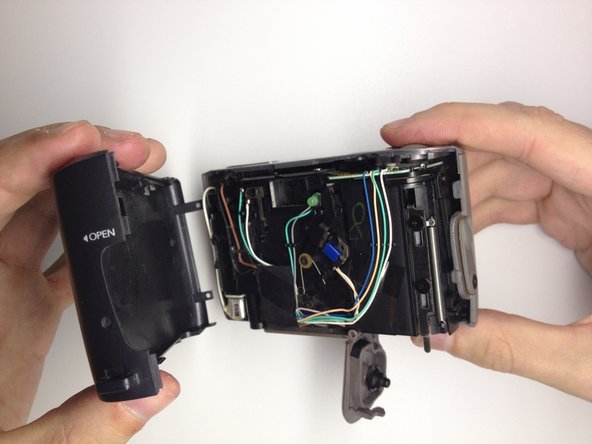
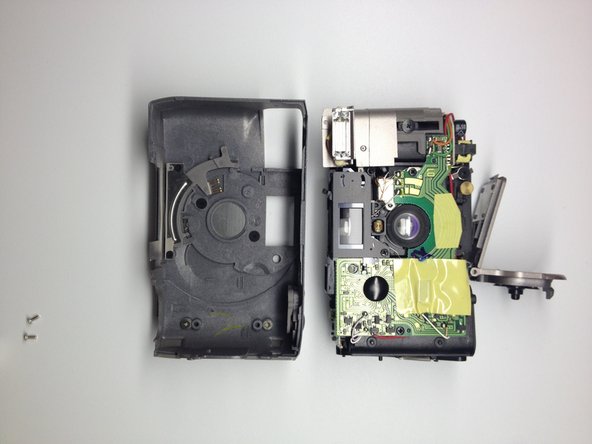
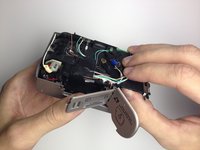
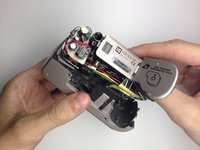
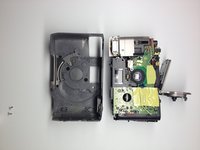
    6. Disassembling Kodak Advantix F350 View Finder: passo 6, immagine 1 di 3 Disassembling Kodak Advantix F350 View Finder: passo 6, immagine 2 di 3 Disassembling Kodak Advantix F350 View Finder: passo 6, immagine 3 di 3
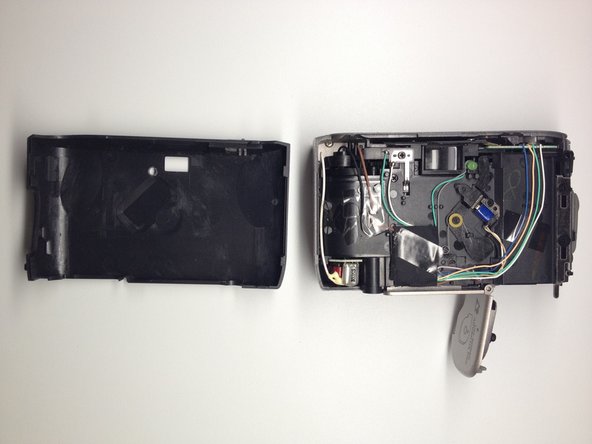
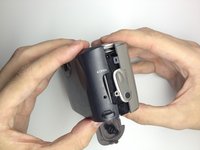
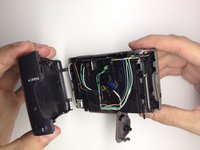
      • Grab the top and bottom of the case firmly as shown.

      • Gently remove the back of the camera case with a slight twisting motion.

      Chiedi a FixBot

      Aggiungi Commento

    1. Disassembling Kodak Advantix F350 View Finder, Front Cover: passo 7, immagine 1 di 2 Disassembling Kodak Advantix F350 View Finder, Front Cover: passo 7, immagine 2 di 2
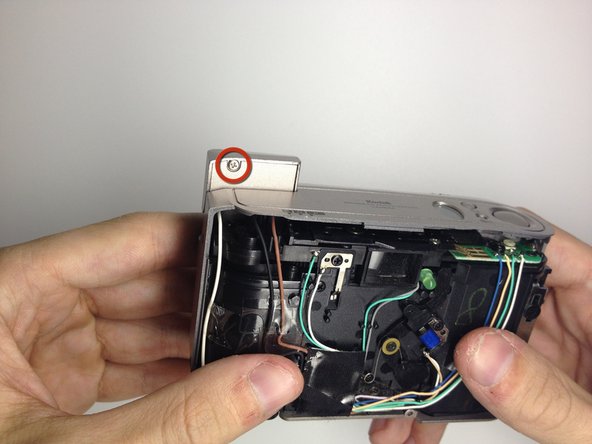
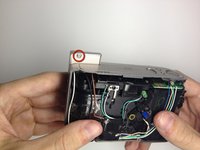
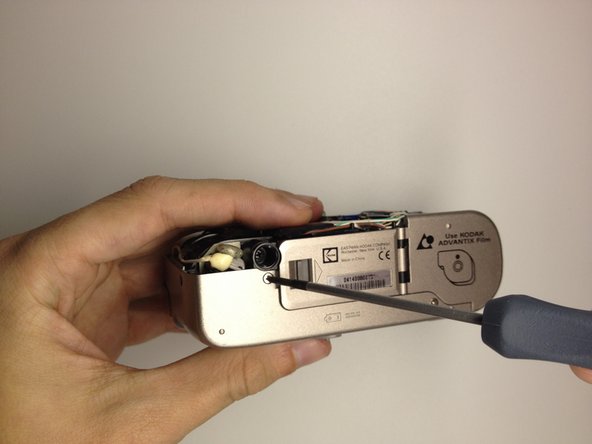
      • Locate the 3 screws on the camera that hold the front cover of the camera to the camera body.

      • The first 2 are located on the bottom of the camera.

      • The last screw is located behind the flash module.

      • Turn the camera on, and raise the flash module to locate the flash module screw.

      Chiedi a FixBot

      Aggiungi Commento

    2. Disassembling Kodak Advantix F350 View Finder: passo 8, immagine 1 di 2 Disassembling Kodak Advantix F350 View Finder: passo 8, immagine 2 di 2
      • Remove the 2 screws at the base of the camera housing.

      • Use the Phillips #00 Precision Screwdriver and remove the screws.

      • Repeat this process for the screw behind the flash module.

      Chiedi a FixBot

      Aggiungi Commento

    3. Disassembling Kodak Advantix F350 View Finder: passo 9, immagine 1 di 2 Disassembling Kodak Advantix F350 View Finder: passo 9, immagine 2 di 2
      • Remove the screw located under the flash module using the Phillips #00 Precision Screwdriver.

      Chiedi a FixBot

      Aggiungi Commento

    4. Disassembling Kodak Advantix F350 View Finder: passo 10, immagine 1 di 2 Disassembling Kodak Advantix F350 View Finder: passo 10, immagine 2 di 2
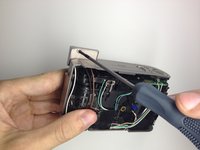
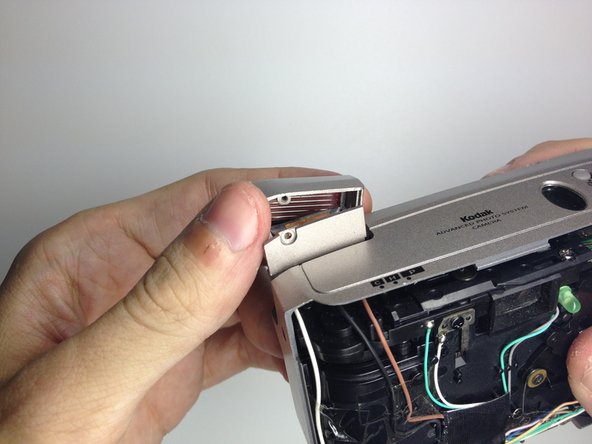
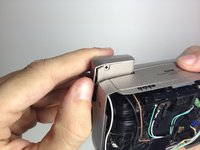
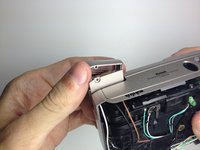
      • Remove the flash cover.

      • Remove the flash module by twisting it up and outward of the camera housing.

      • The cover can now be be removed.

      Chiedi a FixBot

      Aggiungi Commento

    5. Disassembling Kodak Advantix F350 View Finder: passo 11, immagine 1 di 2 Disassembling Kodak Advantix F350 View Finder: passo 11, immagine 2 di 2
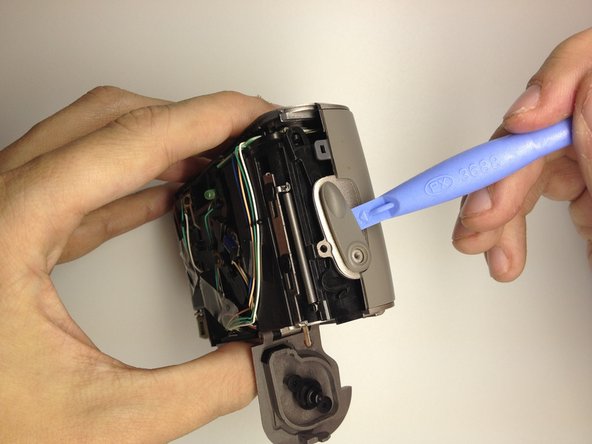
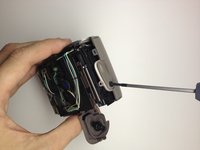
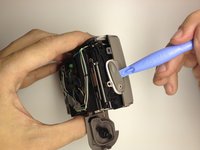
      • Remove the film door lever.

      • Remove the screw holding the film lever in place by using a Phillips #00 Precision Screwdriver.

      • Using a plastic opening tool, gently pry the switch upwards to remove it.

      Chiedi a FixBot

      Aggiungi Commento

    6. Disassembling Kodak Advantix F350 View Finder: passo 12, immagine 1 di 1
      • Open the battery door by pushing the lever towards the arrow indicated.

      Chiedi a FixBot

      Aggiungi Commento

    7. Disassembling Kodak Advantix F350 View Finder: passo 13, immagine 1 di 3 Disassembling Kodak Advantix F350 View Finder: passo 13, immagine 2 di 3 Disassembling Kodak Advantix F350 View Finder: passo 13, immagine 3 di 3
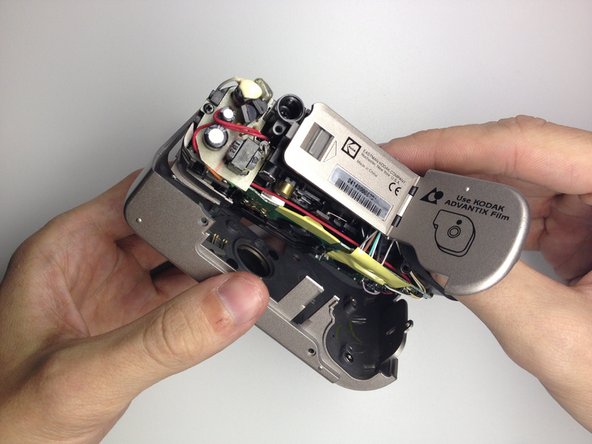
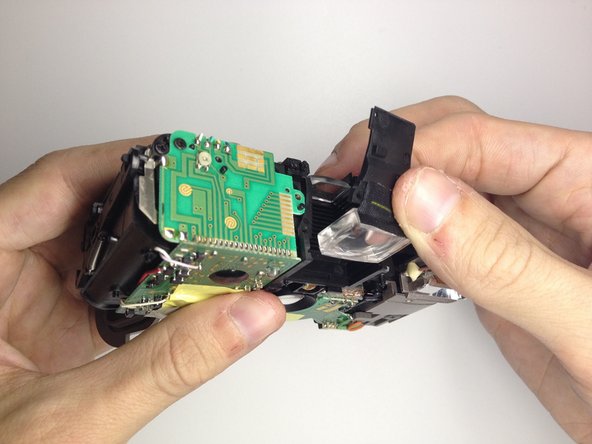
      • Remove the front cover.

      • Insert your thumb in the film hole and gently pry the bottom loose.

      • Once the front is loose, gently pull it out.

      Chiedi a FixBot

      Aggiungi Commento

    1. Disassembling Kodak Advantix F350 View Finder, Display: passo 14, immagine 1 di 1
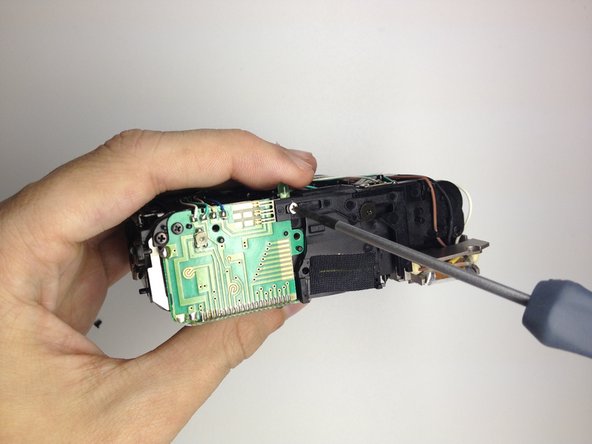
      • Locate the 3 screws on the top of the camera.

      • These will be removed in the next step.

      Chiedi a FixBot

      Aggiungi Commento

    2. Disassembling Kodak Advantix F350 View Finder: passo 15, immagine 1 di 3 Disassembling Kodak Advantix F350 View Finder: passo 15, immagine 2 di 3 Disassembling Kodak Advantix F350 View Finder: passo 15, immagine 3 di 3
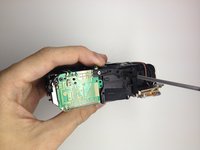
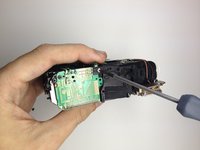
      • Remove the 3 screws using the Phillips #00 Precision Screwdriver.

      Chiedi a FixBot

      Aggiungi Commento

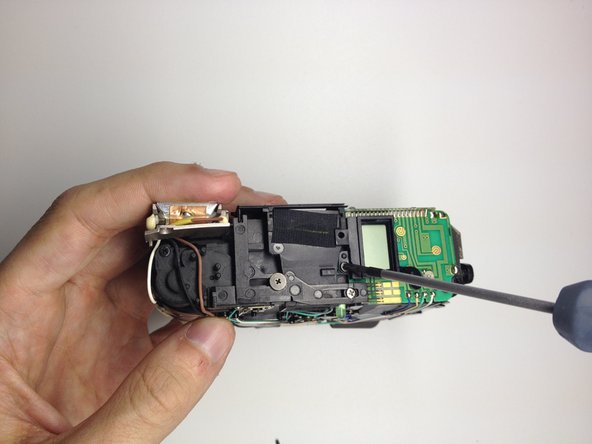
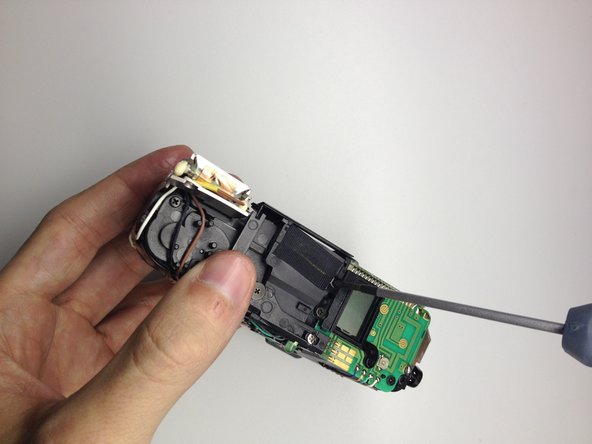
    3. Disassembling Kodak Advantix F350 View Finder: passo 16, immagine 1 di 2 Disassembling Kodak Advantix F350 View Finder: passo 16, immagine 2 di 2
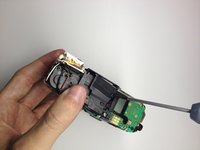
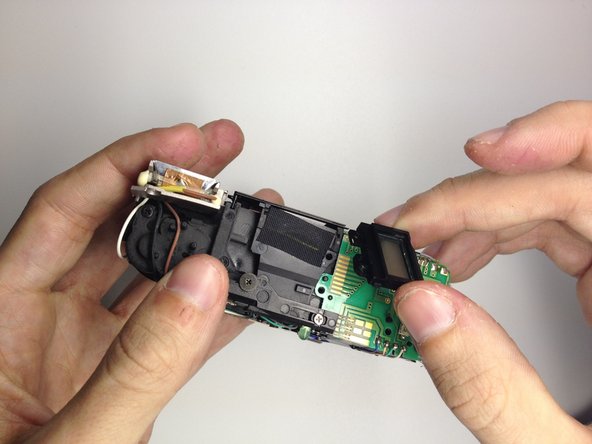
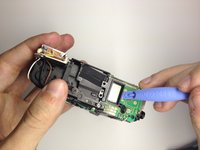
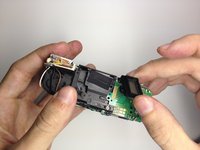
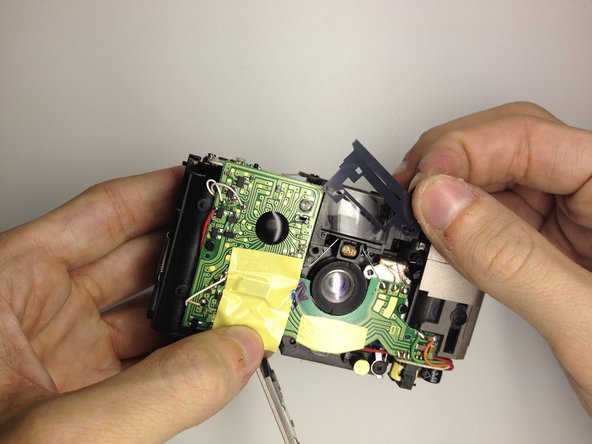
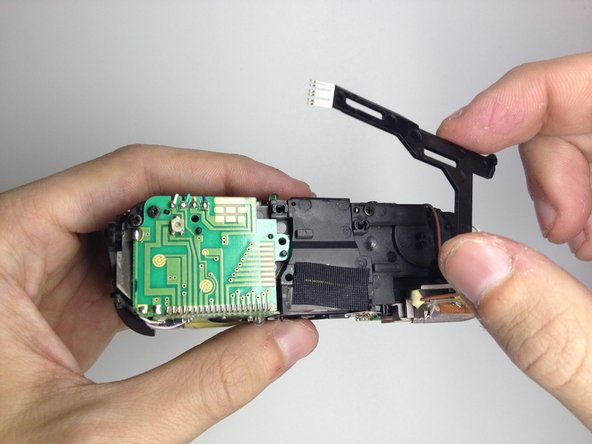
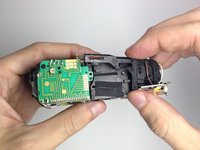
      • Remove the LCD.

      • Gently pry the LCD and plastic bezel upward with a plastic opening tool.

      • Remove LCD and replace as needed.

      Chiedi a FixBot

      Aggiungi Commento

    1. Disassembling Kodak Advantix F350 View Finder, View Finder: passo 17, immagine 1 di 1
      • Locate the screw on the front of the camera that holds the view finder assembly.

      Chiedi a FixBot

      Aggiungi Commento

    2. Disassembling Kodak Advantix F350 View Finder: passo 18, immagine 1 di 1
      • Using the Phillips #00 Precision Screwdriver, remove the screw.

      Chiedi a FixBot

      Aggiungi Commento

    3. Disassembling Kodak Advantix F350 View Finder: passo 19, immagine 1 di 2 Disassembling Kodak Advantix F350 View Finder: passo 19, immagine 2 di 2
      • Remove the 3 view finder covers.

      • The first one is metal and comes off easily.

      • The last two are plastic and tend to fall off, so gently remove them.

      Chiedi a FixBot

      Aggiungi Commento

    4. Disassembling Kodak Advantix F350 View Finder: passo 20, immagine 1 di 1
      • Locate the 2 screws on the top of the camera.

      • These are holding the view finder assembly in place.

      Chiedi a FixBot

      Aggiungi Commento

    5. Disassembling Kodak Advantix F350 View Finder: passo 21, immagine 1 di 2 Disassembling Kodak Advantix F350 View Finder: passo 21, immagine 2 di 2
      • Use the Phillips #00 Precision Screwdriver to remove the screws.

      Chiedi a FixBot

      Aggiungi Commento

    6. Disassembling Kodak Advantix F350 View Finder: passo 22, immagine 1 di 2 Disassembling Kodak Advantix F350 View Finder: passo 22, immagine 2 di 2
      • Remove the mount holding the view finder in place.

      Chiedi a FixBot

      Aggiungi Commento

    7. Disassembling Kodak Advantix F350 View Finder: passo 23, immagine 1 di 2 Disassembling Kodak Advantix F350 View Finder: passo 23, immagine 2 di 2
      • Remove the front view finder.

      • Gently fold the plastic up from the back.

      • Pull up to remove the front view finder.

      Chiedi a FixBot

      Aggiungi Commento

    8. Disassembling Kodak Advantix F350 View Finder: passo 24, immagine 1 di 1
      • Gently grab the back view finder.

      • Slide up to remove from camera.

      Chiedi a FixBot

      Aggiungi Commento

Conclusione

To reassemble your device, follow these instructions in reverse order.

Annulla: non ho completato questa guida.

Altre 3 persone hanno completato questa guida.

Team

UW Stout, Team 1-2, Zhou Fall 2011 Membro di UW Stout, Team 1-2, Zhou Fall 2011

UWSTOUT-ZHOU-F11S1G2

4 Membri

15 guide realizzate

0Commenti sulla guida

Aggiungi Commento

Visualizza statistiche:

Ultime 24 ore: 0

Ultimi 7 giorni: 8

Ultimi 30 giorni: 33

Tutti i Tempi: 1,700