Salta al contenuto principale
Unisciti alla Community delle riparazioni - Crea un account

Disassembling Insignia NS-B2110 Internal Components

Cosa ti serve

    1. Disassembling Insignia NS-B2110 Internal Components, Battery: passo 1, immagine 1 di 2 Disassembling Insignia NS-B2110 Internal Components, Battery: passo 1, immagine 2 di 2
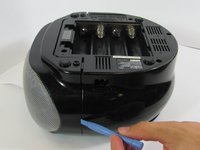
      • Flip the stereo so the CD opening is face down.

      • With two fingers, pinch the tabs and lift up to open the battery protection cover.

      Chiedi a FixBot

      Aggiungi Commento

    2. Disassembling Insignia NS-B2110 Internal Components: passo 2, immagine 1 di 2 Disassembling Insignia NS-B2110 Internal Components: passo 2, immagine 2 di 2
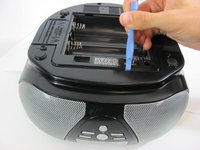
      • Using a spudger or your fingers, push up against the positive end of the battery. Once it is loose, lift the battery out.

      • Repeat until all eight batteries are removed.

      • Make sure the batteries are facing the right direction. If the device does not turn on, you may have the batteries in the opposite orientation.

      Chiedi a FixBot

      Aggiungi Commento

    1. Disassembling Insignia NS-B2110 Internal Components, Bottom Panel: passo 3, immagine 1 di 1
      • With a Phillips #2 screwdriver, remove two 2mm screws.

      Chiedi a FixBot

      Aggiungi Commento

    2. Disassembling Insignia NS-B2110 Internal Components: passo 4, immagine 1 di 2 Disassembling Insignia NS-B2110 Internal Components: passo 4, immagine 2 di 2
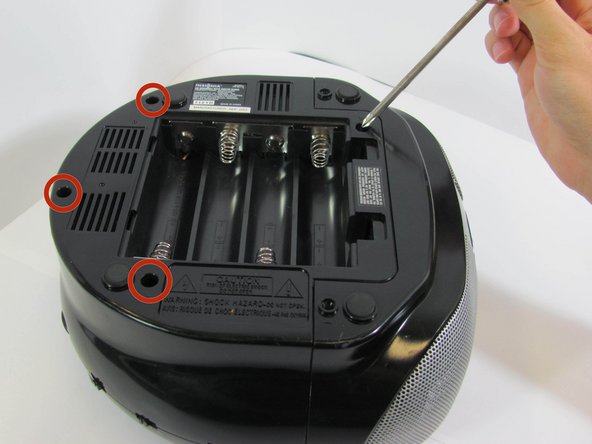
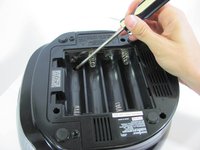
      • Using a long Phillips #2 screwdriver, remove one 6mm screw located inside the battery compartment.

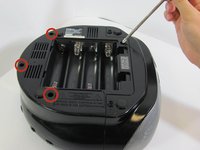
      • Use the same screwdriver to remove four more 6mm screws along the outside of the case.

      Chiedi a FixBot

      Aggiungi Commento

    3. Disassembling Insignia NS-B2110 Internal Components: passo 5, immagine 1 di 3 Disassembling Insignia NS-B2110 Internal Components: passo 5, immagine 2 di 3 Disassembling Insignia NS-B2110 Internal Components: passo 5, immagine 3 di 3
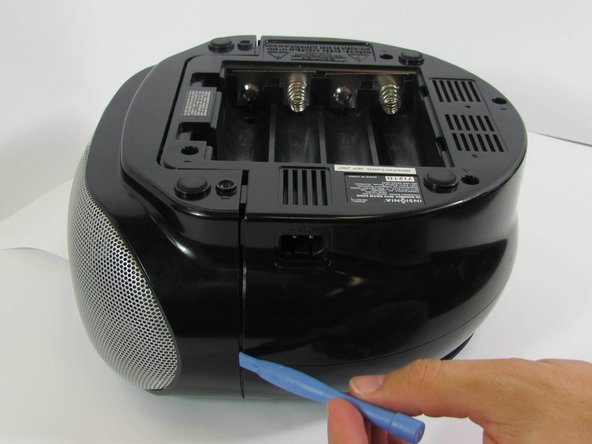
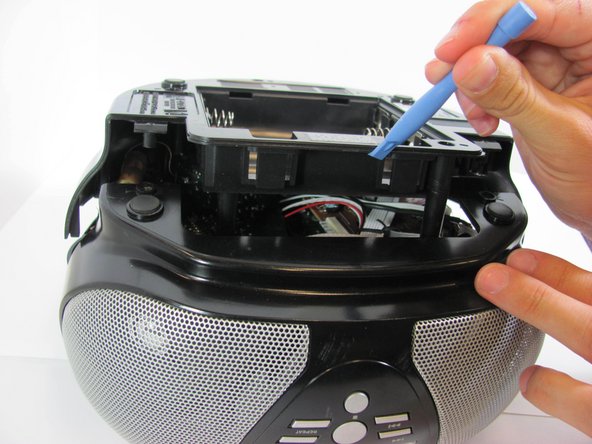
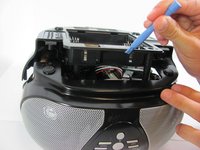
      • With a plastic opening tool, wedge the bottom shell from the main speaker face along the edge.

      • The bottom cover has two red and two yellow wires attached to it that you don't want to pull off. Handle the casing carefully.

      • Once the pieces are separated, pull them apart and place the bottom cover aside, near the stereo.

      Chiedi a FixBot

      Aggiungi Commento

    1. Disassembling Insignia NS-B2110 Internal Components, Internal Components: passo 6, immagine 1 di 2 Disassembling Insignia NS-B2110 Internal Components, Internal Components: passo 6, immagine 2 di 2
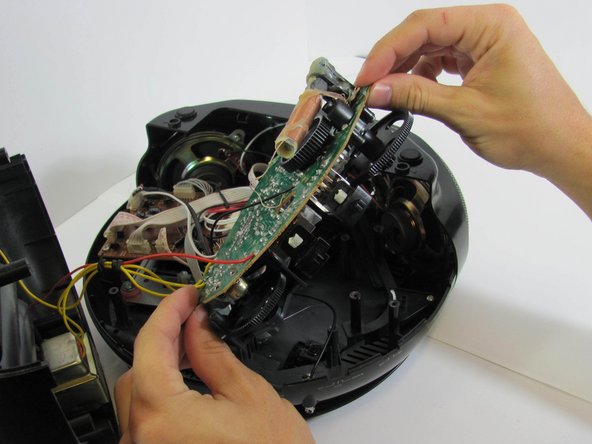
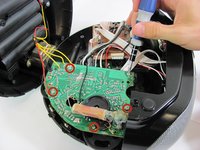
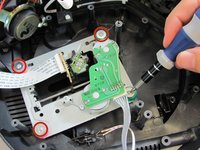
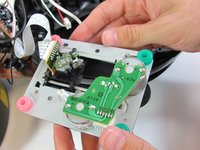
      • With a Phillips #2 screwdriver, remove five 5mm screws from the "quarter circle" circuit board.

      • More wires! Handle the circuit board carefully and take caution not to stretch the red and white wires connected the board to the other components.

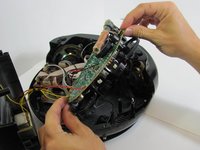
      • Remove the green quarter circle circuit board and place to the side.

      Chiedi a FixBot

      Aggiungi Commento

    2. Disassembling Insignia NS-B2110 Internal Components: passo 7, immagine 1 di 1
      • On the brown side of the quarter circle circuit board, remove the two white ribbon cables with pink stripes attached to a plastic connector. To do this, pinch the tabs with your hands while pulling outward on the connector.

      Chiedi a FixBot

      Aggiungi Commento

    3. Disassembling Insignia NS-B2110 Internal Components: passo 8, immagine 1 di 1
      • With a Phillips #2 screwdriver, remove four 6mm screws from the rectangular circuit board.

      Chiedi a FixBot

      Aggiungi Commento

    4. Disassembling Insignia NS-B2110 Internal Components: passo 9, immagine 1 di 1
      • Remove the two white ribbon cables attached to white plastic connectors from the circuit board by pinching the tabs with your hands and pulling outward on the connector.

      Chiedi a FixBot

      Aggiungi Commento

    5. Disassembling Insignia NS-B2110 Internal Components: passo 10, immagine 1 di 1
      • Red and white wires are attached to this board as well. Once again, be careful not to stretch these.

      • Remove the rectangular circuit board and place it to the side.

      Chiedi a FixBot

      Aggiungi Commento

    6. Disassembling Insignia NS-B2110 Internal Components: passo 11, immagine 1 di 1
      • With a Phillips #2 screwdriver, remove two 5mm screws from the black plastic frame which previously held up the rectangular circuit board.

      • Remove the black plastic frame.

      Chiedi a FixBot

      Aggiungi Commento

    7. Disassembling Insignia NS-B2110 Internal Components: passo 12, immagine 1 di 2 Disassembling Insignia NS-B2110 Internal Components: passo 12, immagine 2 di 2
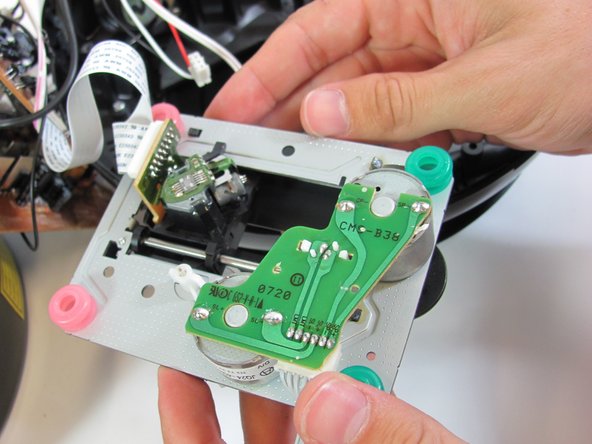
      • With a Phillips #1 screwdriver, remove four 3mm screws from the silver metal circuit board.

      • This board has two white ribbons attached to it. Once again, be careful not to stretch these.

      • Remove and place the metal circuit board to the side.

      Chiedi a FixBot

      Aggiungi Commento

    8. Disassembling Insignia NS-B2110 Internal Components: passo 13, immagine 1 di 1
      • With a Phillips #2 screwdriver, remove the two 3mm screws from the black plastic tuner frame.

      Chiedi a FixBot

      Aggiungi Commento

Conclusione

To reassemble your device, follow these instructions in reverse order.

Annulla: non ho completato questa guida.

Un'altra persona ha completato questa guida.

Team

Cal Poly, Team 4-31, Amido Fall 2013 Membro di Cal Poly, Team 4-31, Amido Fall 2013

CPSU-AMIDO-F13S4G31

4 Membri

24 guide realizzate

0Commenti sulla guida

Aggiungi Commento

Visualizza statistiche:

Ultime 24 ore: 0

Ultimi 7 giorni: 9

Ultimi 30 giorni: 40

Tutti i Tempi: 1,282