Salta al contenuto principale
Unisciti alla Community delle riparazioni - Crea un account

Disassembling APEX AP-GS918 Screen

Cosa ti serve

    1. Disassembling APEX AP-GS918 Screen, Power/Volume Button: passo 1, immagine 1 di 3 Disassembling APEX AP-GS918 Screen, Power/Volume Button: passo 1, immagine 2 di 3 Disassembling APEX AP-GS918 Screen, Power/Volume Button: passo 1, immagine 3 di 3
      • To begin, locate the two 4.9mm Phillips #00 screws at the top corners of the case and remove them.

      Chiedi a FixBot

      Aggiungi Commento

    2. Disassembling APEX AP-GS918 Screen: passo 2, immagine 1 di 3 Disassembling APEX AP-GS918 Screen: passo 2, immagine 2 di 3 Disassembling APEX AP-GS918 Screen: passo 2, immagine 3 di 3
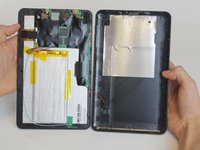
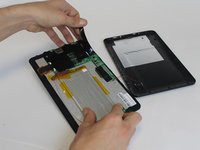
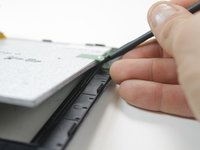
      • Squeeze the plastic opening tool in between the seam where the screen joins the plastic case.

      • Begin separating the bottom of the case from the screen by carefully going around the whole edge of the case and slowly prying it apart.

      • Be careful when separating the lids because the wires holding the speaker to the motherboard are very short.

      Chiedi a FixBot

      Aggiungi Commento

    3. Disassembling APEX AP-GS918 Screen: passo 3, immagine 1 di 2 Disassembling APEX AP-GS918 Screen: passo 3, immagine 2 di 2
      Strumento utilizzato in questo passaggio:
      Tweezers
      $4.99
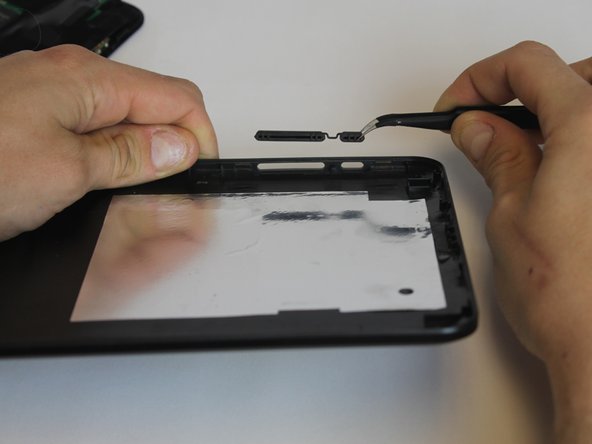
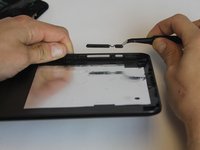
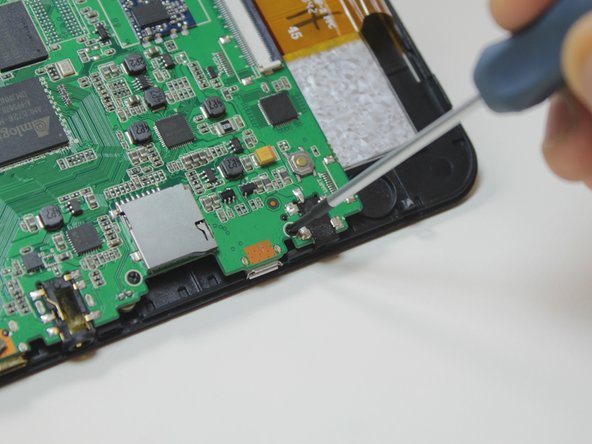
      • Carefully place the bottom lid next to the screen case. The power/speaker buttons should be visible at the corner of the lid. Remove the buttons with the tweezers.

      Chiedi a FixBot

      Aggiungi Commento

    1. Disassembling APEX AP-GS918 Screen, Battery: passo 4, immagine 1 di 2 Disassembling APEX AP-GS918 Screen, Battery: passo 4, immagine 2 di 2
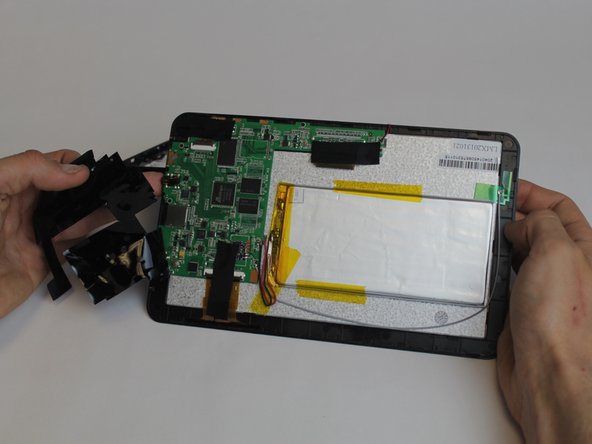
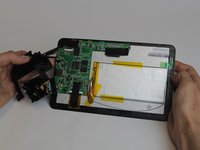
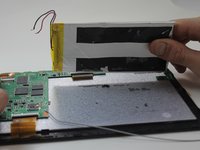
      • Begin removing the black tape covering the motherboard inside the tablet.

      Chiedi a FixBot

      Aggiungi Commento

    2. Disassembling APEX AP-GS918 Screen: passo 5, immagine 1 di 1
      • You will need to desolder the two contact points that connect the battery to the mother board.

      • Make sure to allow ample time (at least 5-8 minutes or more) for the soldering iron to heat up. Otherwise, the solder won't melt.

      • Touch the hot iron to the contact points and gently pull on the wires to loosen them from the solder. They should release easily.

      • Make sure not to touch the contact points after desoldering them because they will remain very hot for a short while afterwards.

      Chiedi a FixBot

      Aggiungi Commento

    3. Disassembling APEX AP-GS918 Screen: passo 6, immagine 1 di 2 Disassembling APEX AP-GS918 Screen: passo 6, immagine 2 di 2
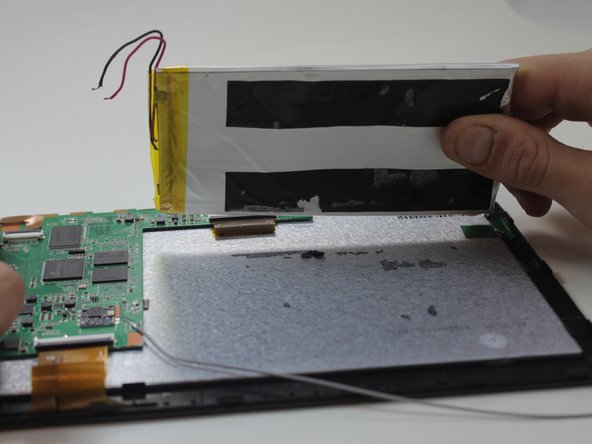
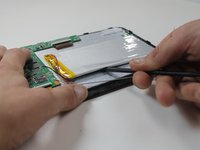
      • Using the black nylon spudger, get underneath the battery and begin prying it loose from the rest of the tablet.

      • The tape holding the battery to the tablet has a very strong hold so be prepared for resistance.

      Chiedi a FixBot

      Aggiungi Commento

    1. Disassembling APEX AP-GS918 Screen, Screen: passo 7, immagine 1 di 2 Disassembling APEX AP-GS918 Screen, Screen: passo 7, immagine 2 di 2
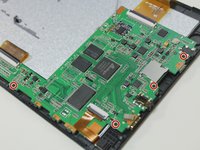
      • The motherboard will need to be removed in order to access the screen.

      • To remove the motherboard you must first unscrew four 4.9mm Phillips #00 screws.

      Chiedi a FixBot

      Aggiungi Commento

    2. Disassembling APEX AP-GS918 Screen: passo 8, immagine 1 di 2 Disassembling APEX AP-GS918 Screen: passo 8, immagine 2 di 2
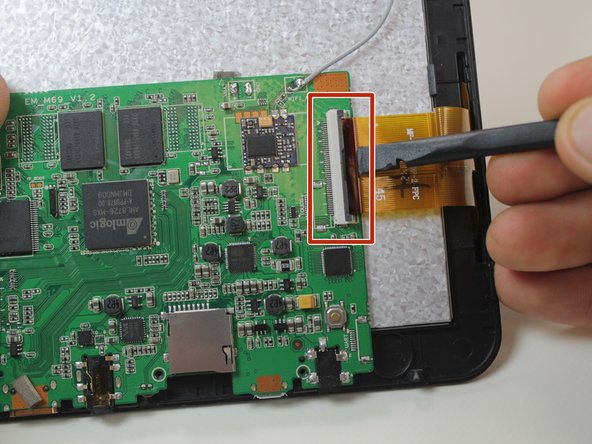
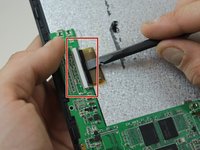
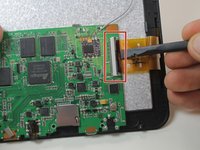
      • To finish removing the motherboard you must release the two data cables holding the screen to it.

      • Use the black nylon spudger to lift the gray clips up 90° on the white connectors.

      • You can now remove the data cables from the slots and lift the motherboard out from the device.

      Chiedi a FixBot

      Aggiungi Commento

    3. Disassembling APEX AP-GS918 Screen: passo 9, immagine 1 di 2 Disassembling APEX AP-GS918 Screen: passo 9, immagine 2 di 2
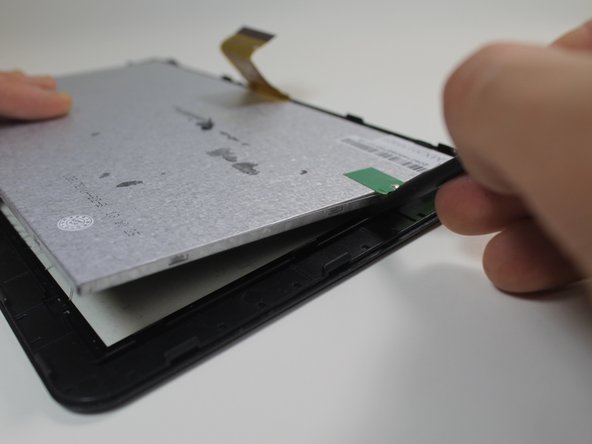
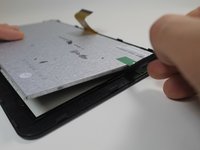
      • After removing the motherboard, use the black nylon spudger to pop the screen out of the housing holding it to the front of the screen case.

      Chiedi a FixBot

      Aggiungi Commento

    4. Disassembling APEX AP-GS918 Screen: passo 10, immagine 1 di 1
      • Pull the thin plastic screen casing apart and you can remove the damaged screen.

      Chiedi a FixBot

      Aggiungi Commento

Conclusione

To reassemble your device, follow these instructions in reverse order.

Annulla: non ho completato questa guida.

Un'altra persona ha completato questa guida.

Team

USF Tampa, Team 9-1, Leahy Winter 2015 Membro di USF Tampa, Team 9-1, Leahy Winter 2015

USFT-LEAHY-W15S9G1

3 Membri

9 guide realizzate

0Commenti sulla guida

Aggiungi Commento

Visualizza statistiche:

Ultime 24 ore: 0

Ultimi 7 giorni: 4

Ultimi 30 giorni: 26

Tutti i Tempi: 990