Questa guida ha delle modifiche più recenti. Passa all'ultima versione non verificata.
Introduzione
If your Dirt Devil Gator (Model Number: BD10100) isn’t powering on or remaining charged, you may need to replace the charger port. Follow this guide to replace the charger port on your device.
However before using this guide, you may not need to fully replace the charger port! A dead battery is a simple problem with a quick fix to get you started vacuuming again quickly!
The charger port on the Dirt Devil Gator allows the device to have power and maintain charge. But a destroyed/malfunctioning charger port will not charge the device, resulting in a possible replacement needing to occur.
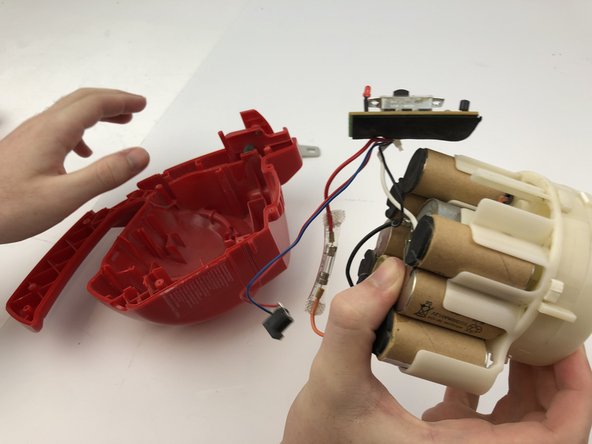
Step 5 requires you to remove the charger port from the motor. From there you must desolder and cut wires to replace the old charger port with the new one. Follow this guide to solder and desolder connections properly!
Before beginning, make sure to power off your device completely and disconnect from any external power source.
Cosa ti serve
-
-
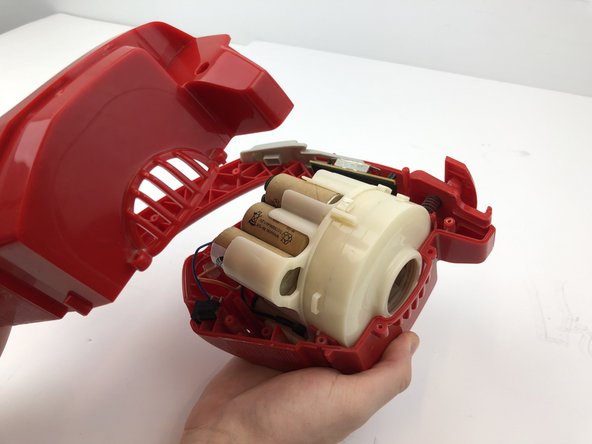
Press the button on the middle of the vacuum by pushing down on it and pulling the device apart.
-
-
To reassemble your device, follow these instructions in reverse order.
To reassemble your device, follow these instructions in reverse order.
Annulla: non ho completato questa guida.
Un'altra persona ha completato questa guida.


