Salta al contenuto principale
Unisciti alla Community delle riparazioni - Crea un account

Dell VRP100 Screen Replacement

Cosa ti serve

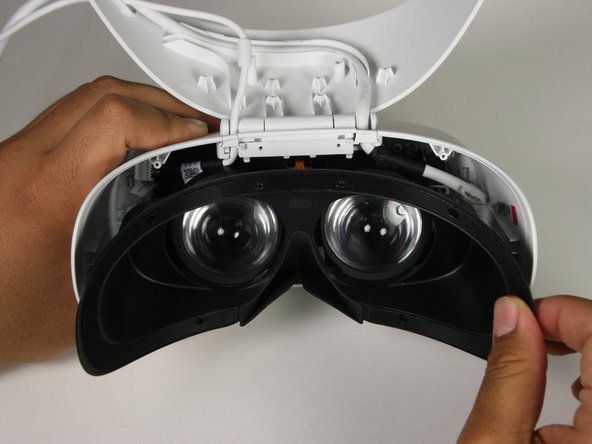
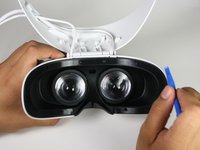
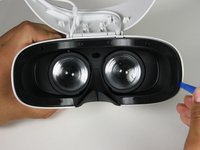
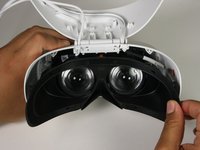
    1. Dell VRP100 Screen Replacement, Cover Panel: passo 1, immagine 1 di 3 Dell VRP100 Screen Replacement, Cover Panel: passo 1, immagine 2 di 3 Dell VRP100 Screen Replacement, Cover Panel: passo 1, immagine 3 di 3
      • Remove the black foam padding by peeling away slowly.

      • Remove the front and back padding from the headset by peeling away slowly.

      Chiedi a FixBot

      Aggiungi Commento

    2. Dell VRP100 Screen Replacement: passo 2, immagine 1 di 1
      • Remove the six 5.5mm PH000 screws from the cover by rotating counter-clockwise.

      • Cover panel may need to be pushed in before inserting screws.

      Chiedi a FixBot

      Aggiungi Commento

    3. Dell VRP100 Screen Replacement: passo 3, immagine 1 di 3 Dell VRP100 Screen Replacement: passo 3, immagine 2 di 3 Dell VRP100 Screen Replacement: passo 3, immagine 3 di 3
      • Remove the cover using one of the plastic opening tools, and then carefully pull it from the casing.

      Chiedi a FixBot

      Aggiungi Commento

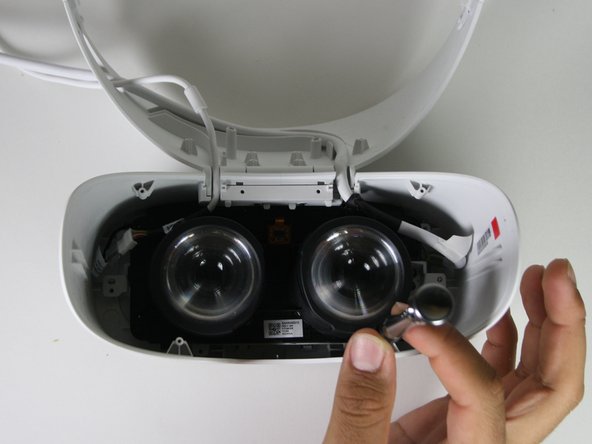
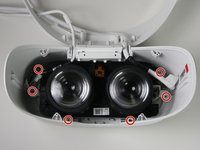
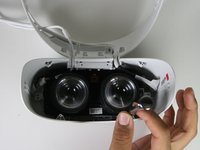
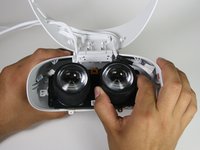
    4. Dell VRP100 Screen Replacement: passo 4, immagine 1 di 3 Dell VRP100 Screen Replacement: passo 4, immagine 2 di 3 Dell VRP100 Screen Replacement: passo 4, immagine 3 di 3
      • Remove the six 5.5mm PH000 screws from the cover by rotating counter-clockwise.

      • Carefully remove the lens and motherboard assembly from the white casing.

      Chiedi a FixBot

      Aggiungi Commento

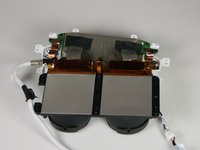
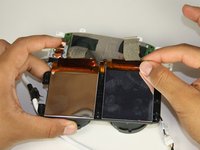
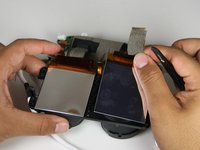
    1. Dell VRP100 Screen Replacement, Screen: passo 5, immagine 1 di 3 Dell VRP100 Screen Replacement, Screen: passo 5, immagine 2 di 3 Dell VRP100 Screen Replacement, Screen: passo 5, immagine 3 di 3
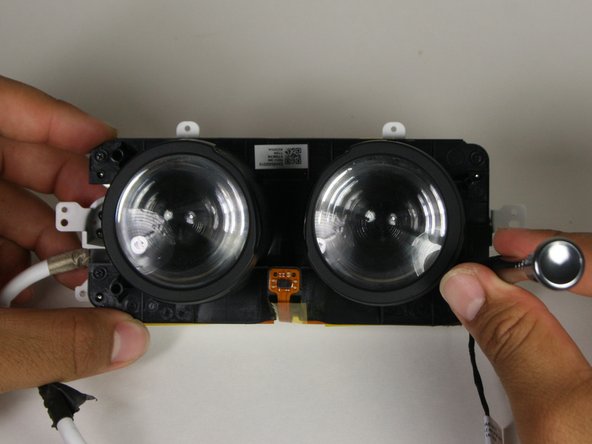
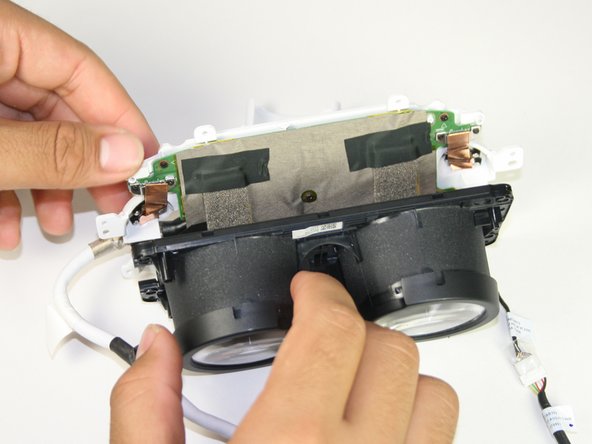
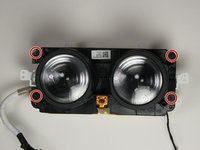
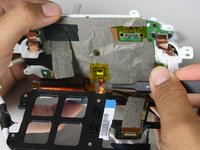
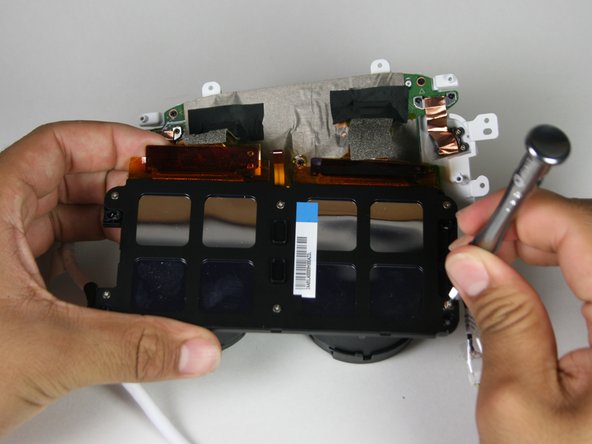
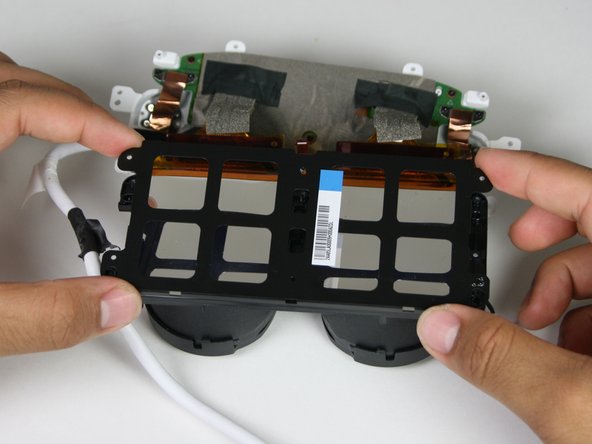
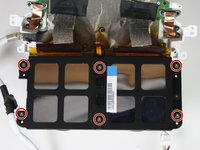
      • Remove the four 2.5 mm PH000 screws by rotating counter-clockwise.

      • Separate the lenses from the motherboard panel.

      Chiedi a FixBot

      Aggiungi Commento

    2. Dell VRP100 Screen Replacement: passo 6, immagine 1 di 2 Dell VRP100 Screen Replacement: passo 6, immagine 2 di 2
      Strumento utilizzato in questo passaggio:
      Tweezers
      $4.99
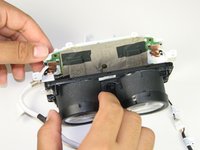
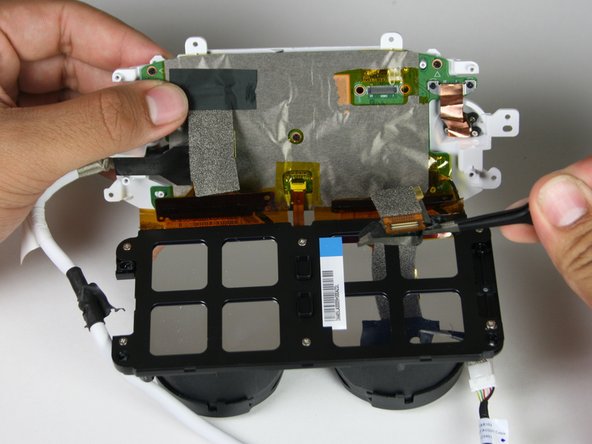
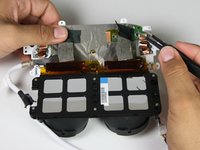
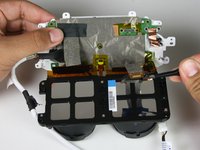
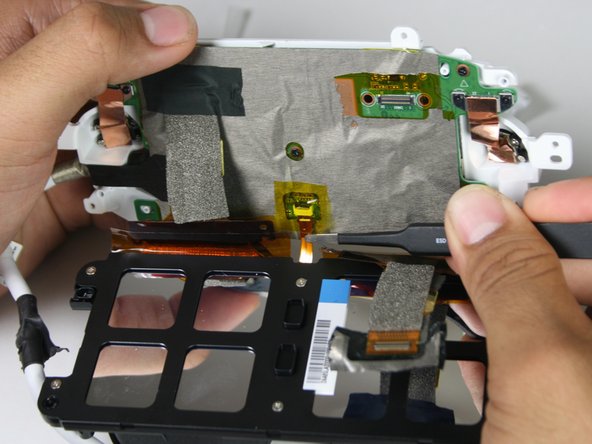
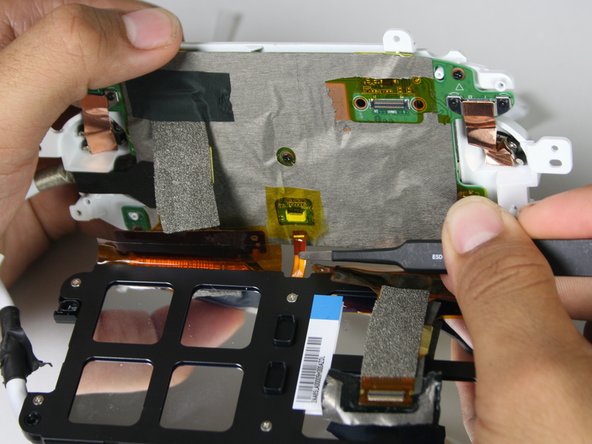
      • Take off the tape using the blunt nosed tweezers to disconnect the flat-topped connector from the motherboard.

      • The screen is attached to the motherboard using an adhesive.

      Chiedi a FixBot

      Aggiungi Commento

    3. Dell VRP100 Screen Replacement: passo 7, immagine 1 di 3 Dell VRP100 Screen Replacement: passo 7, immagine 2 di 3 Dell VRP100 Screen Replacement: passo 7, immagine 3 di 3
      • Lift the yellow tape with tweezers.

      • Remove the ribbon cable from the screen to the motherboard with tweezers.

      Chiedi a FixBot

      Aggiungi Commento

    4. Dell VRP100 Screen Replacement: passo 8, immagine 1 di 3 Dell VRP100 Screen Replacement: passo 8, immagine 2 di 3 Dell VRP100 Screen Replacement: passo 8, immagine 3 di 3
      • Remove the six 3.4mm PH000 screws by rotating counter-clockwise connecting the back panel to the screen.

      • Remove the back panel from the screen by carefully pulling apart the two.

      Chiedi a FixBot

      Aggiungi Commento

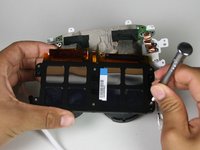
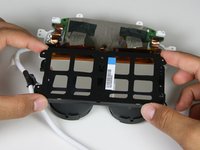
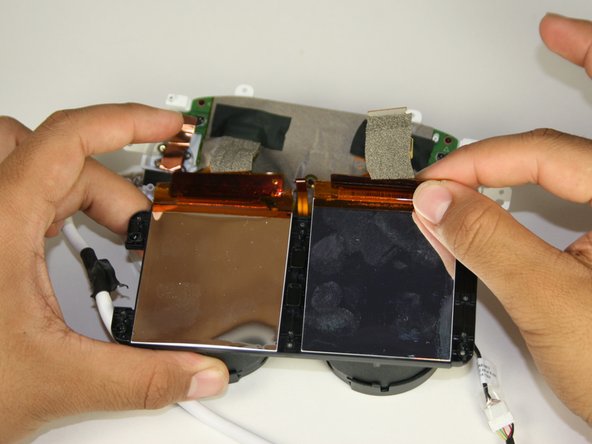
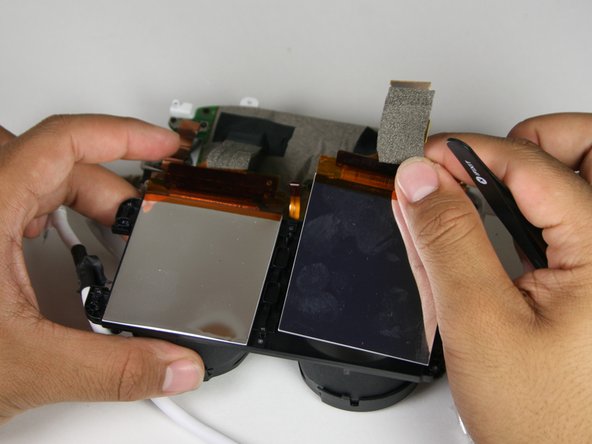
    5. Dell VRP100 Screen Replacement: passo 9, immagine 1 di 3 Dell VRP100 Screen Replacement: passo 9, immagine 2 di 3 Dell VRP100 Screen Replacement: passo 9, immagine 3 di 3
      • Peel away the screen with both hands.

      • A plastic opening tool may be required for removing the screen.

      • Adhesive may need to be reapplied during the rebuild.

      Chiedi a FixBot

      Aggiungi Commento

Conclusione

To reassemble your device, follow these instructions in reverse order.

Annulla: non ho completato questa guida.

Team

Cal Poly, Team S17-G1, White Fall 2018 Membro di Cal Poly, Team S17-G1, White Fall 2018

CPSU-WHITE-F18S17G1

4 Membri

24 guide realizzate

0Commenti sulla guida

Aggiungi Commento

Visualizza statistiche:

Ultime 24 ore: 1

Ultimi 7 giorni: 8

Ultimi 30 giorni: 37

Tutti i Tempi: 1,363