Salta al contenuto principale
Unisciti alla Community delle riparazioni - Crea un account

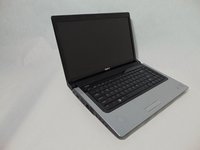
Dell Studio 1555 Display Replacement

Cosa ti serve

    1. Dell Studio 1555 Display Replacement, Battery: passo 1, immagine 1 di 1
      • Turn off and unplug the laptop.

      • Failure to properly turn off device before handling the battery could result in electrical shock.

      • Flip the laptop so the underside is facing up with the battery closest to you.

      Chiedi a FixBot

      Aggiungi Commento

    2. Dell Studio 1555 Display Replacement: passo 2, immagine 1 di 3 Dell Studio 1555 Display Replacement: passo 2, immagine 2 di 3 Dell Studio 1555 Display Replacement: passo 2, immagine 3 di 3
      • Slide the locking switch to the left to release the battery.

      Chiedi a FixBot

      Aggiungi Commento

    3. Dell Studio 1555 Display Replacement: passo 3, immagine 1 di 1
      • Gently pull the battery away from the device.

      Chiedi a FixBot

      Aggiungi Commento

    1. Dell Studio 1555 Display Replacement, Display: passo 4, immagine 1 di 2 Dell Studio 1555 Display Replacement, Display: passo 4, immagine 2 di 2
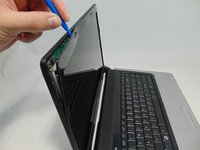
      • Insert a plastic opening tool between the bezel and the display cover.

      • Wiggle it to the release the latches.

      • Separate the bezel from the cover.

      Chiedi a FixBot

      Aggiungi Commento

    2. Dell Studio 1555 Display Replacement: passo 5, immagine 1 di 2 Dell Studio 1555 Display Replacement: passo 5, immagine 2 di 2
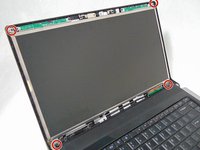
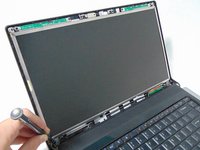
      • Remove the four 3 mm screws securing the LCD using the #1 Phillips screwdriver.

      Chiedi a FixBot

      Aggiungi Commento

    3. Dell Studio 1555 Display Replacement: passo 6, immagine 1 di 1
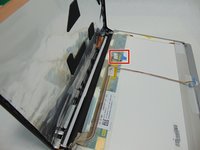
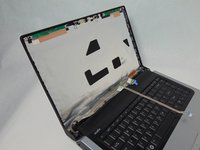
      • Separate the LCD assembly from the display cover so you will be able to access the webcam cable.

      • Unplug the camera cable.

      Chiedi a FixBot

      Aggiungi Commento

    4. Dell Studio 1555 Display Replacement: passo 7, immagine 1 di 2 Dell Studio 1555 Display Replacement: passo 7, immagine 2 di 2
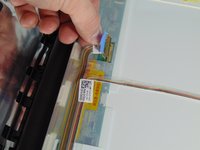
      • Place the LCD face down on the top cover.

      • Remove the sticky tape securing the video cable connector.

      • Unplug the video cable from the screen.

      Chiedi a FixBot

      Aggiungi Commento

    5. Dell Studio 1555 Display Replacement: passo 8, immagine 1 di 3 Dell Studio 1555 Display Replacement: passo 8, immagine 2 di 3 Dell Studio 1555 Display Replacement: passo 8, immagine 3 di 3
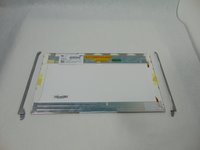
      • Remove the LCD from the laptop.

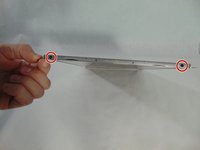
      • Remove the four 3mm screws holding the mounting brackets using the #1 Phillips screwdriver. Two on each side.

      • You will have to transfer the mounting brackets to the new screen.

      Chiedi a FixBot

      Aggiungi Commento

Conclusione

To reassemble your device, follow these instructions in reverse order.

Annulla: non ho completato questa guida.

Altre 3 persone hanno completato questa guida.

0Commenti sulla guida

Aggiungi Commento

Visualizza statistiche:

Ultime 24 ore: 1

Ultimi 7 giorni: 6

Ultimi 30 giorni: 20

Tutti i Tempi: 1,921