Salta al contenuto principale
Unisciti alla Community delle riparazioni - Crea un account

Dell Optiplex 745 Small Form Factor RAM Replacement

  1. Dell Optiplex 745 Small Form Factor RAM Replacement, Opening the case: passo 1, immagine 1 di 2 Dell Optiplex 745 Small Form Factor RAM Replacement, Opening the case: passo 1, immagine 2 di 2
    • Pull the tab and the lid will pop up.

    Chiedi a FixBot
  2. Dell Optiplex 745 Small Form Factor RAM Replacement: passo 2, immagine 1 di 2 Dell Optiplex 745 Small Form Factor RAM Replacement: passo 2, immagine 2 di 2
    • Grab the lid and pull it up and off.

    Chiedi a FixBot
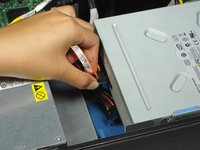
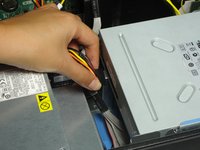
  3. Dell Optiplex 745 Small Form Factor RAM Replacement, Disconnecting the cables: passo 3, immagine 1 di 2 Dell Optiplex 745 Small Form Factor RAM Replacement, Disconnecting the cables: passo 3, immagine 2 di 2
    • Pull out both sets of cables from the side of the optical drive.

    • Both cables are plugged into the drive right next to each other.

    Chiedi a FixBot
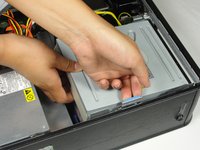
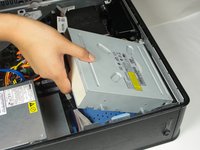
  4. Dell Optiplex 745 Small Form Factor RAM Replacement, Removing the optical drive: passo 4, immagine 1 di 2 Dell Optiplex 745 Small Form Factor RAM Replacement, Removing the optical drive: passo 4, immagine 2 di 2
    • Pull the tab up holding the optical drive in place.

    • Slide the optical drive out.

    Chiedi a FixBot
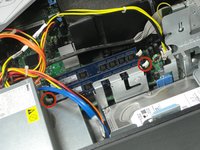
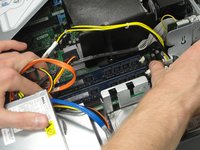
  5. Dell Optiplex 745 Small Form Factor RAM Replacement, Unlocking the RAM stick from the motherboard: passo 5, immagine 1 di 2 Dell Optiplex 745 Small Form Factor RAM Replacement, Unlocking the RAM stick from the motherboard: passo 5, immagine 2 di 2
    • Press down on the white tabs on both sides of the RAM stick until the RAM stick pops up.

    Chiedi a FixBot
  6. Dell Optiplex 745 Small Form Factor RAM Replacement, Lifting the RAM stick out of the case: passo 6, immagine 1 di 1
    • Gently lift the RAM stick up and out of the case.

    • When inserting a RAM stick, press firmly down into the slot until the white tabs lock into both sides of the stick.

    Chiedi a FixBot
Conclusione

To reassemble your device, follow these instructions in reverse order.

Altre 7 persone hanno completato questa guida.

Brandon Cooper

Membro da: 09/28/14

486 Reputazione

Una guida realizzata

Team

Cal Poly, Team 13-10, Forte Fall 2014 Membro di Cal Poly, Team 13-10, Forte Fall 2014

CPSU-FORTE-F14S13G10

6 Membri

12 guide realizzate

1Commento della guida

Dell master. I'm going to be the best repair pro on this side of the south side.

fixitbrosmsus - Rispondi Condividi

Aggiungi Commento

Visualizza Statistiche:

Ultime 24 Ore: 0

Ultimi 7 Giorni: 2

Ultimi 30 Giorni: 45

Tutti i Tempi: 2,119