Introduzione
The Memory Module (RAM) is one of the two memory storage places in your laptop. Some of your laptop's speed is dependent on the Memory Module so an upgrade may boost your laptop's overall performance if your current one if full.
Cosa ti serve
-
-
-
Use a Phillips screwdriver to remove the ten 7.5mm screws that securing the back panel.
-
Use the plastic opening tool to pry up and loosen the back panel.
-
Remove the back panel.
 Chiedi a FixBot
-
-
-
Use a Phillips screwdriver to remove the two 3 mm screws securing the battery.
-
Unclip the hard drive wire from the battery.
-
-
-
-
-
-
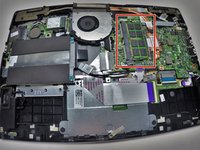
Locate your memory module (RAM).
-
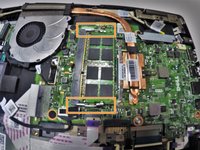
Release the clips from the Memory Module by gently pushing down. This should cause the Memory Module to pop up and separate from the device base.
-
-
-
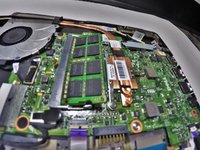
Pull the Memory Module from its slot by grasping each side with thumb and middle or index finger to pull from the rest of the device.
-
-



To reassemble your device, follow these instructions in reverse order.
Annulla: non ho completato questa guida.
Altre 4 persone hanno completato questa guida.

Team

University of Tampa, Team 1-5, Whiteside Fall 2015 Membro di University of Tampa, Team 1-5, Whiteside Fall 2015
UT-WHITESIDE-F15S1G5
3 Membri
48 guide realizzate
4Commenti sulla guida
Hi! Same questions as Ali M: Is the procedure same for 7353 ? can the ram be upgraded to 16GB: It currently has 8GB and I'd like to upgrade it to 16 GB.
Did anyone ever get an answer if it can take 16 GB of RAM?
A 16GB RAM would work but it should be a single sodimm module like CT204864BF160B
