Salta al contenuto principale
Unisciti alla Community delle riparazioni - Crea un account

Dell Dimension 4600 RAM Replacement

Cosa ti serve

    1. Dell Dimension 4600 RAM Replacement, Side Panel: passo 1, immagine 1 di 1
      • Locate the case cover latch on the back of the computer.

      Chiedi a FixBot

      Aggiungi Commento

    2. Dell Dimension 4600 RAM Replacement: passo 2, immagine 1 di 1
      • Using your index finger, slide and hold the cover latch down.

      • While holding the latch down, place your other hand flat on the side of the case and firmly shift the side panel to the left until it disengages.

      Chiedi a FixBot

      Aggiungi Commento

    3. Dell Dimension 4600 RAM Replacement: passo 3, immagine 1 di 1
      • Grab the edge of the panel and slide it away from the case until it is removed.

      Chiedi a FixBot

      Aggiungi Commento

    1. Dell Dimension 4600 RAM Replacement, RAM: passo 4, immagine 1 di 1
      • Lay the computer flat on its side so that you are looking down on all of the components.

      • Locate the RAM modules on the motherboard.

      Chiedi a FixBot

      Aggiungi Commento

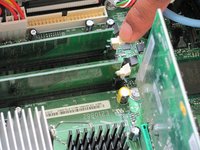
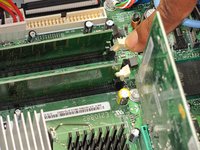
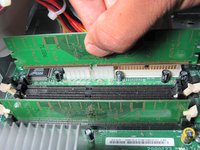
    2. Dell Dimension 4600 RAM Replacement: passo 5, immagine 1 di 2 Dell Dimension 4600 RAM Replacement: passo 5, immagine 2 di 2
      • Locate the white or black tabs holding the RAM module in place.

      • Place your index finger on the tab and firmly press down. The tab should release and the RAM module should be slightly raised.

      • Repeat this for the tab on the other side of the RAM module.

      • Repeat this step for each RAM module.

      Chiedi a FixBot

      Aggiungi Commento

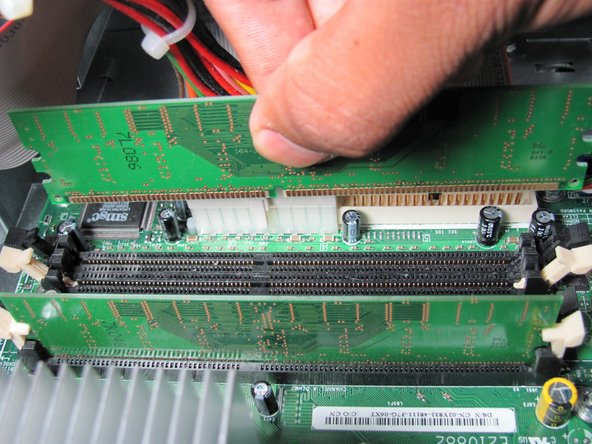
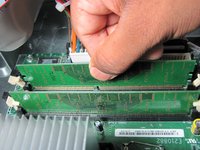
    3. Dell Dimension 4600 RAM Replacement: passo 6, immagine 1 di 2 Dell Dimension 4600 RAM Replacement: passo 6, immagine 2 di 2
      • Grasp the RAM module and firmly pull upwards until it is released from its slot.

      • Repeat this step for each RAM module.

      Chiedi a FixBot

      Aggiungi Commento

Conclusione

To reassemble your device, follow these instructions in reverse order.

Annulla: non ho completato questa guida.

Altre 13 persone hanno completato questa guida.

Team

Cal Poly, Team 6-10, Regan Fall 2011 Membro di Cal Poly, Team 6-10, Regan Fall 2011

CPSU-REGAN-F11S6G10

4 Membri

11 guide realizzate

1Commento della guida

Would be great if the DIMM slots were explained (numbering) as to which are populated for dual channel, etc.

MJfromMD - Rispondi Condividi

Aggiungi Commento

Visualizza statistiche:

Ultime 24 ore: 1

Ultimi 7 giorni: 5

Ultimi 30 giorni: 41

Tutti i Tempi: 10,782