Salta al contenuto principale
Unisciti alla Community delle riparazioni - Crea un account

DeWalt DWD112 Field Replacement

Cosa ti serve

    1. DeWalt DWD112 Field Replacement, Power Cord: passo 1, immagine 1 di 1
      • Remove seven TR20 Torx Security screws from the side of the drill.

      Chiedi a FixBot

      Aggiungi Commento

    2. DeWalt DWD112 Field Replacement: passo 2, immagine 1 di 1
      • Remove the top cover to reveal the inside of the drill.

      • Set the top cover of the drill aside.

      Chiedi a FixBot

      Aggiungi Commento

    3. DeWalt DWD112 Field Replacement: passo 3, immagine 1 di 1
      • The power cord and the trigger act as a single part and must be replaced together.

      • Using one hand grab the trigger box and with the other grab the end of the wire connecting to the trigger box and disconnect the wire.

      Chiedi a FixBot

      Aggiungi Commento

    4. DeWalt DWD112 Field Replacement: passo 4, immagine 1 di 1
      • Disconnect the second connected wire from the top of the trigger box.

      Chiedi a FixBot

      Aggiungi Commento

    5. DeWalt DWD112 Field Replacement: passo 5, immagine 1 di 1
      • Lift the trigger box up to reveal the bottom side.

      • Disconnect the first connected wire from the bottom of the trigger box.

      Chiedi a FixBot

      Aggiungi Commento

    6. DeWalt DWD112 Field Replacement: passo 6, immagine 1 di 1
      • Disconnect the last wire from the trigger box using the same method from the previous step.

      Chiedi a FixBot

      Aggiungi Commento

    7. DeWalt DWD112 Field Replacement: passo 7, immagine 1 di 1
      • After all four wires are disconnected, the trigger and power cord are separated from the drill.

      • The power cord and trigger can be set aside if further disassembly is required.

      Chiedi a FixBot

      Aggiungi Commento

    1. DeWalt DWD112 Field Replacement, Armature: passo 8, immagine 1 di 1
      • Take note of the keyless chuck and the meshing of the gears.

      Chiedi a FixBot

      Aggiungi Commento

    2. DeWalt DWD112 Field Replacement: passo 9, immagine 1 di 2 DeWalt DWD112 Field Replacement: passo 9, immagine 2 di 2
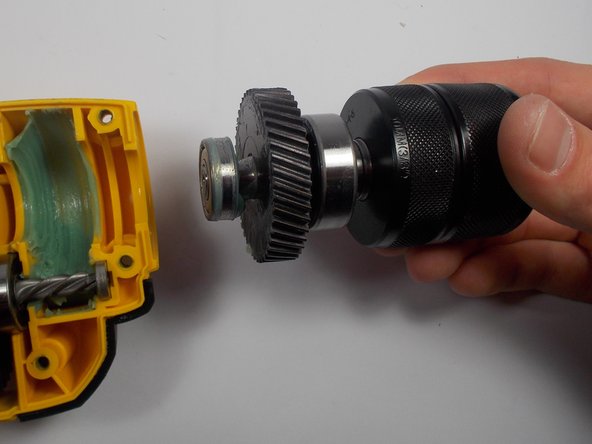
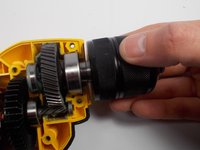
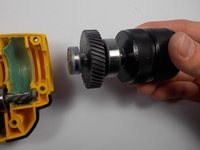
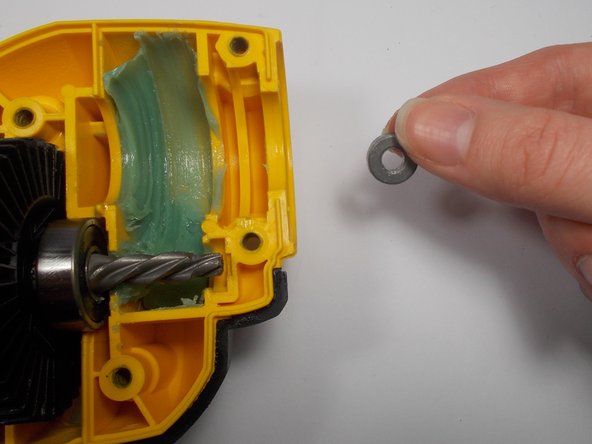
      • Grab the metal chuck by the rotating spindle as if you are to tighten in a drill bit.

      • Lift the metal chuck out of its resting place and set aside.

      Chiedi a FixBot

      Aggiungi Commento

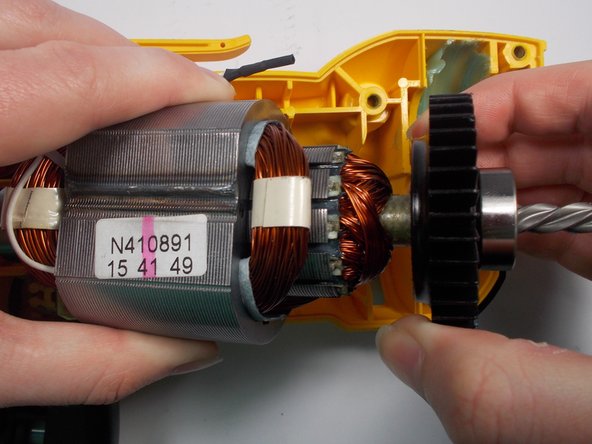
    3. DeWalt DWD112 Field Replacement: passo 10, immagine 1 di 3 DeWalt DWD112 Field Replacement: passo 10, immagine 2 di 3 DeWalt DWD112 Field Replacement: passo 10, immagine 3 di 3
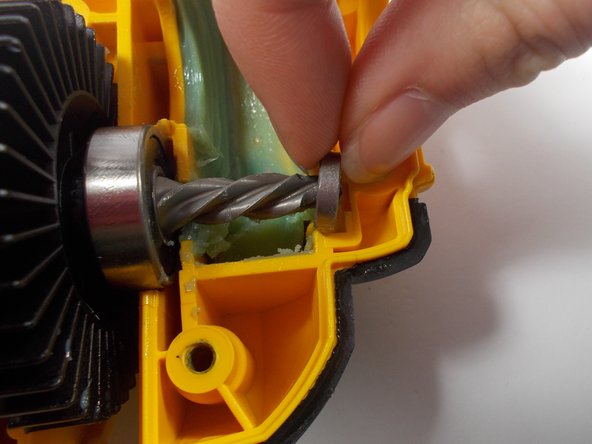
      • With your left hand, grab hold of the field, which is the large metal block with coils looped around the inside.

      • Use your other hand to take the bearing out from the end of the gear connected to the armature.

      Chiedi a FixBot

      Aggiungi Commento

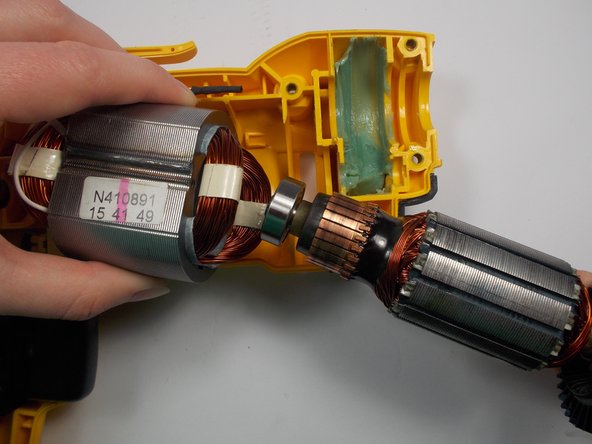
    4. DeWalt DWD112 Field Replacement: passo 11, immagine 1 di 3 DeWalt DWD112 Field Replacement: passo 11, immagine 2 di 3 DeWalt DWD112 Field Replacement: passo 11, immagine 3 di 3
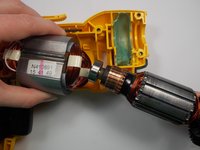
      • Lift the field up once more with one hand and grab the cooling fan with the other hand and gently slide the armature out of the field.

      • The brushes will now be disconnected from the armature, meaning no current can flow from the power cord to the motor.

      Chiedi a FixBot

      Aggiungi Commento

    1. DeWalt DWD112 Field Replacement, Field: passo 12, immagine 1 di 3 DeWalt DWD112 Field Replacement, Field: passo 12, immagine 2 di 3 DeWalt DWD112 Field Replacement, Field: passo 12, immagine 3 di 3
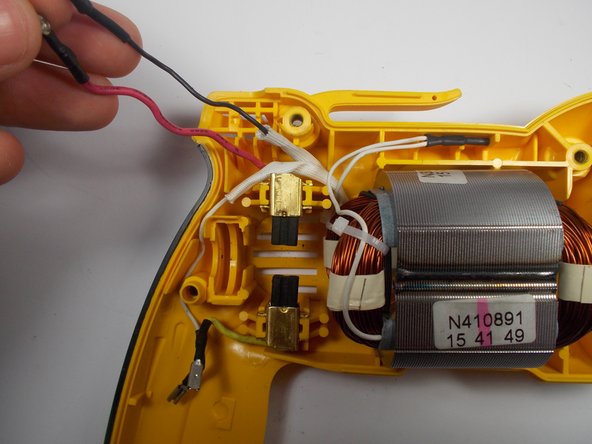
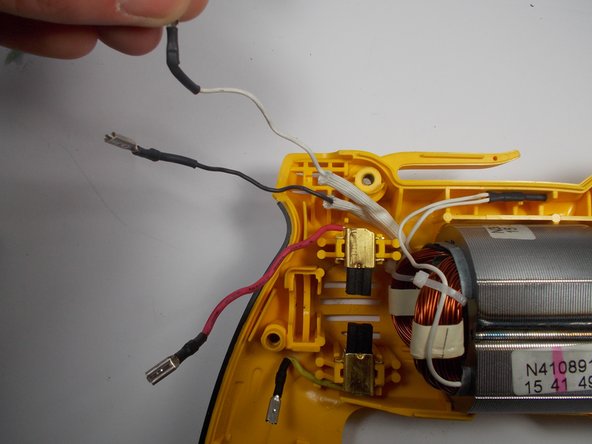
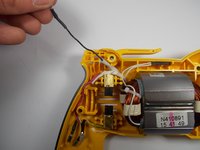
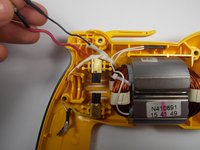
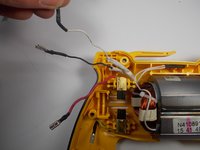
      • Move the black wire clear from any obstruction.

      • Repeat this step for the white wire and the red wire.

      Chiedi a FixBot

      Aggiungi Commento

    2. DeWalt DWD112 Field Replacement: passo 13, immagine 1 di 2 DeWalt DWD112 Field Replacement: passo 13, immagine 2 di 2
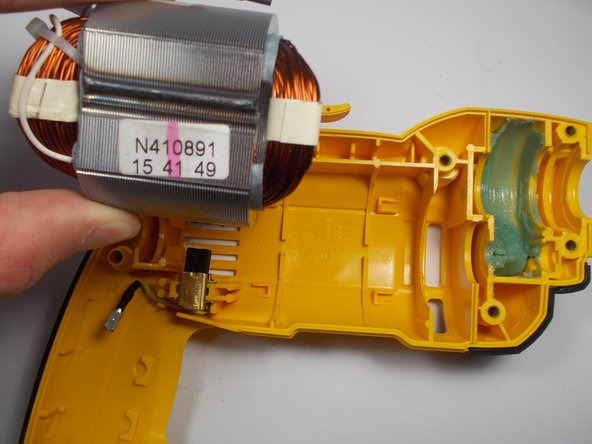
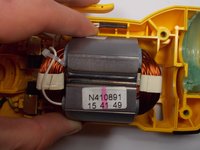
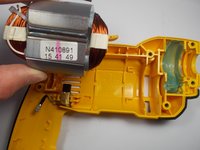
      • The field is disconnected from all other parts.

      • Grab the field and gently lift it out of the case.

      Chiedi a FixBot

      Aggiungi Commento

Conclusione

To reassemble your device, follow these instructions in reverse order.

Annulla: non ho completato questa guida.

Un'altra persona ha completato questa guida.

1Commento della guida

as a recommendation aimed at some or mark with a piece of ribbon cables disconnected the trigger with the contact number that corresponds to the rearm the drill going to not reverse the change control rotation.

Jorge Diaz Viera - Rispondi Condividi

Aggiungi Commento

Visualizza statistiche:

Ultime 24 ore: 4

Ultimi 7 giorni: 10

Ultimi 30 giorni: 41

Tutti i Tempi: 1,203