Salta al contenuto principale
Unisciti alla Community delle riparazioni - Crea un account

Creative Zen Vision W LCD Screen Replacement

Cosa ti serve

    1. Creative Zen Vision W LCD Screen Replacement, Front Cover: passo 1, immagine 1 di 2 Creative Zen Vision W LCD Screen Replacement, Front Cover: passo 1, immagine 2 di 2
      • Remove the two screws (2.5 mm) on the top and bottom of the device using a Phillips #0 screwdriver.

      Chiedi a FixBot

      Aggiungi Commento

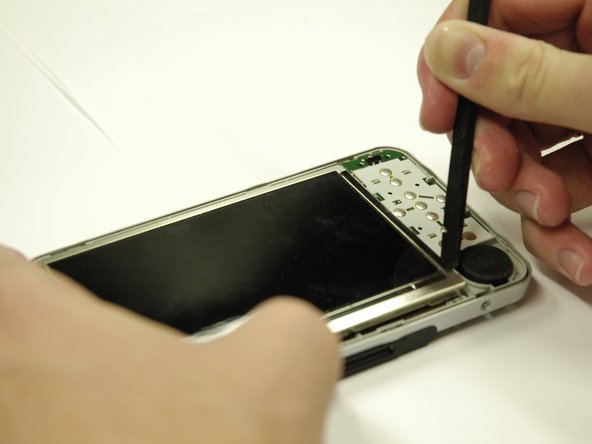
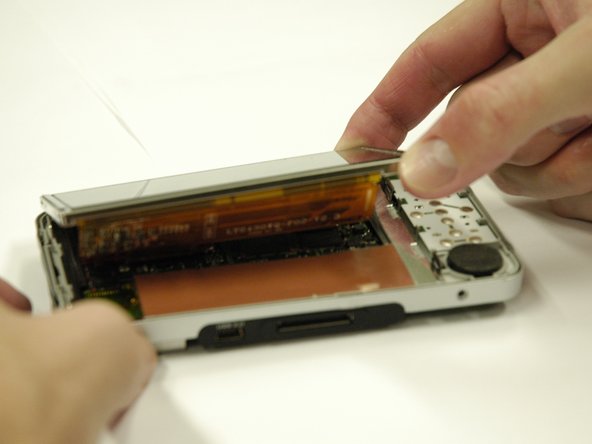
    2. Creative Zen Vision W LCD Screen Replacement: passo 2, immagine 1 di 3 Creative Zen Vision W LCD Screen Replacement: passo 2, immagine 2 di 3 Creative Zen Vision W LCD Screen Replacement: passo 2, immagine 3 di 3
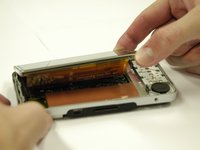
      • Run the spudger along the cover and pry.

      • Do this gently to preserve the screen

      • The button pad may fall off when the cover is removed.

      Chiedi a FixBot

      Aggiungi Commento

    1. Creative Zen Vision W LCD Screen Replacement, LCD Screen: passo 3, immagine 1 di 3 Creative Zen Vision W LCD Screen Replacement, LCD Screen: passo 3, immagine 2 di 3 Creative Zen Vision W LCD Screen Replacement, LCD Screen: passo 3, immagine 3 di 3
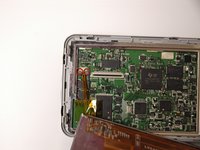
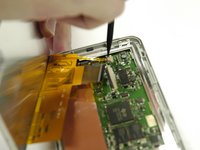
      • Use a spudger to separate the metal tabs that hold the screen in place on the right side.

      • The screen is still attached underneath with two ribbon cables. Lift it very carefully.

      Chiedi a FixBot

      Aggiungi Commento

    2. Creative Zen Vision W LCD Screen Replacement: passo 4, immagine 1 di 1
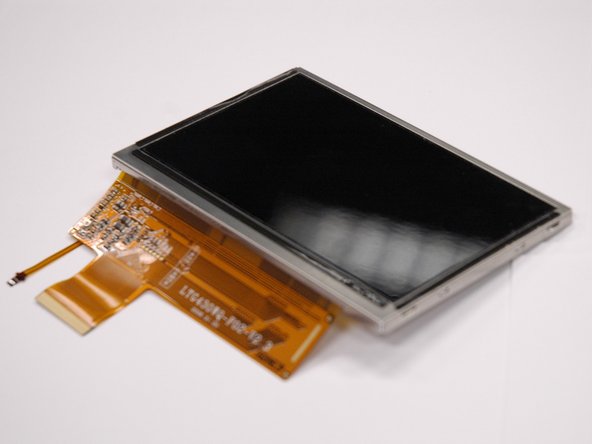
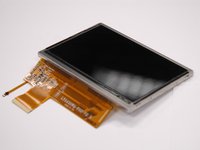
      • Put the screen face down so you can see where the ribbon cables are attached.

      • Remove the red sticker that covers the ribbon cable connections.

      Chiedi a FixBot

      Aggiungi Commento

    3. Creative Zen Vision W LCD Screen Replacement: passo 5, immagine 1 di 1
      • Use a plastic opening tool to get underneath the black flap on the larger ribbon cable connection and lift it.

      Chiedi a FixBot

      Aggiungi Commento

    4. Creative Zen Vision W LCD Screen Replacement: passo 6, immagine 1 di 3 Creative Zen Vision W LCD Screen Replacement: passo 6, immagine 2 di 3 Creative Zen Vision W LCD Screen Replacement: passo 6, immagine 3 di 3
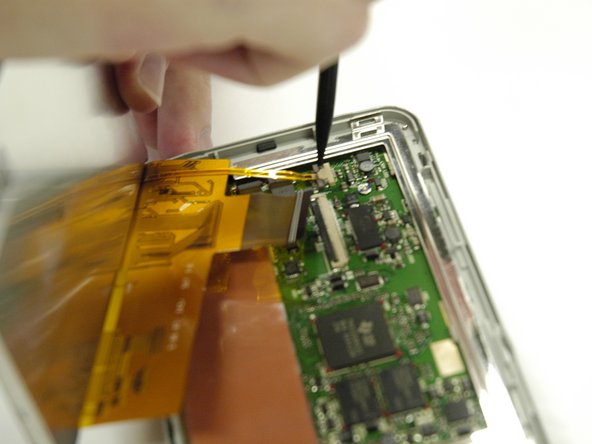
      • Use a spudger to slide the two small gray tabs away from the ribbon cable connection.

      • Remove the screen from the device.

      Chiedi a FixBot

      Aggiungi Commento

Conclusione

To reassemble your device, follow these instructions in reverse order.

Annulla: non ho completato questa guida.

Un'altra persona ha completato questa guida.

Tim Wilson

Membro da: 04/11/13

143 Reputazione

6 guide realizzate

Team

Cal Poly, Team 17-2, Regan Spring 2013 Membro di Cal Poly, Team 17-2, Regan Spring 2013

CPSU-REGAN-S13S17G2

4 Membri

24 guide realizzate

1Commento della guida

Where can I get the screen

Home Watch - Rispondi Condividi

Aggiungi Commento

Visualizza statistiche:

Ultime 24 ore: 1

Ultimi 7 giorni: 7

Ultimi 30 giorni: 30

Tutti i Tempi: 1,832