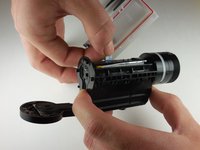
Introduzione
Follow this guide on how to replace the lens unit on your Contour Roam2 if your camera will not record properly or your lens is damaged or scratched.
Cosa ti serve
-
-
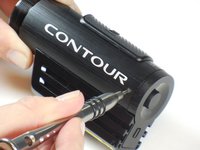
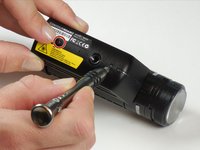
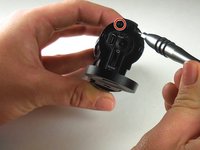
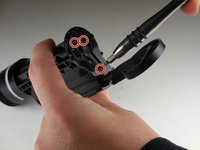
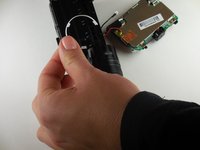
Using the phillips head screwdriver (PH000) locate and remove the 4.45mm (.175in) screw by the 180 degree graphic on the metal ring.
 Chiedi a FixBot
-
-
-
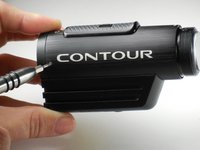
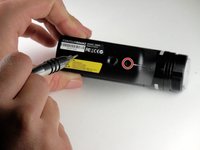
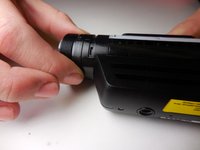
Using the phillips head screwdriver (PH000) remove the two 4.46mm (.175in) screws on each side near the back of the camera.
-
-
-
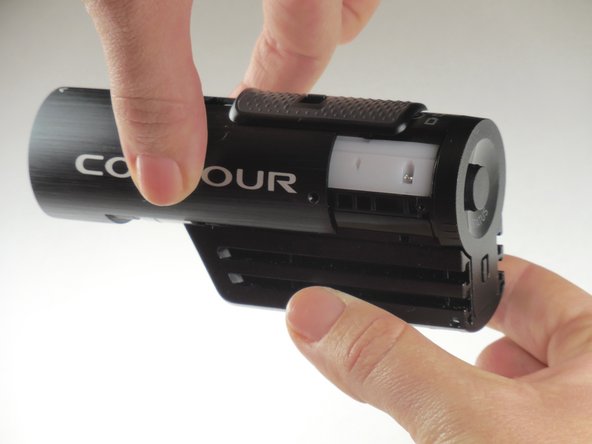
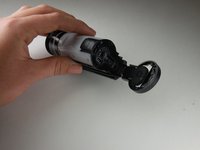
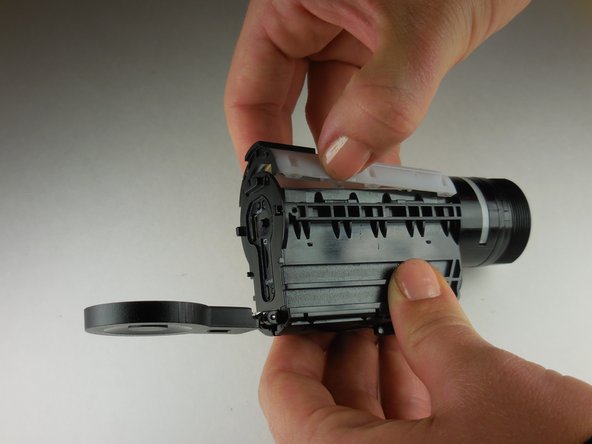
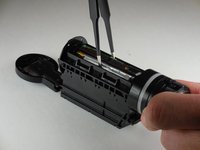
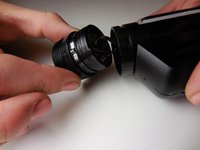
Grab the camera on both sides and slide the outer shell forward until completely removed.
-
-
-
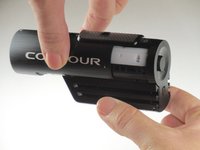
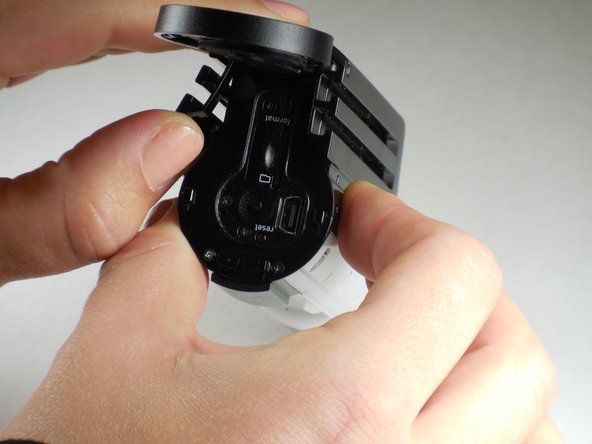
Using the phillips head screwdriver (PH000) remove the two 3.82mm (0.150in) screws on the bottom of mounting piece near the tripod screw-in.
-
-
-
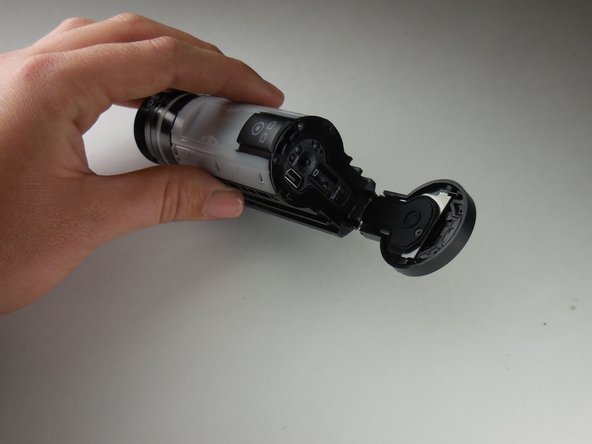
Open the back door by your thumb and index finger on sides of back door and pull upward.
-
-
-
-
Open the back door by your thumb and index finger on sides of back door and pull upward.
-
-
-
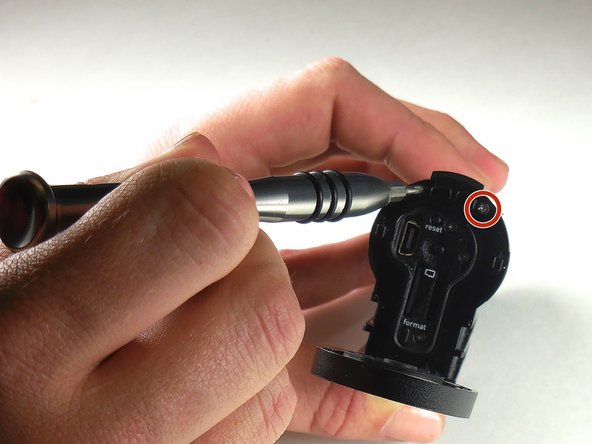
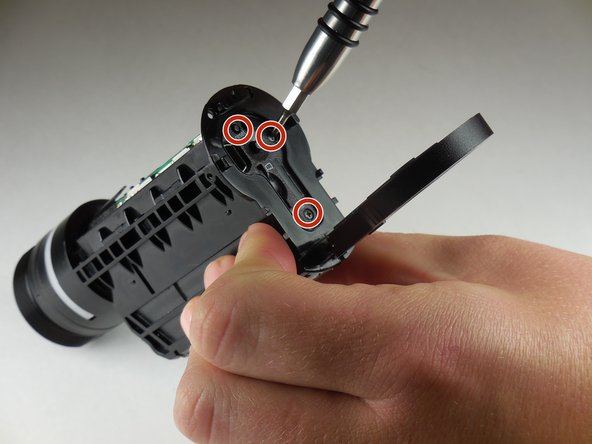
With the phillips head screwdriver (PH000) remove the two 3.31mm (.130inch) screws located at the top, above the reset button.
-
-
-
Also with phillips head screwdriver (PH000) remove the six 6.07mm (0.239in) screws along sides of large white piece.
-
-
-
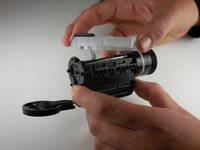
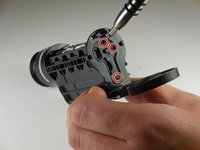
Remove white piece by pressing a fingernail in notch (located in previous step) and lifting up on white piece.
-
-
-
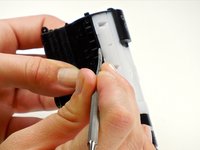
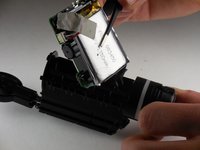
To remove the white piece completely give a gentle pull on ribbon connector.
-
-
-
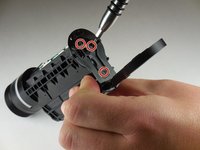
With a phillips head screwdriver (PH 000), remove the 5.54 mm (0.218 in) screw located next to the tripod screw-in.
-
-
-
Using the phillips head screwdriver (PH 000), remove the remaining three 3.78 mm (0.1445 in) screws located on the back panel of the camera.
-
-
-
Using the phillips head size PH000 screwdriver remove 3.67mm (0.1445 inch) screw located on the side of logic board within the body of the camera.
-
-
Strumento utilizzato in questo passaggio:Tweezers$4.99
-
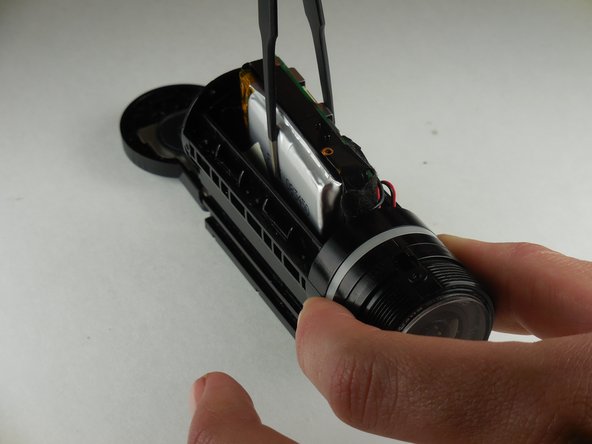
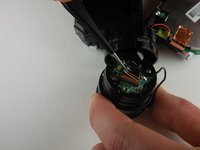
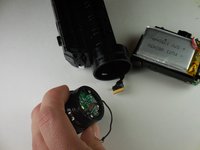
Using flathead tweezers, remove the logic board and the battery from the camera.
-
-
-
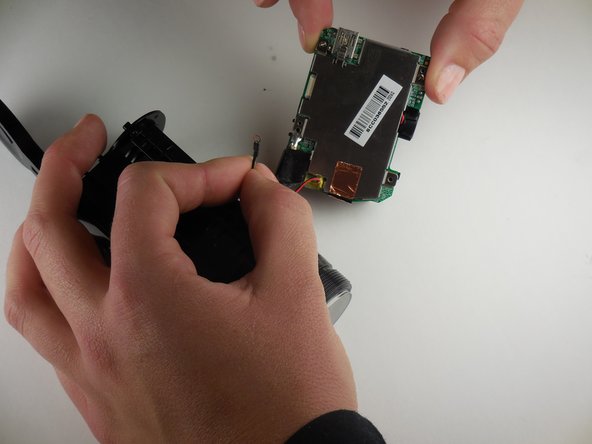
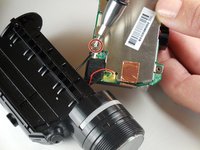
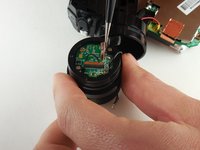
Using a phillips head screwdriver (PH 000), remove the screw connecting the lens unit to the logic board.
-
-
-
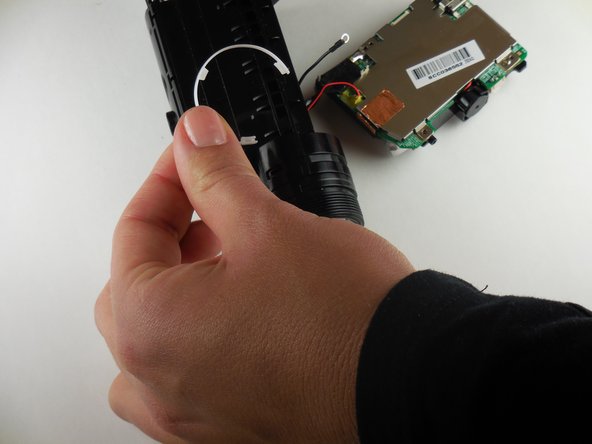
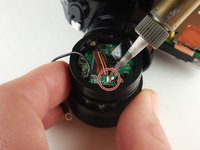
Disconnect the ribbon connector connecting the lens unit to the logic board.
-


To reassemble your device, follow these instructions in reverse order.
Annulla: non ho completato questa guida.
Altre 2 persone hanno completato questa guida.
Team

Colorado Springs, Team 4-5, Panko Spring 2015 Membro di Colorado Springs, Team 4-5, Panko Spring 2015
UCCS-PANKO-S15S4G5
3 Membri
10 guide realizzate
3Commenti sulla guida
hola amigos soy de venezuela, hace aproximadamente compre una -contour roam- y se me daño el flex del lente, pero aqui en venezuela no se encuentra ese repuesto y he buscado por internet y no encuentro, ustedes me podrian ayudar de alguna manera con ese problema? mi correo es luiswichin@gmail.com por favor se les agradece alguna respuesta.
hello friends I'm from Venezuela, does about buying a -contour roam- and hurt me flex the lens, but here in Venezuela is not the parts and I have searched the internet and can not find, you could help me somehow with that problem? my email is luiswichin@gmail.com are thanked please any response.
Hello! Where can we find the ribbon connector with 10 pins? Is to short to contain all code on the connector is vissible only JI-HAW AWM E1180… more is missing. I searched many days… I removed it gentle, but when I push it back the head of the band just separated from plastic and broke…