Questa traduzione è stata generata automaticamente e non è stata ancora revisionata da una persona. Parli questa lingua? Dai un’occhiata.
Introduzione
Per accedere a uno qualsiasi dei componenti interni del Connect Four Electronic Handheld, dovrai rimuovere il guscio posteriore.
Cosa ti serve
-
-
-
Assicurati che il Connect Four Electronic Handheld sia spento lasciando che si spenga automaticamente.
 Chiedi a FixBot
-
-
-
-
Utilizzando un cacciavite a croce Phillips, rimuovi la vite Phillips n. 2 (lunghezza 9,1 mm) al centro della copertura della batteria.
-
Fai scivolare via la copertura e rimuovi la batteria.
-
-
-
-
-
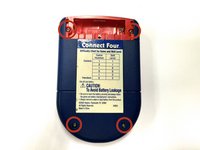
Utilizzando un cacciavite a croce Phillips, rimuovi le quattro viti Phillips da 7,1 mm che fissano il telaio posteriore.
-
Rimuovi con attenzione il telaio posteriore.
-
-


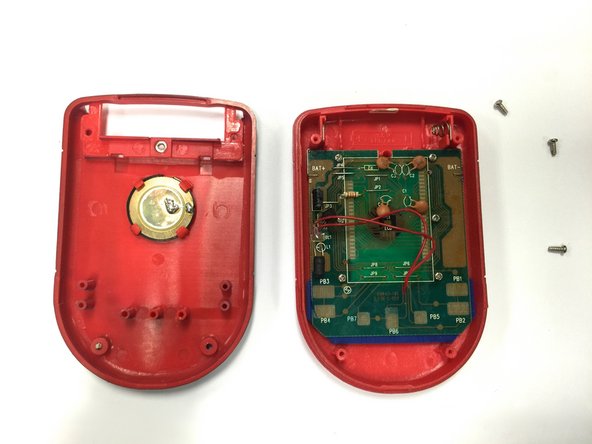
Per rimontare il dispositivo, segui queste istruzioni in ordine inverso.

Team

Baylor, Team 8-11, Williams Fall 2014 Membro di Baylor, Team 8-11, Williams Fall 2014
BU-WILLIAMS-F14S8G11
3 Membri
72 guide realizzate
