Questa traduzione è stata generata automaticamente e non è stata ancora revisionata da una persona. Parli questa lingua? Dai un’occhiata.
Introduzione
Per completare questa guida, dovrai smontare il dispositivo per raggiungere lo schermo e sostituirlo.
Assicurati di spegnere il dispositivo prima di iniziare a smontarlo. In caso contrario, potresti causare dei danni.
Cosa ti serve
-
-
-
Usa lo strumento di apertura in plastica per spingere fuori la scheda microSD dallo slot microSD.
 Chiedi a FixBot
-
-
-
Usa lo strumento di apertura in plastica per sganciare la parte anteriore in plastica da quella posteriore. Usa lo slot MicroSD per iniziare il lavoro di sgancio.
-
-
-
-
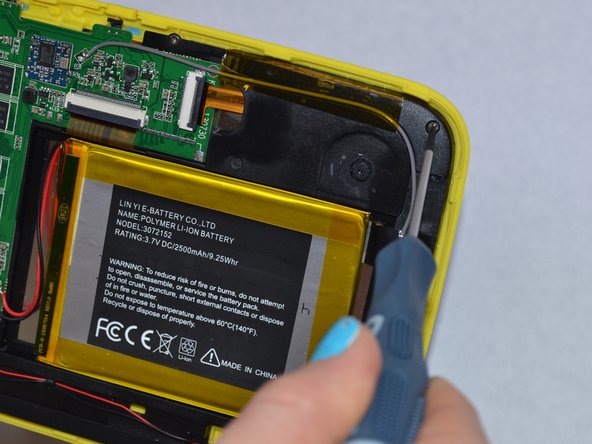
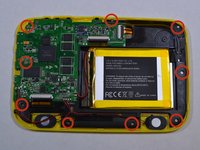
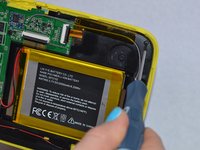
La batteria è incollata alla plastica nera. Usa lo strumento di apertura in plastica per fare leva sulla batteria e rimuoverla dalla plastica nera
-
-
-
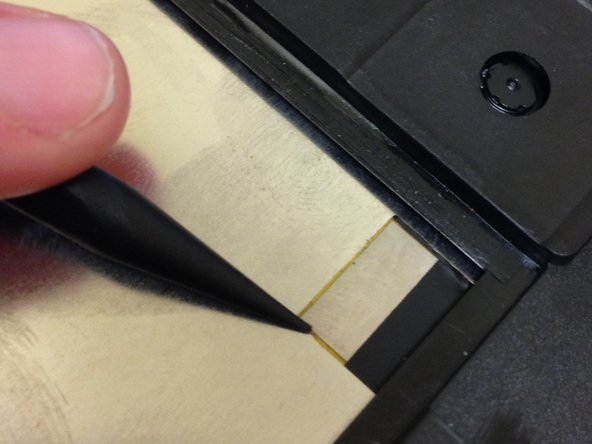
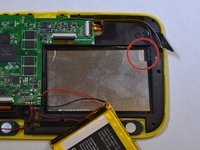
Sarà presente una striscia nera collegata allo schermo.
-
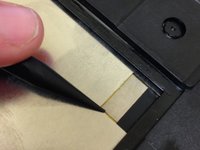
Usa l'estremità appuntita dello spudger per staccare la striscia nera incollata sullo schermo.
-
-
-
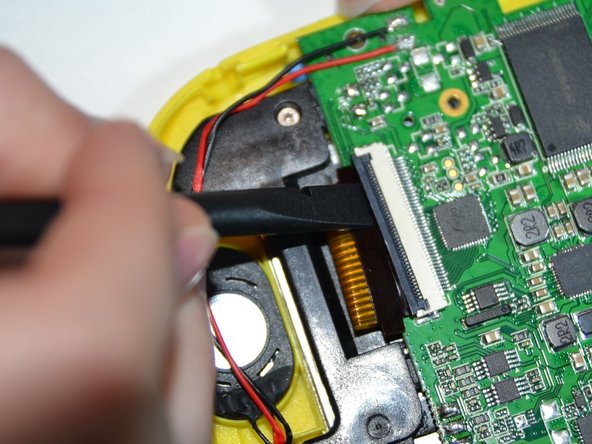
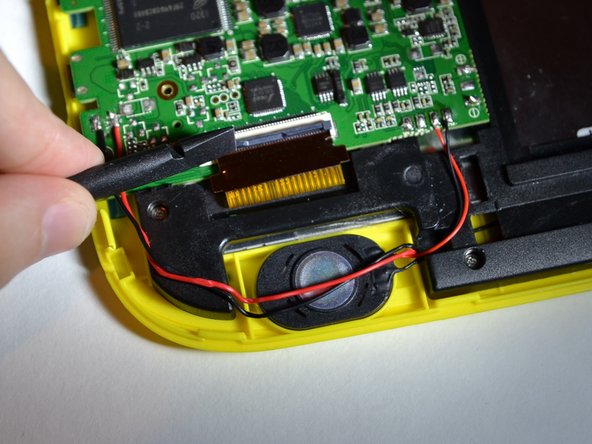
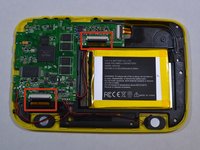
Dovrai rimuovere 2 cavi a nastro, uno collegato al touch screen (vicino alla batteria) e uno collegato alla plastica gialla (vicino all'altoparlante).
-
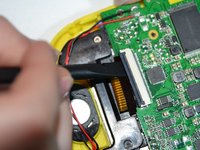
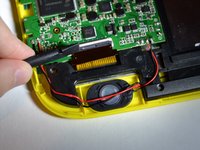
Usa l'estremità piatta dello spudger per sollevare la copertura nera che protegge i cavi a nastro.
-
-
-
Estrai i due cavi a nastro in modo che non siano più collegati alla scheda logica.
-
-
-
Solleva la scheda logica e la copertura in plastica nera in modo che non coprano più lo schermo
-
Estrai lo schermo.
-
-







Per rimontare il dispositivo, segui queste istruzioni in ordine inverso.
Annulla: non ho completato questa guida.
Altre 3 persone hanno completato questa guida.


