Salta al contenuto principale
Unisciti alla Community delle riparazioni - Crea un account

ClickN Kids Tablet Camera Replacement

Cosa ti serve

  1. ClickN Kids Tablet Camera Replacement, Camera: passo 1, immagine 1 di 1
    • Start on the side with the camera

    • Insert a plastic opening tool into the space between the screen and the back side.

    • The screen side is black, the back side is colored

    Chiedi a FixBot
  2. ClickN Kids Tablet Camera Replacement: passo 2, immagine 1 di 1
    • Press the plastic opening tool in until you hear a “click” and that part of the tablet opens.

    • Press and slide the plastic opening tool around all sides of the tablet until all sides pop off.

    • The corners can be tricky. Make sure to separate the pieces all the way around the tablet before attempting to open it.

    Chiedi a FixBot
  3. ClickN Kids Tablet Camera Replacement: passo 3, immagine 1 di 1
    • Lift the detached screen from the camera side until you can see the inside of the tablet.

    • Don't open too fast, or you might damage the ribbons cables.

    Chiedi a FixBot
  4. ClickN Kids Tablet Camera Replacement: passo 4, immagine 1 di 2 ClickN Kids Tablet Camera Replacement: passo 4, immagine 2 di 2
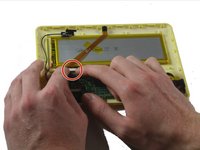
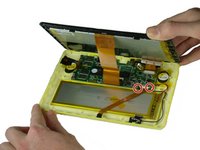
    • Be careful not to damage any wires or ribbon cables during this step.

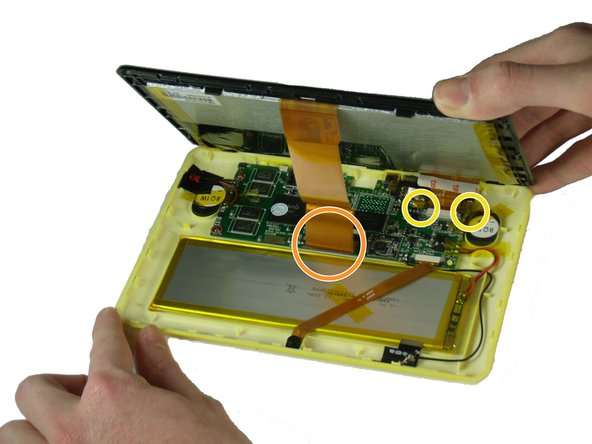
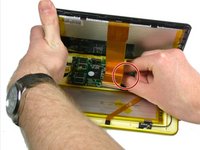
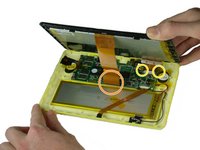
    • There are two ribbon cables to remove during this step. Each is connected to a base on the motherboard.

    • There is a black tab behind the long ribbon cable. Lift up the black tab.

    • For the ribbon cable in the back, pull the black tabs on the side out.

    • Detach the ribbon cables connecting the screen to the motherboard.

    • Remove any tape that is holding down the ribbon cables. Set it aside.

    Chiedi a FixBot
  5. ClickN Kids Tablet Camera Replacement: passo 5, immagine 1 di 1
    • Pull off the tape that holds the ribbon cable to the battery.

    Chiedi a FixBot
  6. ClickN Kids Tablet Camera Replacement: passo 6, immagine 1 di 2 ClickN Kids Tablet Camera Replacement: passo 6, immagine 2 di 2
    • Be careful not to damage the wires or ribbon cables.

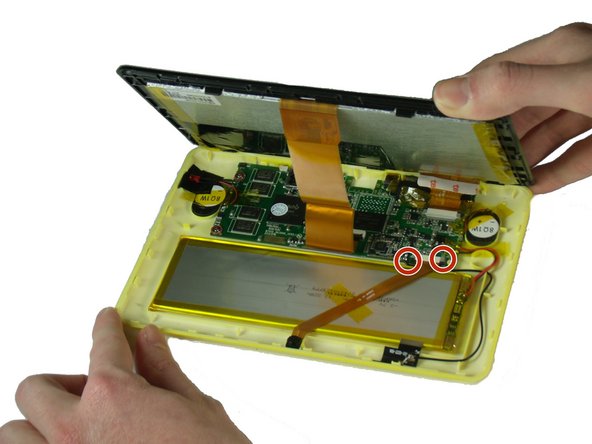
    • Pull out the two black ends of the base on the motherboard.

    • Slide out the camera’s ribbon cable once the ends are loosened.

    Chiedi a FixBot
  7. ClickN Kids Tablet Camera Replacement: passo 7, immagine 1 di 3 ClickN Kids Tablet Camera Replacement: passo 7, immagine 2 di 3 ClickN Kids Tablet Camera Replacement: passo 7, immagine 3 di 3
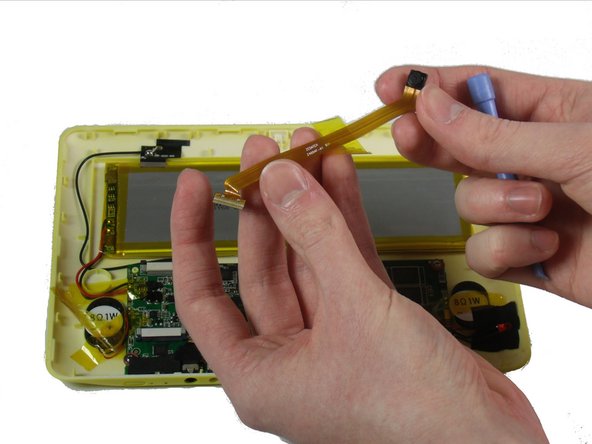
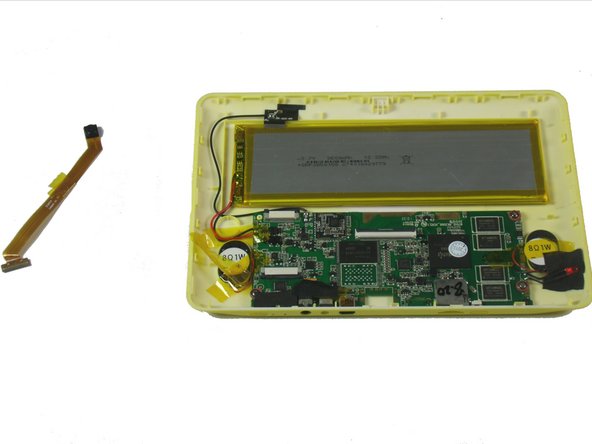
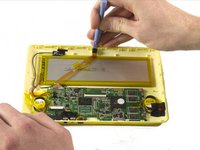
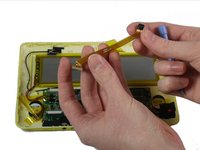
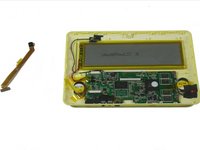
    • Use a plastic opening tool to pry the camera out of its place.

    Chiedi a FixBot
Conclusione

To reassemble your device, follow these instructions in reverse order.

Un'altra persona ha completato questa guida.

Team

Baylor, Team 4-4, Williams Spring 2015 Membro di Baylor, Team 4-4, Williams Spring 2015

BU-WILLIAMS-S15S4G4

3 Membri

8 guide realizzate

0Commenti sulla guida

Aggiungi Commento

Visualizza Statistiche:

Ultime 24 Ore: 2

Ultimi 7 Giorni: 5

Ultimi 30 Giorni: 54

Tutti i Tempi: 1,065