Salta al contenuto principale
Unisciti alla Community delle riparazioni - Crea un account

Cirago M9030 Screen Protector Replacement

Cosa ti serve

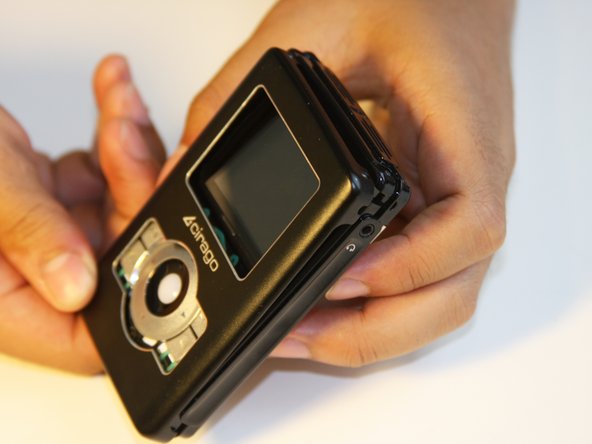
  1. Cirago M9030 Screen Protector Replacement, Cover: passo 1, immagine 1 di 1
    • Use a Phillips #00 screwdriver to unscrew the four 1.1mm long screws on each corner located at the top of the cover.

    Chiedi a FixBot
  2. Cirago M9030 Screen Protector Replacement: passo 2, immagine 1 di 1
    • Similar to the last step, flip the cover over and use a Phillips #00 screwdriver to unscrew the four 1.1mm long screws on each corner located at the bottom of the cover.

    • Remove the warranty sticker across the bottom.

    Chiedi a FixBot
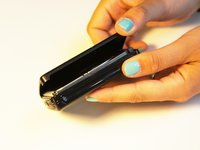
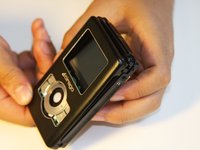
  3. Cirago M9030 Screen Protector Replacement: passo 3, immagine 1 di 2 Cirago M9030 Screen Protector Replacement: passo 3, immagine 2 di 2
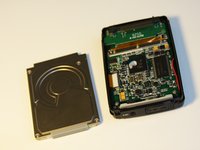
    • Gently take the cover apart using your hands separating the top and bottom.

    • The outer shell is expected to easily come apart.

    Chiedi a FixBot
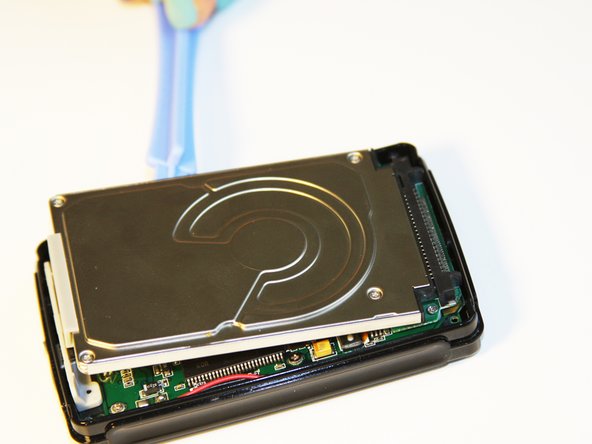
  4. Cirago M9030 Screen Protector Replacement, Hard Drive: passo 4, immagine 1 di 1
    • Make sure that the screen of the device is facing down.

    Chiedi a FixBot
  5. Cirago M9030 Screen Protector Replacement: passo 5, immagine 1 di 3 Cirago M9030 Screen Protector Replacement: passo 5, immagine 2 di 3 Cirago M9030 Screen Protector Replacement: passo 5, immagine 3 di 3
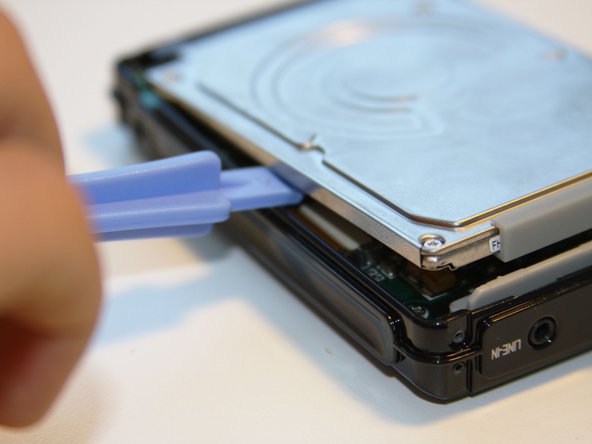
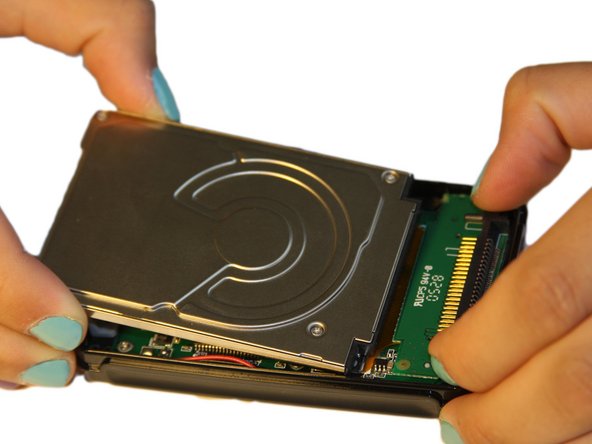
    • Using the plastic opening tool, wedge the tool underneath the bottom left edge of the hard drive.

    • Raise the bottom edge of the hard drive 15 degrees up from the device.

    Chiedi a FixBot
  6. Cirago M9030 Screen Protector Replacement: passo 6, immagine 1 di 3 Cirago M9030 Screen Protector Replacement: passo 6, immagine 2 di 3 Cirago M9030 Screen Protector Replacement: passo 6, immagine 3 di 3
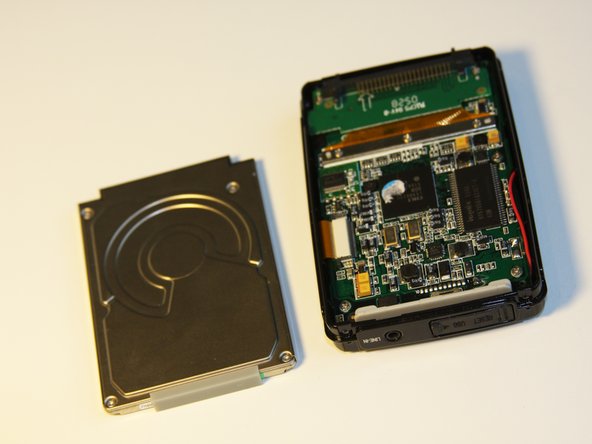
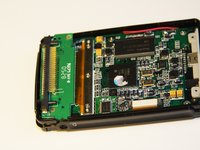
    • Place fingers on the IDE connectors gently picking up and sliding the hard drive out from the IDE module.

    Chiedi a FixBot
  7. Cirago M9030 Screen Protector Replacement, IDE Connector: passo 7, immagine 1 di 2 Cirago M9030 Screen Protector Replacement, IDE Connector: passo 7, immagine 2 di 2
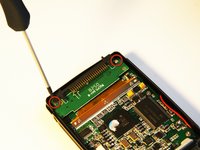
    • Using the Phillips #00 screwdriver, unscrew the two 1.5mm long screws holding the IDE connector to the motherboard located at the top.

    Chiedi a FixBot
  8. Cirago M9030 Screen Protector Replacement: passo 8, immagine 1 di 1
    • Using the Phillips #00 screwdriver, unscrew the three 1.5mm long screws on the metal bracket.

    Chiedi a FixBot
  9. Cirago M9030 Screen Protector Replacement: passo 9, immagine 1 di 2 Cirago M9030 Screen Protector Replacement: passo 9, immagine 2 di 2
    • Using the plastic opening tool, completely lift the metal bracket off of the motherboard.

    • Using the plastic opening tool, completely lift the rubber insulator off of the motherboard.

    Chiedi a FixBot
  10. Cirago M9030 Screen Protector Replacement: passo 10, immagine 1 di 1
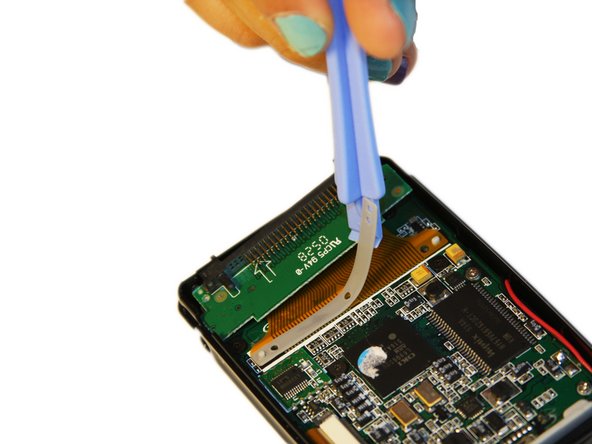
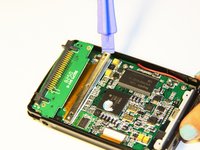
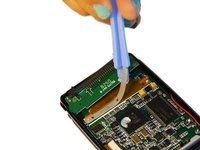
    • Using the plastic opening tool, completely lift the ribbon off of the motherboard.

    Chiedi a FixBot
  11. Cirago M9030 Screen Protector Replacement: passo 11, immagine 1 di 2 Cirago M9030 Screen Protector Replacement: passo 11, immagine 2 di 2
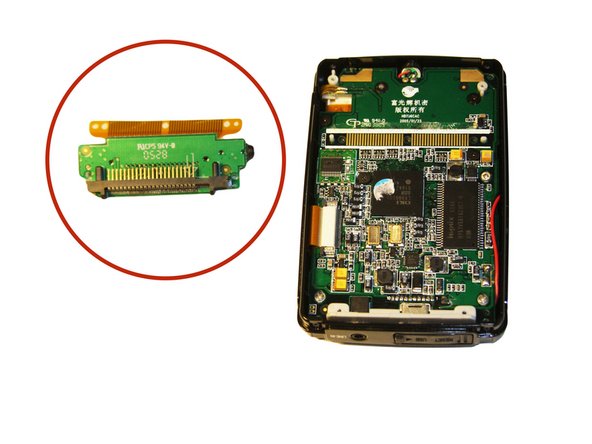
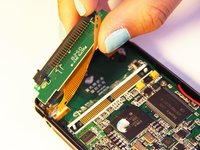
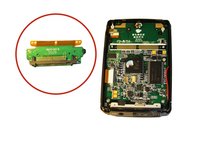
    • The audio jack is attached to the IDE connector. Pull at a 45 degree angle from the audio jack.

    • Completely remove the IDE connector from the device.

    Chiedi a FixBot
  12. Cirago M9030 Screen Protector Replacement, Motherboard: passo 12, immagine 1 di 2 Cirago M9030 Screen Protector Replacement, Motherboard: passo 12, immagine 2 di 2
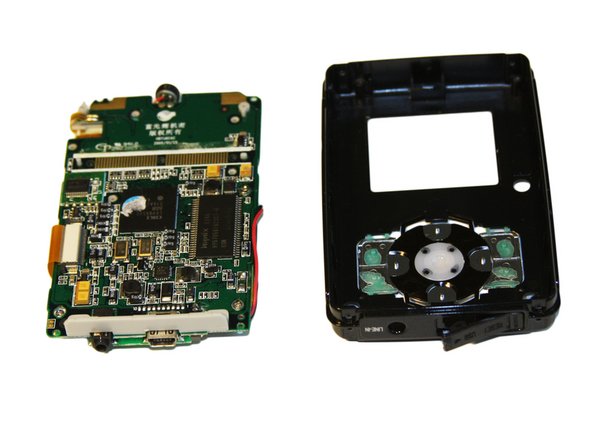
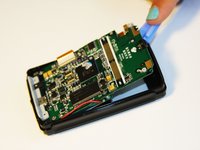
    • Using the plastic opening tool, wedge the tool underneath the top edge of the motherboard.

    • Completely remove the motherboard.

    • The motherboard should slide out easily.

    Chiedi a FixBot
  13. Cirago M9030 Screen Protector Replacement, Screen Protector: passo 13, immagine 1 di 1
    • Locate the plastic screen protector on the front cover.

    Chiedi a FixBot
  14. Cirago M9030 Screen Protector Replacement: passo 14, immagine 1 di 1
    • Grasping the sides of the cover, gently press on screen protector from the inside of the front cover to pop out the screen protector.

    Chiedi a FixBot
Conclusione

To reassemble your device, follow these instructions in reverse order.

Un'altra persona ha completato questa guida.

Team

Cal Poly, Team 1-4, Regan SU 2012 Membro di Cal Poly, Team 1-4, Regan SU 2012

CPSU-REGAN-SU12S1G4

4 Membri

7 guide realizzate

0Commenti sulla guida

Aggiungi Commento

Visualizza statistiche:

Ultime 24 ore: 1

Ultimi 7 giorni: 8

Ultimi 30 giorni: 47

Tutti i Tempi: 1,181