Questa traduzione è stata generata automaticamente e non è stata ancora revisionata da una persona. Parli questa lingua? Dai un’occhiata.

Smontaggio del Fitbit Charge 3

ShellingRook27 e 6 altri collaboratori
Ultimo aggiornamento il 18 ago 2026
Visualizzazioni: 12.671
Visualizza statistiche:
- Ultime 24 ore:
- 2
- Ultimi 7 giorni:
- 27
- Ultimi 30 giorni:
- 119
- Tutti i Tempi:
- 12.671
Commenti: 19
7 commenti sui passaggi, 12 commenti sulla guida.
Vai ai commenti della guidaCompletato: 4 5
4 persone hanno contrassegnato questa guida come "completata". Sarai il prossimo?
5 persone hanno contrassegnato questa guida come "completata". Compreso te, ottimo lavoro!
Preferiti: 3 4
3 persone hanno aggiunto ai preferiti (e si sono iscritte a) questa guida. Sarai il prossimo?
4 persone hanno aggiunto ai preferiti (e si sono iscritte a) questa guida, incluso te!
Guida fornita dalla comunità
Un fantastico membro della nostra community ha creato questa guida. Non è stata creata dallo staff di iFixit.
Cosa ti serve
Strumenti
-
-
Lametta da rasoio
A thin spudger would also work


-
-
-
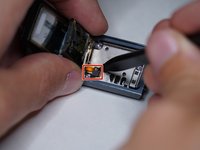
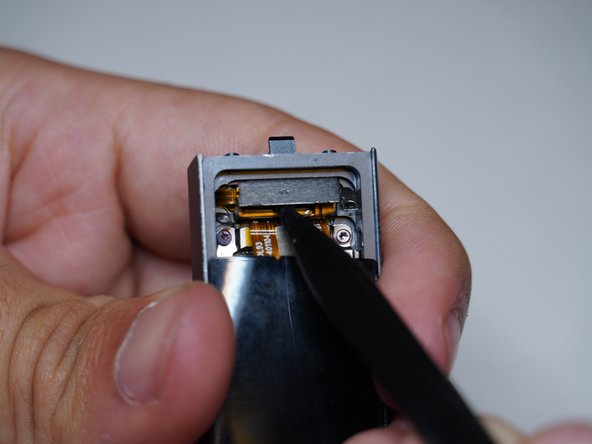
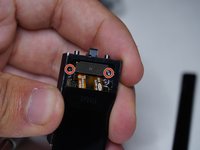
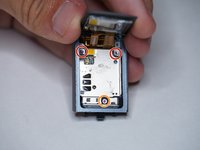
Rimuovi entrambe le viti T3
-
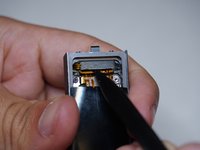
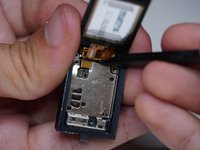
Fai scorrere via il pezzo in plastica sollevandolo prima verso l'esterno e poi verso l'alto
-
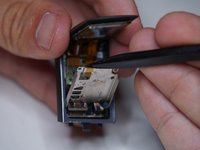
Fai scorrere il gruppo molla e plastica fuori dalla guida
 Chiedi a FixBot
-
-
-
Riscalda lo schermo in vetro con un asciugacapelli per ammorbidire gli adesivi dello schermo
-
Inserisci una lametta tra il vetro e il corpo del dispositivo
-
Continua lungo il bordo del display finché non si allenta
-
-
-
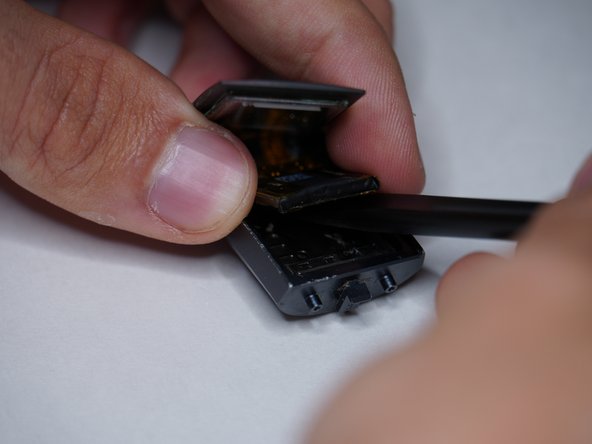
Solleva delicatamente il display
-
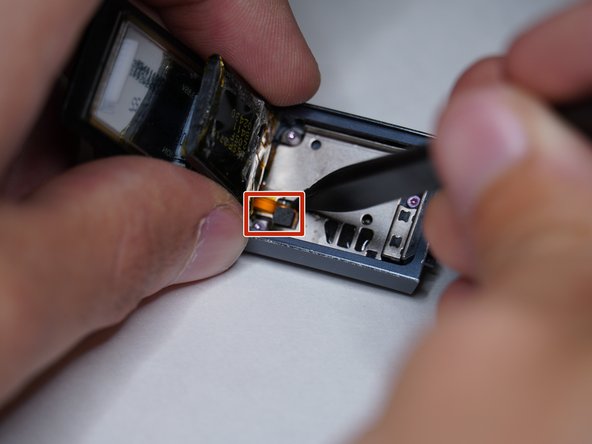
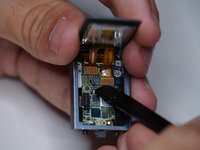
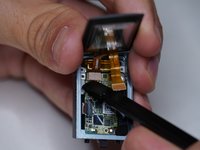
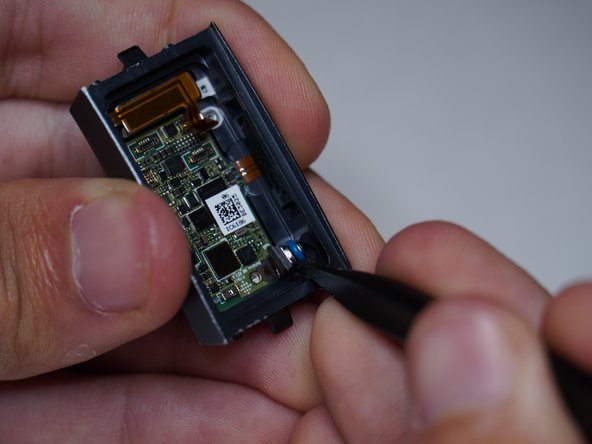
Rimuovi il connettore della batteria
-
-
-
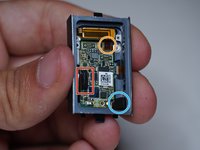
Rimuovi entrambe le viti T2
-
Solleva la schermatura metallica
-
-
-
Rimuovi le due viti T2
-
Rimuovi la vite T3
-
Solleva la schermatura metallica
-
-
-
-
Scollega il motore di vibrazione
-
Scollega il connettore del cardiofrequenzimetro e di ricarica
-
Rimuovi l'altimetro
-
-
-
Rimuovi il gruppo pulsante dal case
-
Rimuovi il motore di vibrazione
-
-
-
Rimuovi la scheda madre
-
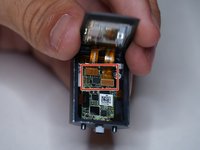
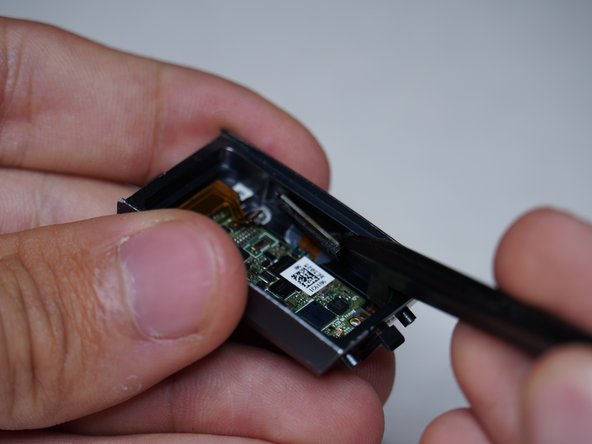
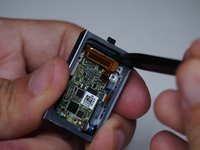
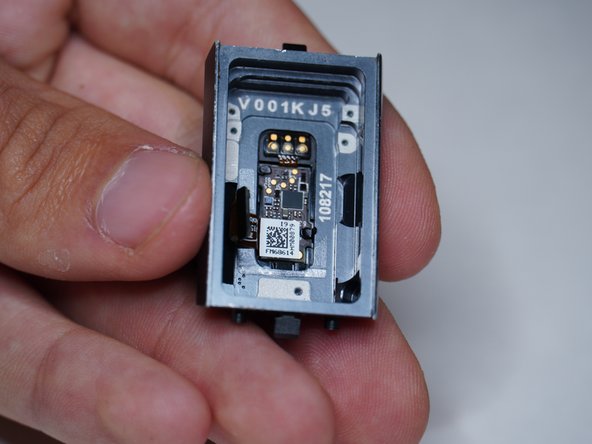
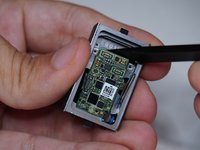
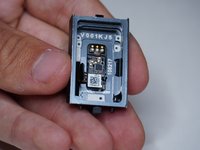
Sembra che il sensore di frequenza cardiaca e i pin di ricarica siano stampati nella custodia di ricarica e non sono riuscito a rimuoverli
-
-











Annulla: non ho completato questa guida.
Altre 4 persone hanno completato questa guida.

Team

12Commenti sulla guida
The tear down pictures are great, but in my Charge 3 I needed a T-1 and a T-2 driver
Same, my ifixit pro kit only had a driver for the external screws and did not come with a small enough driver to remove the screws inside the charge 3 unit. I'll need to get the smaller bit from a different kit.
Which step in the teardown guide needed the T1 driver?
This tear down was very easy to follow. The heart rate monitor was also sealed in with some adhesive for me too but a little heat gun took it right off. I had suspected water leaked in and that in fact was the culprit after inspecting the connection. corrosion all around the HR monitor.
