Salta al contenuto principale
Unisciti alla Community delle riparazioni - Crea un account

Capresso Infinity Outside Casing Replacement

Cosa ti serve

    1. Capresso Infinity Outside Casing Replacement, Metal Outside Casing: passo 1, immagine 1 di 2 Capresso Infinity Outside Casing Replacement, Metal Outside Casing: passo 1, immagine 2 di 2
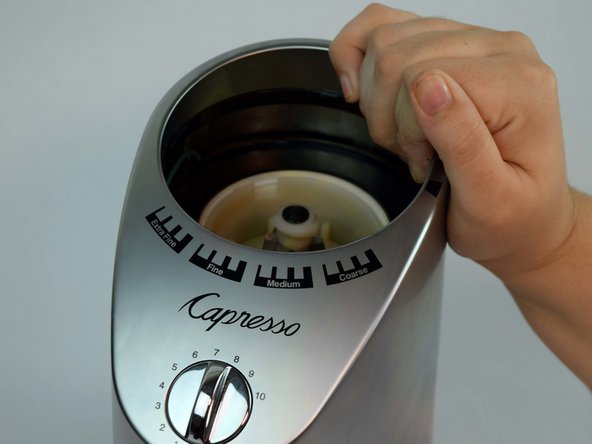
      • Twist the top plastic container to the left counterclockwise.

      • Pull upwards to remove.

      Chiedi a FixBot

      Aggiungi Commento

    2. Capresso Infinity Outside Casing Replacement: passo 2, immagine 1 di 3 Capresso Infinity Outside Casing Replacement: passo 2, immagine 2 di 3 Capresso Infinity Outside Casing Replacement: passo 2, immagine 3 di 3
      • Twist the top burr to the left counter clockwise.

      • Pull upwards to remove.

      Chiedi a FixBot

      Aggiungi Commento

    3. Capresso Infinity Outside Casing Replacement: passo 3, immagine 1 di 2 Capresso Infinity Outside Casing Replacement: passo 3, immagine 2 di 2
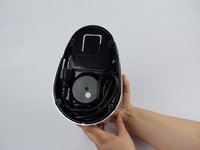
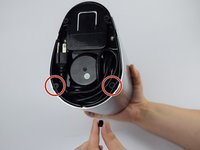
      • Flip entire device upside down.

      • Remove two rubber coverings on the back of the device.

      Chiedi a FixBot

      Aggiungi Commento

    4. Capresso Infinity Outside Casing Replacement: passo 4, immagine 1 di 2 Capresso Infinity Outside Casing Replacement: passo 4, immagine 2 di 2
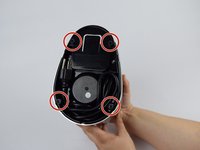
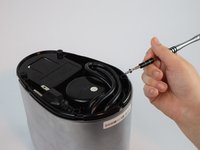
      • Remove four 11.59mm T10 screws.

      • The screws will have small circular washers under them. Put them aside for reassembly.

      Chiedi a FixBot

      Aggiungi Commento

    5. Capresso Infinity Outside Casing Replacement: passo 5, immagine 1 di 3 Capresso Infinity Outside Casing Replacement: passo 5, immagine 2 di 3 Capresso Infinity Outside Casing Replacement: passo 5, immagine 3 di 3
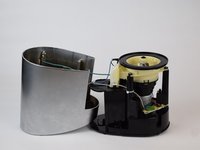
      • Lift the metal outside casing off the black base.

      • Flip the outside casing forward so you have access to the inside of it.

      Chiedi a FixBot

      Aggiungi Commento

    6. Capresso Infinity Outside Casing Replacement: passo 6, immagine 1 di 3 Capresso Infinity Outside Casing Replacement: passo 6, immagine 2 di 3 Capresso Infinity Outside Casing Replacement: passo 6, immagine 3 di 3
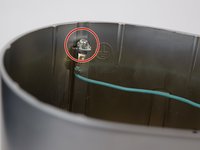
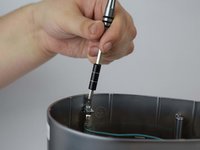
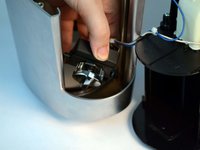
      • Remove one 11.59mm T10 screw.

      • Let the green wire fall, or place somewhere so it doesn't get in the way.

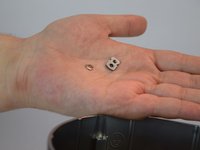
      • There will be a small metal retainer and washer, put them aside for reassembly.

      Chiedi a FixBot

      Aggiungi Commento

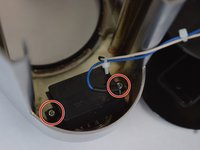
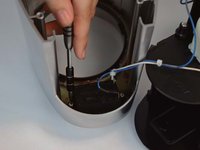
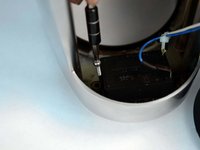
    7. Capresso Infinity Outside Casing Replacement: passo 7, immagine 1 di 3 Capresso Infinity Outside Casing Replacement: passo 7, immagine 2 di 3 Capresso Infinity Outside Casing Replacement: passo 7, immagine 3 di 3
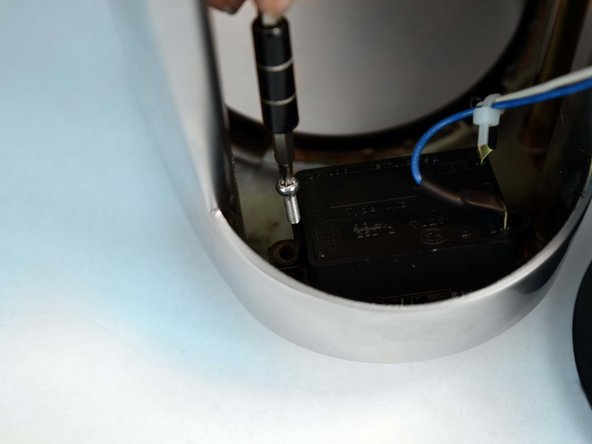
      • Remove two 11.59mm T10 screws.

      Chiedi a FixBot

      Aggiungi Commento

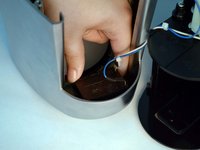
    8. Capresso Infinity Outside Casing Replacement: passo 8, immagine 1 di 2 Capresso Infinity Outside Casing Replacement: passo 8, immagine 2 di 2
      • Remove the time/on switch by pulling upwards.

      Chiedi a FixBot

      Aggiungi Commento

Conclusione

To reassemble your device, follow these instructions in reverse order.

Annulla: non ho completato questa guida.

Team

USF Tampa, Team S1-G1, Leahy Fall 2018 Membro di USF Tampa, Team S1-G1, Leahy Fall 2018

USFT-LEAHY-F18S1G1

4 Membri

15 guide realizzate

0Commenti sulla guida

Aggiungi Commento

Visualizza statistiche:

Ultime 24 ore: 1

Ultimi 7 giorni: 7

Ultimi 30 giorni: 43

Tutti i Tempi: 2,017