Salta al contenuto principale
Unisciti alla Community delle riparazioni - Crea un account

Canon PowerShot G7X Flash Replacement

Cosa ti serve

    1. Canon PowerShot G7X Flash Replacement, Dial: passo 1, immagine 1 di 1
      • Remove the five 2mm Phillips #000 screws that are under the screen of the camera.

      Chiedi a FixBot

      Aggiungi Commento

    2. Canon PowerShot G7X Flash Replacement: passo 2, immagine 1 di 1
      • Remove the two 3mm Phillips #000 screws under the AV-out digital flap.

      • Remove the two 3 mm Phillips #000 screws from the side of the camera.

      Chiedi a FixBot

      Aggiungi Commento

    3. Canon PowerShot G7X Flash Replacement: passo 3, immagine 1 di 1
      • Remove the two 3 mm Phillips #000 screws on the side of camera with the flash toggle.

      Chiedi a FixBot

      Aggiungi Commento

    4. Canon PowerShot G7X Flash Replacement: passo 4, immagine 1 di 1
      • Remove the four 4 mm Phillips #000 screws from the plate on the bottom of the camera.

      Chiedi a FixBot

      Aggiungi Commento

    5. Canon PowerShot G7X Flash Replacement: passo 5, immagine 1 di 1
      • Remove the back plate.

      Chiedi a FixBot

      Aggiungi Commento

    6. Canon PowerShot G7X Flash Replacement: passo 6, immagine 1 di 1
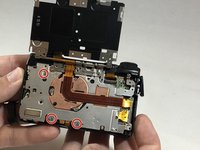
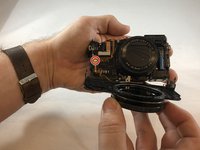
      • Remove the three 3 mm Phillips #000 screws around the dial.

      Chiedi a FixBot

      Aggiungi Commento

    7. Canon PowerShot G7X Flash Replacement: passo 7, immagine 1 di 2 Canon PowerShot G7X Flash Replacement: passo 7, immagine 2 di 2
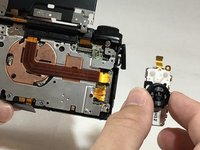
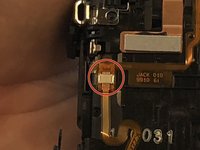
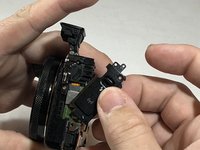
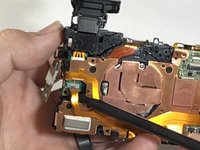
      • Using the nylon spudger, gently lift the ZIF tab.

      • Disconnect the ribbon cable that connects the dial to the motherboard.

      • Remove the dial from the device.

      Chiedi a FixBot

      Aggiungi Commento

    1. Canon PowerShot G7X Flash Replacement, Flash: passo 8, immagine 1 di 2 Canon PowerShot G7X Flash Replacement, Flash: passo 8, immagine 2 di 2
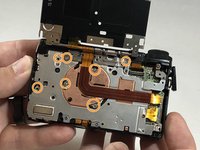
      • Remove the three, blue 5 mm Phillips screws from the back plate.

      • Remove seven 2 mm Phillips #000 screws.

      Chiedi a FixBot

      Aggiungi Commento

    2. Canon PowerShot G7X Flash Replacement: passo 9, immagine 1 di 2 Canon PowerShot G7X Flash Replacement: passo 9, immagine 2 di 2
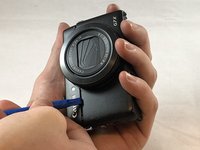
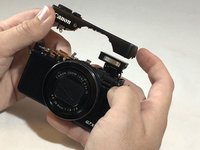
      • While using the plastic opening tool, gently pry the top plate off the camera.

      Chiedi a FixBot

      Aggiungi Commento

    3. Canon PowerShot G7X Flash Replacement: passo 10, immagine 1 di 2 Canon PowerShot G7X Flash Replacement: passo 10, immagine 2 di 2
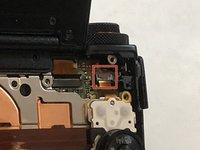
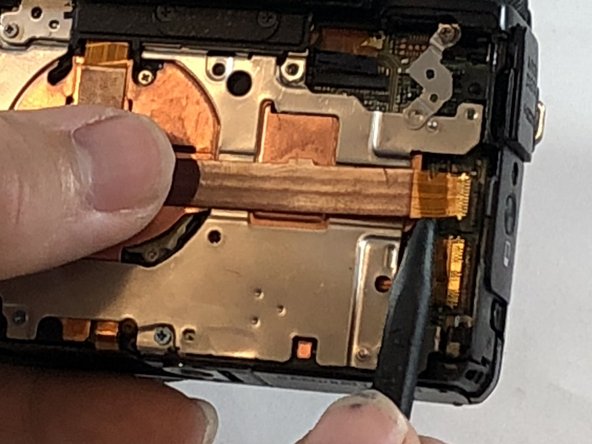
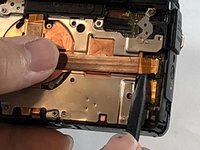
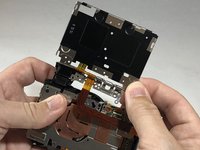
      • Using the black nylon spudger, gently lift the ribbon cable connected to the LCD screen housing until it comes out then remove the housing.

      Chiedi a FixBot

      Aggiungi Commento

    4. Canon PowerShot G7X Flash Replacement: passo 11, immagine 1 di 2 Canon PowerShot G7X Flash Replacement: passo 11, immagine 2 di 2
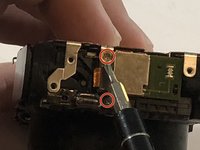
      • Remove the 2 mm Phillips #000 screw underneath the top plate.

      • Remove silver plate.

      Chiedi a FixBot

      Aggiungi Commento

    5. Canon PowerShot G7X Flash Replacement: passo 12, immagine 1 di 1
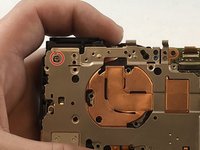
      • Take the Phillips #000 and remove the three 5 mm screws from the front plate.

      Chiedi a FixBot

      Aggiungi Commento

    6. Canon PowerShot G7X Flash Replacement: passo 13, immagine 1 di 2 Canon PowerShot G7X Flash Replacement: passo 13, immagine 2 di 2
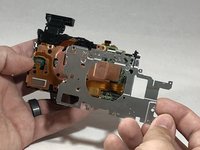
      • Using the spudger, gently lift the ribbon cable from underneath the front plate.

      • Remove the front plate.

      Chiedi a FixBot

      Aggiungi Commento

    7. Canon PowerShot G7X Flash Replacement: passo 14, immagine 1 di 2 Canon PowerShot G7X Flash Replacement: passo 14, immagine 2 di 2
      • Remove flash toggle plate.

      • Remove the 2mm Phillips #000 screws under the flash toggle.

      Chiedi a FixBot

      Aggiungi Commento

    8. Canon PowerShot G7X Flash Replacement: passo 15, immagine 1 di 2 Canon PowerShot G7X Flash Replacement: passo 15, immagine 2 di 2
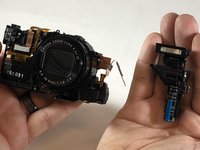
      • Flash contains charged capacitor. Shock hazard.

      • Using the black nylon spudger, gently lift the ribbon cable that connects the flash to motherboard and remove the flash from the device.

      Chiedi a FixBot

      Aggiungi Commento

Conclusione

To reassemble your device, follow these instructions in reverse order.

Annulla: non ho completato questa guida.

Un'altra persona ha completato questa guida.

1Commento della guida

Hi,

great guide, thanks!. Where can I buy the flash?

Best

david olivelli - Rispondi Condividi
Aggiungi Commento

Visualizza statistiche:

Ultime 24 ore: 2

Ultimi 7 giorni: 24

Ultimi 30 giorni: 108

Tutti i Tempi: 5,238