Salta al contenuto principale
Unisciti alla Community delle riparazioni - Crea un account

Canon PowerShot A75 Flash Unit Replacement

Cosa ti serve

  1. Canon PowerShot A75 Flash Unit Replacement, Batteries: passo 1, immagine 1 di 1
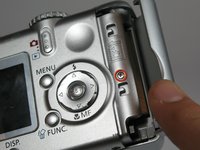
    • Turn the camera over and locate the "BATT OPEN" sliding switch.

    Chiedi a FixBot

    Aggiungi Commento

  2. Canon PowerShot A75 Flash Unit Replacement: passo 2, immagine 1 di 3 Canon PowerShot A75 Flash Unit Replacement: passo 2, immagine 2 di 3 Canon PowerShot A75 Flash Unit Replacement: passo 2, immagine 3 di 3
    • Slide the switch to the right.

    • The battery cover should slide down and spring open.

    Chiedi a FixBot

    Aggiungi Commento

  3. Canon PowerShot A75 Flash Unit Replacement: passo 3, immagine 1 di 3 Canon PowerShot A75 Flash Unit Replacement: passo 3, immagine 2 di 3 Canon PowerShot A75 Flash Unit Replacement: passo 3, immagine 3 di 3
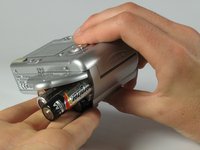
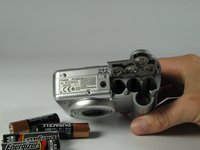
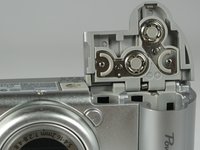
    • Remove the 4 AA batteries.

    • Watch for the orientation of the batteries as they slide out.

    • The battery orientation is shown under the battery flap itself and on a sticker next to the battery flap.

    Chiedi a FixBot

    Aggiungi Commento

  4. Canon PowerShot A75 Flash Unit Replacement, Casing: passo 4, immagine 1 di 1
    • Remove the three 2.5mm screws on the bottom of the camera.

    Chiedi a FixBot

    Aggiungi Commento

  5. Canon PowerShot A75 Flash Unit Replacement: passo 5, immagine 1 di 1
    • Remove the 3.8mm screw underneath the flap that covers the A/V port.

    Chiedi a FixBot

    Aggiungi Commento

  6. Canon PowerShot A75 Flash Unit Replacement: passo 6, immagine 1 di 2 Canon PowerShot A75 Flash Unit Replacement: passo 6, immagine 2 di 2
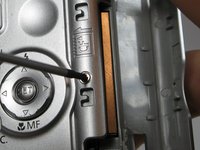
    • Remove the 2.4mm screw located underneath the cover of the memory card slot.

    Chiedi a FixBot

    Aggiungi Commento

  7. Canon PowerShot A75 Flash Unit Replacement: passo 7, immagine 1 di 2 Canon PowerShot A75 Flash Unit Replacement: passo 7, immagine 2 di 2
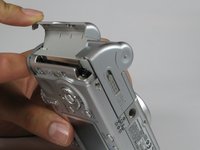
    • Open the memory card slot by sliding it laterally until you hear a click.

    • Remove the 5.9mm screw in the upper corner of the memory card slot.

    Chiedi a FixBot

    Aggiungi Commento

  8. Canon PowerShot A75 Flash Unit Replacement: passo 8, immagine 1 di 1
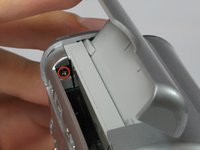
    • Remove the two 4.1mm screws at the bottom of the battery flap.

    Chiedi a FixBot

    Aggiungi Commento

  9. Canon PowerShot A75 Flash Unit Replacement: passo 9, immagine 1 di 2 Canon PowerShot A75 Flash Unit Replacement: passo 9, immagine 2 di 2
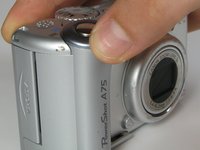
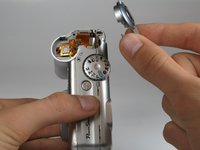
    • Lift the shutter button and speaker part from the top of the camera.

    • DO NOT pull the part too hard because there is a plug connecting the speaker to the camera.

    Chiedi a FixBot

    Aggiungi Commento

  10. Canon PowerShot A75 Flash Unit Replacement: passo 10, immagine 1 di 3 Canon PowerShot A75 Flash Unit Replacement: passo 10, immagine 2 di 3 Canon PowerShot A75 Flash Unit Replacement: passo 10, immagine 3 di 3
    Strumento utilizzato in questo passaggio:
    Tweezers
    $4.99
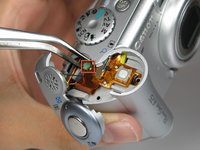
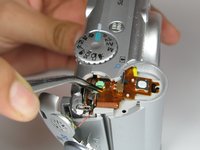
    • Using a pair of tweezers, grab the plug that connects the speaker to the camera and gently pull it out.

    Chiedi a FixBot

    Aggiungi Commento

  11. Canon PowerShot A75 Flash Unit Replacement: passo 11, immagine 1 di 1
    • Remove the rightmost 4.2mm screw underneath the battery cover, not the center screw.

    Chiedi a FixBot

    Aggiungi Commento

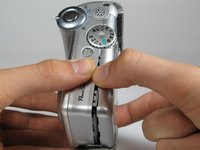
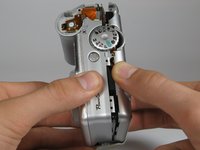
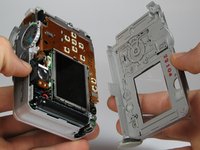
  12. Canon PowerShot A75 Flash Unit Replacement: passo 12, immagine 1 di 3 Canon PowerShot A75 Flash Unit Replacement: passo 12, immagine 2 di 3 Canon PowerShot A75 Flash Unit Replacement: passo 12, immagine 3 di 3
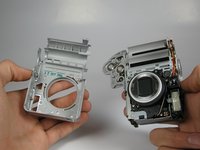
    • Separate the back casing and front casing of the camera using your hands.

    • Pulling the two halves apart can be difficult, especially at the top. Use a moderate amount of force.

    Chiedi a FixBot

    Aggiungi Commento

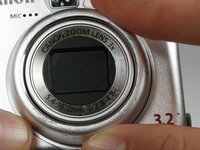
  13. Canon PowerShot A75 Flash Unit Replacement: passo 13, immagine 1 di 3 Canon PowerShot A75 Flash Unit Replacement: passo 13, immagine 2 di 3 Canon PowerShot A75 Flash Unit Replacement: passo 13, immagine 3 di 3
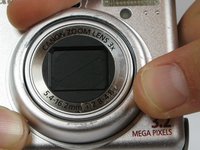
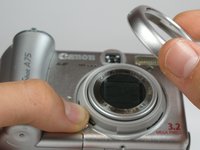
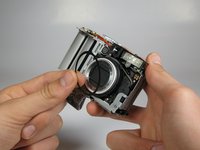
    • On the front of the camera, press the button on the lower left of the lens.

    • Twist the outer lens casing counter-clockwise and slide it out.

    Chiedi a FixBot

    Aggiungi Commento

  14. Canon PowerShot A75 Flash Unit Replacement: passo 14, immagine 1 di 3 Canon PowerShot A75 Flash Unit Replacement: passo 14, immagine 2 di 3 Canon PowerShot A75 Flash Unit Replacement: passo 14, immagine 3 di 3
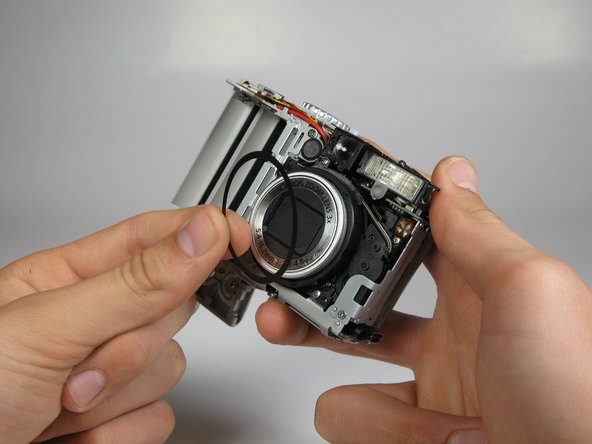
    • Take off the front casing.

    • There is a black rubber washer around the lens that comes out after you take the casing off. Make sure to replace it when putting the camera back together.

    Chiedi a FixBot

    Aggiungi Commento

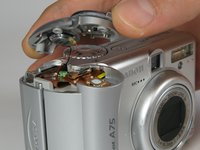
  15. Canon PowerShot A75 Flash Unit Replacement, Flash Unit: passo 15, immagine 1 di 3 Canon PowerShot A75 Flash Unit Replacement, Flash Unit: passo 15, immagine 2 di 3 Canon PowerShot A75 Flash Unit Replacement, Flash Unit: passo 15, immagine 3 di 3
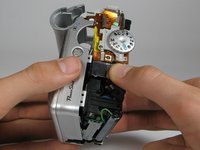
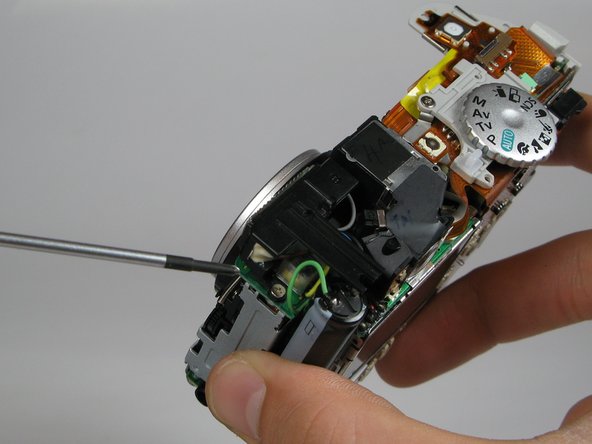
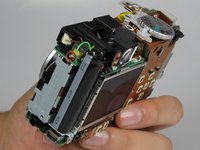
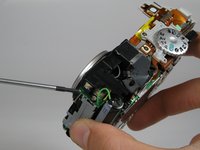
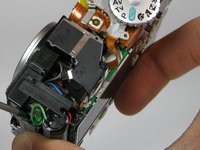
    • Rotate the camera such that the flash unit and capacitor are facing you.

    • DO NOT touch the capacitor because it may shock you.

    • Remove the 3.5mm screw located between the flash unit and the capacitor.

    Chiedi a FixBot

    Aggiungi Commento

  16. Canon PowerShot A75 Flash Unit Replacement: passo 16, immagine 1 di 2 Canon PowerShot A75 Flash Unit Replacement: passo 16, immagine 2 di 2
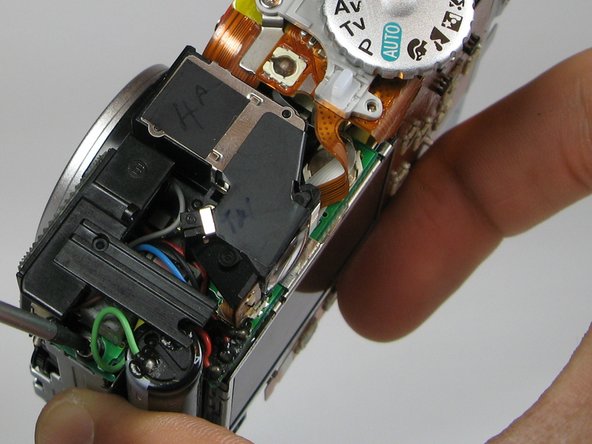
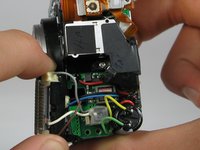
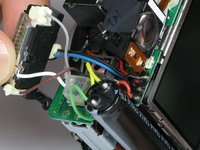
    • Snap flash unit out of place with your fingers.

    • Do not proceed to the next step unless you have previous soldering experience because you can damage the flash unit if you are not careful.

    • Unsolder the five wires connected to the flash unit in order to remove it.

    Chiedi a FixBot

    Aggiungi Commento

Conclusione

To reassemble your device, follow these instructions in reverse order.

Annulla: non ho completato questa guida.

Team

Cal Poly, Team 17-30, Amido Spring 2012 Membro di Cal Poly, Team 17-30, Amido Spring 2012

CPSU-AMIDO-S12S17G30

5 Membri

12 guide realizzate

0Commenti sulla guida

Aggiungi Commento

Visualizza statistiche:

Ultime 24 ore: 0

Ultimi 7 giorni: 9

Ultimi 30 giorni: 27

Tutti i Tempi: 1,214