Salta al contenuto principale
Unisciti alla Community delle riparazioni - Crea un account

Canon PowerShot A540 Function Key Motherboard Replacement

Cosa ti serve

    1. Canon PowerShot A540 Function Key Motherboard Replacement, Back Cover: passo 1, immagine 1 di 2 Canon PowerShot A540 Function Key Motherboard Replacement, Back Cover: passo 1, immagine 2 di 2
      • Turn off the camera.

      • Turn the camera upside-down and press the tab to release the battery cover. Remove the batteries.

      Chiedi a FixBot

      Aggiungi Commento

    2. Canon PowerShot A540 Function Key Motherboard Replacement: passo 2, immagine 1 di 1
      • Turn the camera upside down to view the "Card/Batt. Open" Cover.

      • Use a Phillips head #000 screwdriver to remove the three (3) 4.0 mm screws.

      Chiedi a FixBot

      Aggiungi Commento

    3. Canon PowerShot A540 Function Key Motherboard Replacement: passo 3, immagine 1 di 1
      • Open "Card/Batt. Open" Cover.

      • Remove the one (1) 5.0 mm screw with the Phillips head #000 screwdriver.

      Chiedi a FixBot

      Aggiungi Commento

    4. Canon PowerShot A540 Function Key Motherboard Replacement: passo 4, immagine 1 di 1
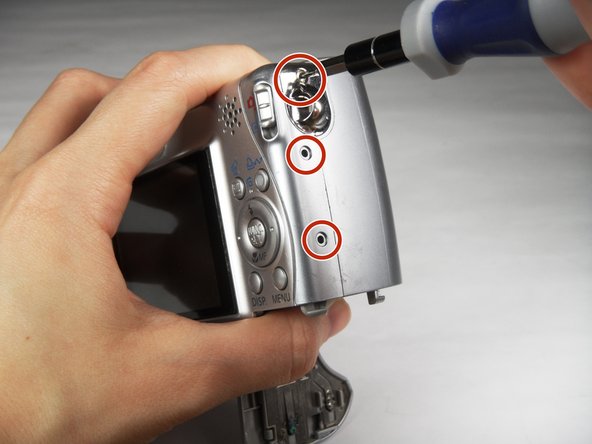
      • Turn the camera to the right side of the LCD screen.

      • Remove the three (3) 4.0 mm screws with the Phillips head #000 screwdriver.

      Chiedi a FixBot

      Aggiungi Commento

    5. Canon PowerShot A540 Function Key Motherboard Replacement: passo 5, immagine 1 di 3 Canon PowerShot A540 Function Key Motherboard Replacement: passo 5, immagine 2 di 3 Canon PowerShot A540 Function Key Motherboard Replacement: passo 5, immagine 3 di 3
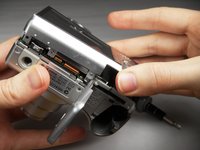
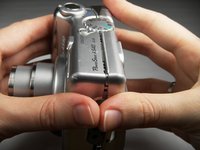
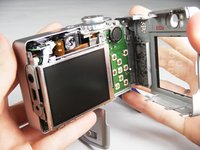
      • Gently remove the back cover.

      • Start at the bottom at the corner of the "Card/Batt. Open" Cover.

      • Then move onto the other edges and the top.

      • It may be tight at the top!

      Chiedi a FixBot

      Aggiungi Commento

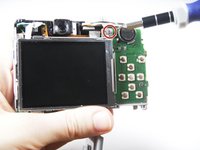
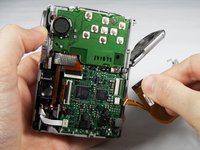
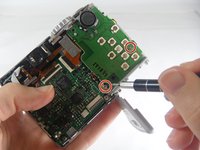
    1. Canon PowerShot A540 Function Key Motherboard Replacement, Function Key Motherboard: passo 6, immagine 1 di 2 Canon PowerShot A540 Function Key Motherboard Replacement, Function Key Motherboard: passo 6, immagine 2 di 2
      • Turn the camera to view the back.

      • Remove the one (1) 3.0 mm screw on the top right corner of the screen.

      • There is a small metal bar that rests on this frame. Keep it with the screws that have been removed from the camera.

      Chiedi a FixBot

      Aggiungi Commento

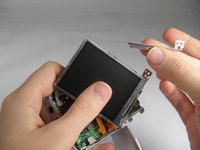
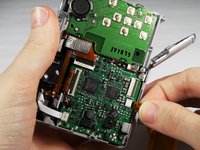
    2. Canon PowerShot A540 Function Key Motherboard Replacement: passo 7, immagine 1 di 2 Canon PowerShot A540 Function Key Motherboard Replacement: passo 7, immagine 2 di 2
      Strumento utilizzato in questo passaggio:
      Tweezers
      $4.99
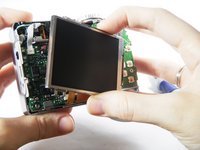
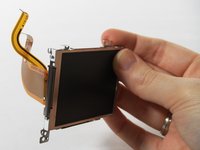
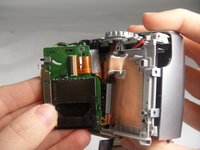
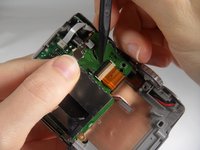
      • Lift the LCD Screen off of the back to view the attached ribbon cables.

      • Use tweezers to flip the black bar up.

      Chiedi a FixBot

      Aggiungi Commento

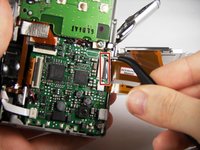
    3. Canon PowerShot A540 Function Key Motherboard Replacement: passo 8, immagine 1 di 3 Canon PowerShot A540 Function Key Motherboard Replacement: passo 8, immagine 2 di 3 Canon PowerShot A540 Function Key Motherboard Replacement: passo 8, immagine 3 di 3
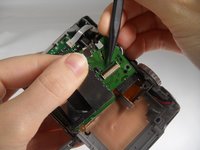
      • Gently pull the big ribbon out.

      • Gently pull the small ribbon out.

      • The small ribbon does not have a bar like the big ribbon.

      Chiedi a FixBot

      Aggiungi Commento

    4. Canon PowerShot A540 Function Key Motherboard Replacement: passo 9, immagine 1 di 2 Canon PowerShot A540 Function Key Motherboard Replacement: passo 9, immagine 2 di 2
      • Remove the two (2) 3.0 mm screws with the Phillips head #000 screwdriver.

      Chiedi a FixBot

      Aggiungi Commento

    5. Canon PowerShot A540 Function Key Motherboard Replacement: passo 10, immagine 1 di 2 Canon PowerShot A540 Function Key Motherboard Replacement: passo 10, immagine 2 di 2
      • Remove the orange ribbon from the clamp by using a Spudger to push the bar up.

      Chiedi a FixBot

      Aggiungi Commento

    6. Canon PowerShot A540 Function Key Motherboard Replacement: passo 11, immagine 1 di 1
      • Remove the Function Key Motherboard and replace.

      • There is another metal bar that comes off of the SD Card reader when screws are removed.

      Chiedi a FixBot

      Aggiungi Commento

Conclusione

To reassemble your device, follow these instructions in reverse order.

Annulla: non ho completato questa guida.

Team

Baylor, Team 7-12, Williams Spring 2015 Membro di Baylor, Team 7-12, Williams Spring 2015

BU-WILLIAMS-S15S7G12

3 Membri

20 guide realizzate

0Commenti sulla guida

Aggiungi Commento

Visualizza statistiche:

Ultime 24 ore: 3

Ultimi 7 giorni: 13

Ultimi 30 giorni: 37

Tutti i Tempi: 1,271