Salta al contenuto principale
Unisciti alla Community delle riparazioni - Crea un account

Canon Pixma MP480 Buttons Replacement

Cosa ti serve

    1. Canon Pixma MP480 Buttons Replacement, Rear and Side Panel: passo 1, immagine 1 di 2 Canon Pixma MP480 Buttons Replacement, Rear and Side Panel: passo 1, immagine 2 di 2
      • Remove the two 7.9 mm screws using a Phillips #1 screwdriver.

      Chiedi a FixBot

      Aggiungi Commento

    2. Canon Pixma MP480 Buttons Replacement: passo 2, immagine 1 di 1
      • Lift up the back cover to remove it.

      • You may need to lift firmly as it requires quite a bit of force.

      Chiedi a FixBot

      Aggiungi Commento

    3. Canon Pixma MP480 Buttons Replacement: passo 3, immagine 1 di 1
      • Open the front tray.

      Chiedi a FixBot

      Aggiungi Commento

    4. Canon Pixma MP480 Buttons Replacement: passo 4, immagine 1 di 2 Canon Pixma MP480 Buttons Replacement: passo 4, immagine 2 di 2
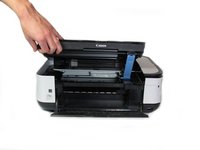
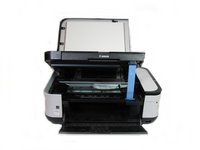
      • Open the scanner compartment.

      • Make sure the blue lever locks into place to keep the compartment open.

      Chiedi a FixBot

      Aggiungi Commento

    5. Canon Pixma MP480 Buttons Replacement: passo 5, immagine 1 di 2 Canon Pixma MP480 Buttons Replacement: passo 5, immagine 2 di 2
      • Remove the blue lever from its slot by pushing it back and twisting clockwise.

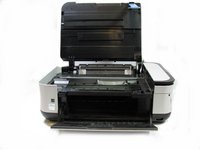
      • Close the scanner compartment and cover.

      Chiedi a FixBot

      Aggiungi Commento

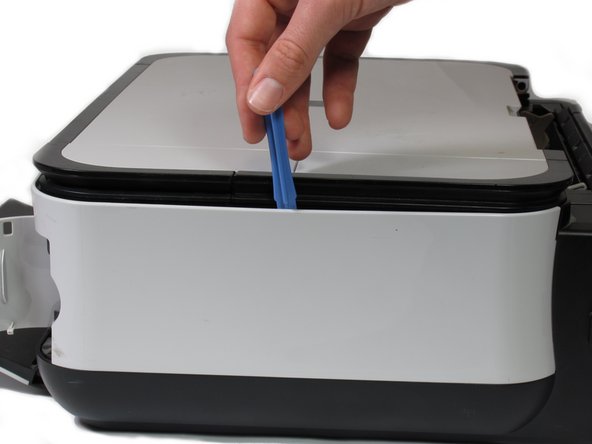
    6. Canon Pixma MP480 Buttons Replacement: passo 6, immagine 1 di 2 Canon Pixma MP480 Buttons Replacement: passo 6, immagine 2 di 2
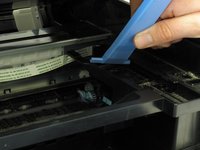
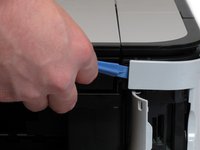
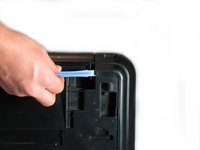
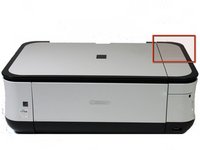
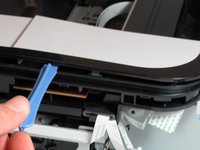
      • Pry open the side cover with the plastic opening tool.

      Chiedi a FixBot

      Aggiungi Commento

    7. Canon Pixma MP480 Buttons Replacement: passo 7, immagine 1 di 2 Canon Pixma MP480 Buttons Replacement: passo 7, immagine 2 di 2
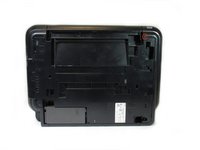
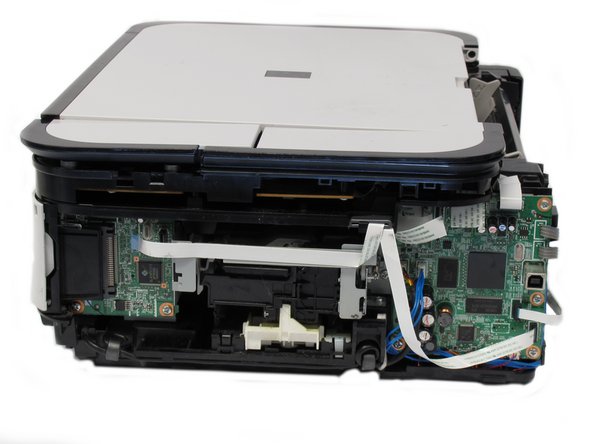
      • Flip the printer over so that the bottom of the printer is facing you.

      • Use the plastic opening tool to remove the corner of the side panel from the plastic pin.

      Chiedi a FixBot

      Aggiungi Commento

    8. Canon Pixma MP480 Buttons Replacement: passo 8, immagine 1 di 2 Canon Pixma MP480 Buttons Replacement: passo 8, immagine 2 di 2
      • Use the plastic opening tool to loosen the side panel from the bottom of the printer.

      Chiedi a FixBot

      Aggiungi Commento

    1. Canon Pixma MP480 Buttons Replacement, LCD: passo 9, immagine 1 di 2 Canon Pixma MP480 Buttons Replacement, LCD: passo 9, immagine 2 di 2
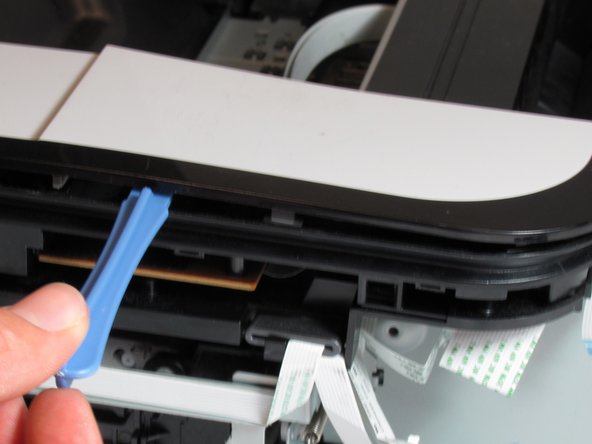
      • Using the plastic opening tool, pry off the top cover of the LCD assembly.

      • Pry around the front and side edges for the easiest removal.

      Chiedi a FixBot

      Aggiungi Commento

    2. Canon Pixma MP480 Buttons Replacement: passo 10, immagine 1 di 1
      • After removing the top cover of the LCD assembly, remove the LCD using the plastic opening tool.

      Chiedi a FixBot

      Aggiungi Commento

    3. Canon Pixma MP480 Buttons Replacement: passo 11, immagine 1 di 1
      • Gently pull the ribbon cable to remove the LCD completely.

      Chiedi a FixBot

      Aggiungi Commento

    1. Canon Pixma MP480 Buttons Replacement, Buttons: passo 12, immagine 1 di 1
      • Locate the buttons on the top of the printer.

      Chiedi a FixBot

      Aggiungi Commento

    2. Canon Pixma MP480 Buttons Replacement: passo 13, immagine 1 di 1
      • Using the plastic opening tool, gently pry under the button cover to remove it from its fixture.

      Chiedi a FixBot

      Aggiungi Commento

    3. Canon Pixma MP480 Buttons Replacement: passo 14, immagine 1 di 2 Canon Pixma MP480 Buttons Replacement: passo 14, immagine 2 di 2
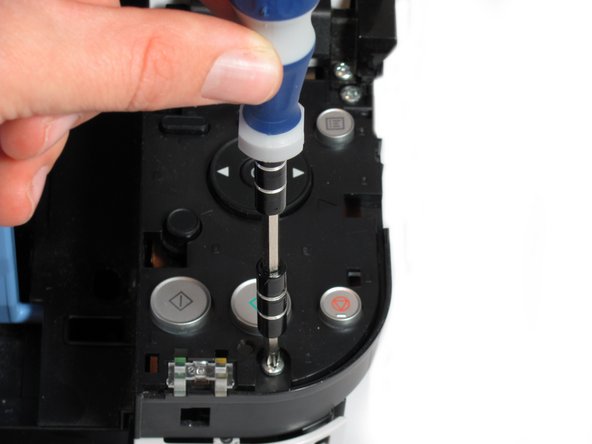
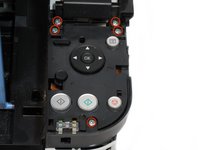
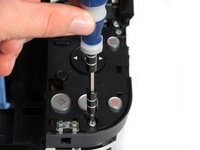
      • Remove the five 7.7 mm screws using a Phillips #1 screwdriver.

      Chiedi a FixBot

      Aggiungi Commento

    4. Canon Pixma MP480 Buttons Replacement: passo 15, immagine 1 di 2 Canon Pixma MP480 Buttons Replacement: passo 15, immagine 2 di 2
      • Using the plastic opening tool, gently pry around the cover behind the LCD screen to remove it from its fixture.

      Chiedi a FixBot

      Aggiungi Commento

    5. Canon Pixma MP480 Buttons Replacement: passo 16, immagine 1 di 2 Canon Pixma MP480 Buttons Replacement: passo 16, immagine 2 di 2
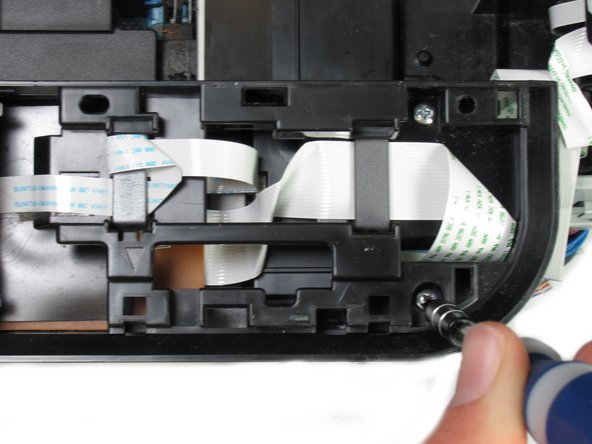
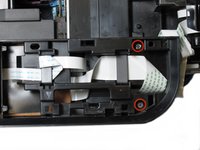
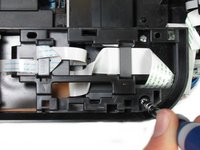
      • Remove the two 7.8 mm screws using a Phillips #1 screwdriver.

      Chiedi a FixBot

      Aggiungi Commento

    6. Canon Pixma MP480 Buttons Replacement: passo 17, immagine 1 di 1
      • Gently pull the LCD screen up to remove it from its fixture.

      Chiedi a FixBot

      Aggiungi Commento

    7. Canon Pixma MP480 Buttons Replacement: passo 18, immagine 1 di 1
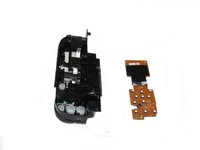
      • Use the plastic opening tool to pry off the plastic button assembly.

      Chiedi a FixBot

      Aggiungi Commento

    8. Canon Pixma MP480 Buttons Replacement: passo 19, immagine 1 di 1
      • Gently pull the plastic button assembly up to remove it.

      • The plastic button assembly has a ribbon cable connected on the bottom, so be careful pulling it.

      Chiedi a FixBot

      Aggiungi Commento

    9. Canon Pixma MP480 Buttons Replacement: passo 20, immagine 1 di 1
      • Remove the ribbon cable connected to the backside of the plastic button assembly.

      Chiedi a FixBot

      Aggiungi Commento

    10. Canon Pixma MP480 Buttons Replacement: passo 21, immagine 1 di 2 Canon Pixma MP480 Buttons Replacement: passo 21, immagine 2 di 2
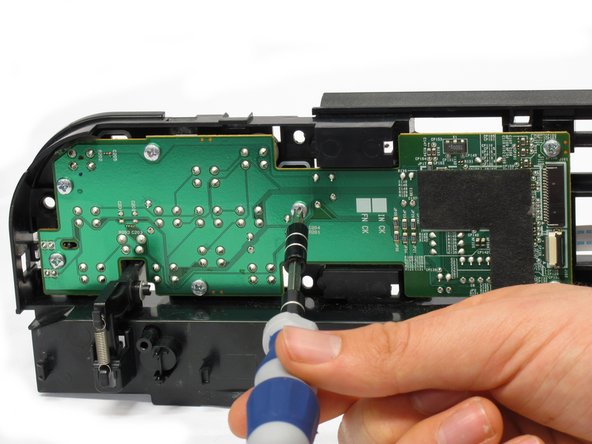
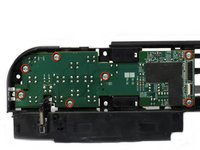
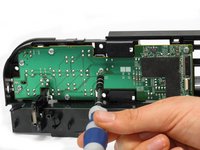
      • Remove the seven 8.7 mm screws using the Phillips #1 screwdriver.

      Chiedi a FixBot

      Aggiungi Commento

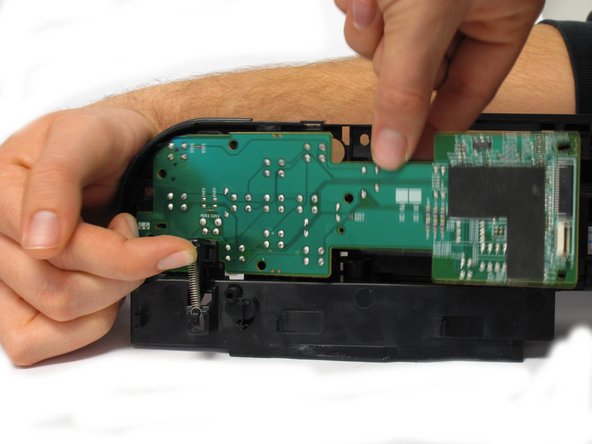
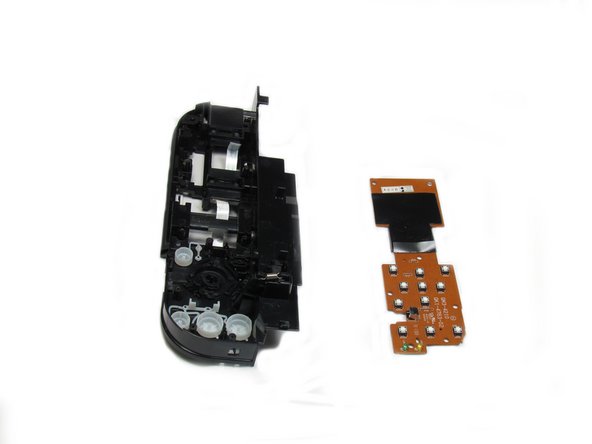
    11. Canon Pixma MP480 Buttons Replacement: passo 22, immagine 1 di 3 Canon Pixma MP480 Buttons Replacement: passo 22, immagine 2 di 3 Canon Pixma MP480 Buttons Replacement: passo 22, immagine 3 di 3
      • Locate the spring that holds the PCB in place on the bottom left of the plastic button assembly.

      • Gently lift the spring and pull the board out of its plastic button assembly.

      Chiedi a FixBot

      Aggiungi Commento

    12. Canon Pixma MP480 Buttons Replacement: passo 23, immagine 1 di 1
      • Remove the buttons from the plastic button assembly.

      Chiedi a FixBot

      Aggiungi Commento

Conclusione

To reassemble your device, follow these instructions in reverse order.

Annulla: non ho completato questa guida.

Team

Cal Poly, Team 19-41, Regan Winter 2013 Membro di Cal Poly, Team 19-41, Regan Winter 2013

CPSU-REGAN-W13S19G41

4 Membri

6 guide realizzate

0Commenti sulla guida

Aggiungi Commento

Visualizza statistiche:

Ultime 24 ore: 2

Ultimi 7 giorni: 11

Ultimi 30 giorni: 43

Tutti i Tempi: 2,200