
Canon EOS 300 Back Lock-Release Lever Replacement
Introduzione
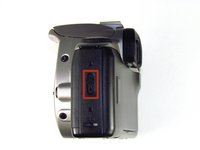
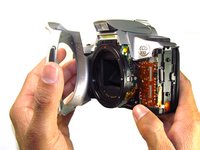
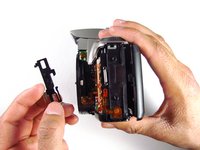
Vai al passo 1If the back lock-release lever is loose or broken, this will allow you to attempt to replace it.
Cosa ti serve
Strumenti

-
-
-
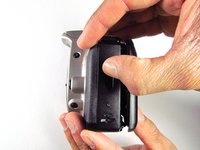
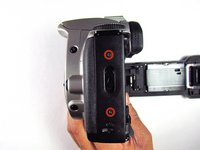
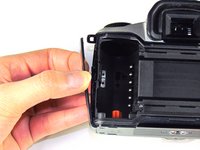
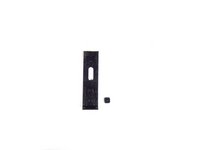
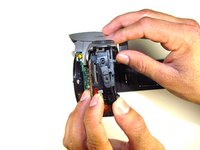
Pull off the lever by pushing up from the bottom and pulling away from the bottom.
-


To reassemble your device, follow these instructions in reverse order.
To reassemble your device, follow these instructions in reverse order.
Annulla: non ho completato questa guida.
Altre 2 persone hanno completato questa guida.
Team

Cal Poly, Team 6-20, Maness Winter 2014 Membro di Cal Poly, Team 6-20, Maness Winter 2014
CPSU-MANESS-W14S6G20
4 Membri
32 Guide realizzate