Salta al contenuto principale

Brother PT-1290 Keyboard Replacement

Cosa ti serve

  1. Brother PT-1290 Keyboard Replacement, Keyboard: passo 1, immagine 1 di 3 Brother PT-1290 Keyboard Replacement, Keyboard: passo 1, immagine 2 di 3 Brother PT-1290 Keyboard Replacement, Keyboard: passo 1, immagine 3 di 3
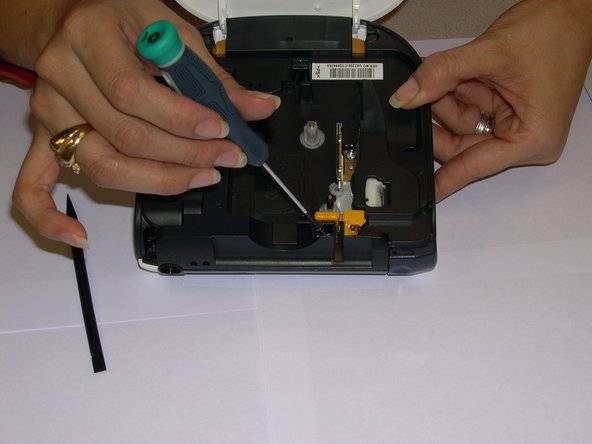
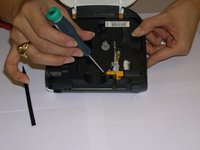
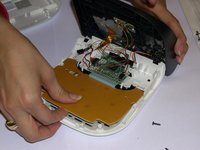
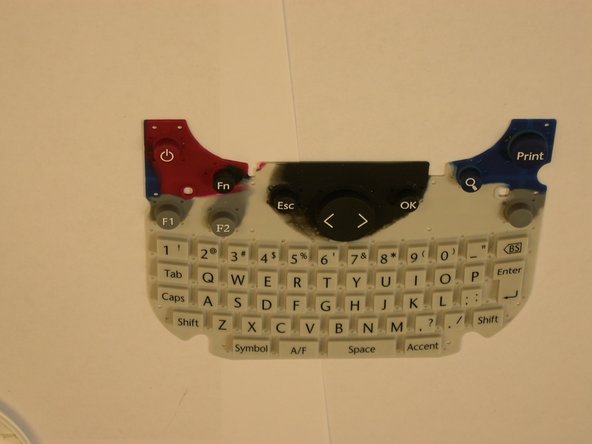
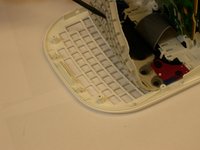
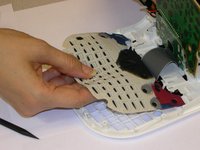
    • Turn the device to its side toward the bottom of the keyboard. Then pop open the case and remove the batteries.

  2. Brother PT-1290 Keyboard Replacement: passo 2, immagine 1 di 3 Brother PT-1290 Keyboard Replacement: passo 2, immagine 2 di 3 Brother PT-1290 Keyboard Replacement: passo 2, immagine 3 di 3
    • Remove back of device and set aside.

  3. Brother PT-1290 Keyboard Replacement: passo 3, immagine 1 di 3 Brother PT-1290 Keyboard Replacement: passo 3, immagine 2 di 3 Brother PT-1290 Keyboard Replacement: passo 3, immagine 3 di 3
    • Remove all 1/4 inch screws(6 total) with a (+PH00) screwdriver. Open slowly not to damage the display data cable.

  4. Brother PT-1290 Keyboard Replacement: passo 4, immagine 1 di 3 Brother PT-1290 Keyboard Replacement: passo 4, immagine 2 di 3 Brother PT-1290 Keyboard Replacement: passo 4, immagine 3 di 3
    • Use a plastic opening tool to remove the flat-panel membrane keyboard. Lift up and set aside.

  5. Brother PT-1290 Keyboard Replacement: passo 5, immagine 1 di 3 Brother PT-1290 Keyboard Replacement: passo 5, immagine 2 di 3 Brother PT-1290 Keyboard Replacement: passo 5, immagine 3 di 3
    • Use a spudger to aid in removing the keyboard.

    • Gently lift out while removing the LCD screen that is connected to the data cable and finishing removing.

Conclusione

To reassemble your device, follow these instructions in reverse order.

Team

Gateway, Team 1-4, Johnson Fall 2014 Membro di Gateway, Team 1-4, Johnson Fall 2014

GCC-JOHNSON-F14S1G4

3 Membri

6 Guide realizzate

0 Commenti

Aggiungi Commento

Visualizza Statistiche:

Ultime 24 Ore: 0

Ultimi 7 Giorni: 0

Ultimi 30 Giorni: 5

Tutti i Tempi: 507