Salta al contenuto principale
Unisciti alla Community delle riparazioni - Crea un account

Brother PT-110 Keypad Contacts Replacement

Cosa ti serve

    1. Brother PT-110 Keypad Contacts Replacement, Batteries: passo 1, immagine 1 di 2 Brother PT-110 Keypad Contacts Replacement, Batteries: passo 1, immagine 2 di 2
      • Push on the side of the cover, and remove it.

      Chiedi a FixBot

      Aggiungi Commento

    2. Brother PT-110 Keypad Contacts Replacement: passo 2, immagine 1 di 1
      • Remove the batteries.

      Chiedi a FixBot

      Aggiungi Commento

    1. Brother PT-110 Keypad Contacts Replacement, Back Plate: passo 3, immagine 1 di 2 Brother PT-110 Keypad Contacts Replacement, Back Plate: passo 3, immagine 2 di 2
      • Unscrew the two 9 mm Phillips #1 screws from the top and bottom.

      • Total: 2 x Screws

      Chiedi a FixBot

      Aggiungi Commento

    2. Brother PT-110 Keypad Contacts Replacement: passo 4, immagine 1 di 1
      • First: To separate the top cover from the body, insert a spudger between the two halves.

      • Gently twist the spudger until the two halves separate. Do this in multiple spots around the perimeter of the cover to distribute the pressure.

      • DO NOT PULL HALVES APART. There are wired connections inside that must be disconnected before halves can be fully separated.

      Chiedi a FixBot

      Aggiungi Commento

    3. Brother PT-110 Keypad Contacts Replacement: passo 5, immagine 1 di 1
      • Gently separate the two covers, ensuring wires are not taut.

      Chiedi a FixBot

      Aggiungi Commento

    4. Brother PT-110 Keypad Contacts Replacement: passo 6, immagine 1 di 1
      • Gently grasp the ribbon wire and top cover, then gently pull the ribbon wire out of its connection.

      Chiedi a FixBot

      Aggiungi Commento

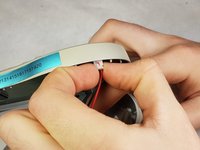
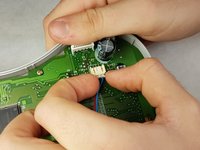
    5. Brother PT-110 Keypad Contacts Replacement: passo 7, immagine 1 di 2 Brother PT-110 Keypad Contacts Replacement: passo 7, immagine 2 di 2
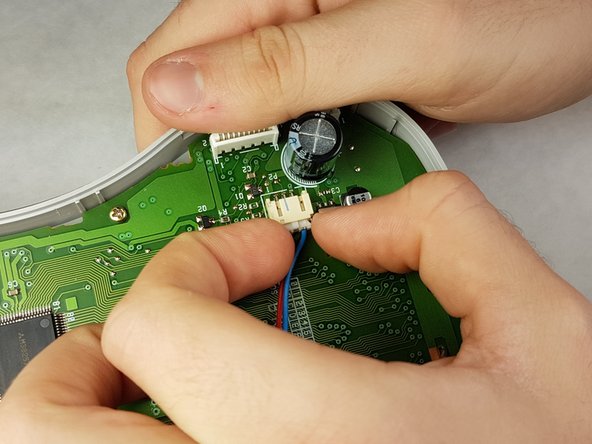
      • Carefully pinch the top of the connector.

      • Pull perpendicular to the device until the wire is disconnected.

      • It may require more force than expected to disconnect the wires.

      Chiedi a FixBot

      Aggiungi Commento

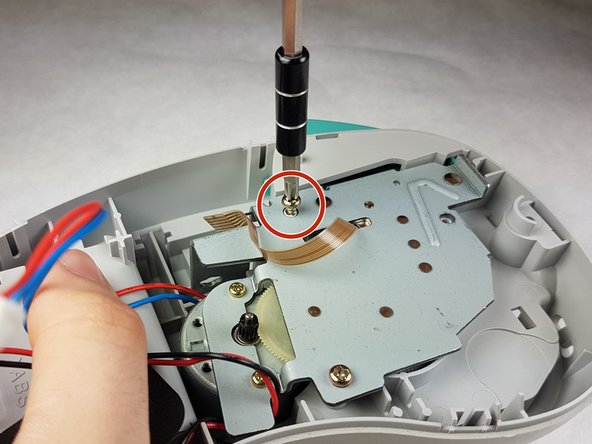
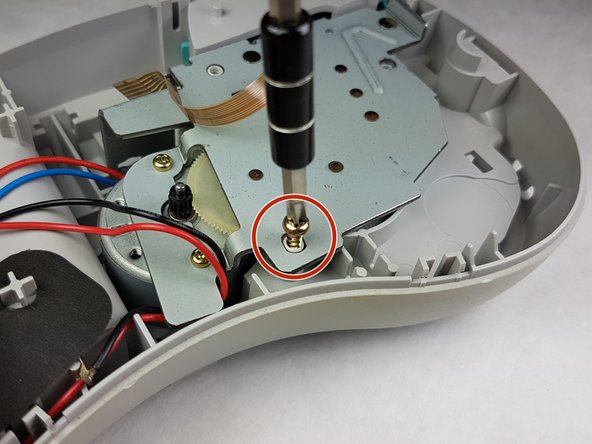
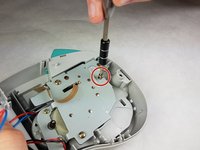
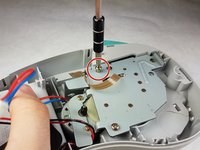
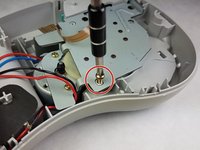
    6. Brother PT-110 Keypad Contacts Replacement: passo 8, immagine 1 di 3 Brother PT-110 Keypad Contacts Replacement: passo 8, immagine 2 di 3 Brother PT-110 Keypad Contacts Replacement: passo 8, immagine 3 di 3
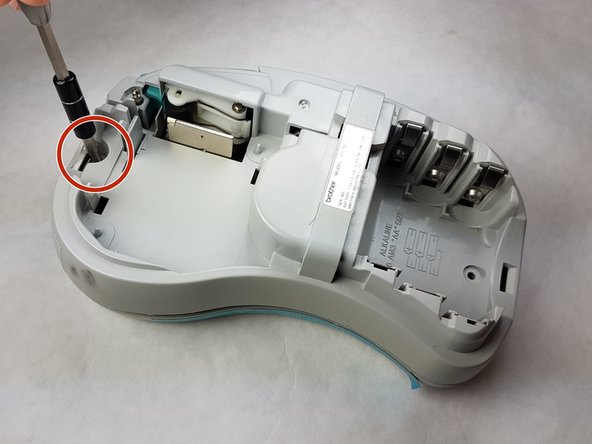
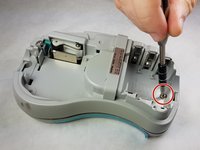
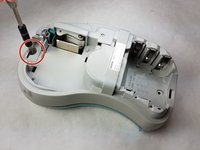
      • Unscrew the three 9 mm Phillips #1 screws shown.

      • Total: 3 x Screws

      Chiedi a FixBot

      Aggiungi Commento

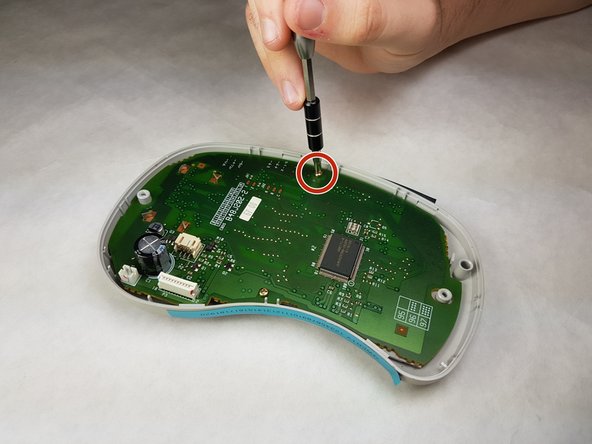
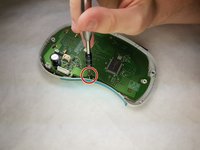
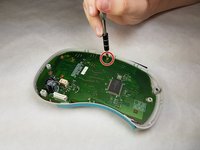
    1. Brother PT-110 Keypad Contacts Replacement, Keypad Contacts: passo 9, immagine 1 di 2 Brother PT-110 Keypad Contacts Replacement, Keypad Contacts: passo 9, immagine 2 di 2
      • Unscrew both 6 mm Phillips #1 screws from the circuit board.

      • Total screws: 2

      Chiedi a FixBot

      Aggiungi Commento

    2. Brother PT-110 Keypad Contacts Replacement: passo 10, immagine 1 di 1
      • Gently lift the circuit board out.

      Chiedi a FixBot

      Aggiungi Commento

    3. Brother PT-110 Keypad Contacts Replacement: passo 11, immagine 1 di 1
      • Peel the keypad contacts up from the plastic casing.

      Chiedi a FixBot

      Aggiungi Commento

Conclusione

To reassemble your device, follow these instructions in reverse order.

Annulla: non ho completato questa guida.

Team

IUPUI, Team 1-1, Harley Fall 2016 Membro di IUPUI, Team 1-1, Harley Fall 2016

IUPUI-HARLEY-F16S1G1

3 Membri

7 guide realizzate

0Commenti sulla guida

Aggiungi Commento

Visualizza statistiche:

Ultime 24 ore: 0

Ultimi 7 giorni: 4

Ultimi 30 giorni: 23

Tutti i Tempi: 562