Salta al contenuto principale
Unisciti alla Community delle riparazioni - Crea un account

Boogie Board Rip Copper Button Plate Replacement

Cosa ti serve

    1. Boogie Board Rip Copper Button Plate Replacement, Accessing the internal components: passo 1, immagine 1 di 2 Boogie Board Rip Copper Button Plate Replacement, Accessing the internal components: passo 1, immagine 2 di 2
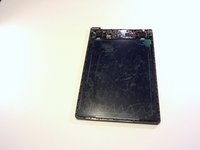
      • On the back of the device, remove the four 3/8" Torx head screws using the T-6 Torx bit.

      • A Torx bit is the piece that is inserted into a bit driver, also known as a screw driver.

      Chiedi a FixBot

      Aggiungi Commento

    2. Boogie Board Rip Copper Button Plate Replacement: passo 2, immagine 1 di 3 Boogie Board Rip Copper Button Plate Replacement: passo 2, immagine 2 di 3 Boogie Board Rip Copper Button Plate Replacement: passo 2, immagine 3 di 3
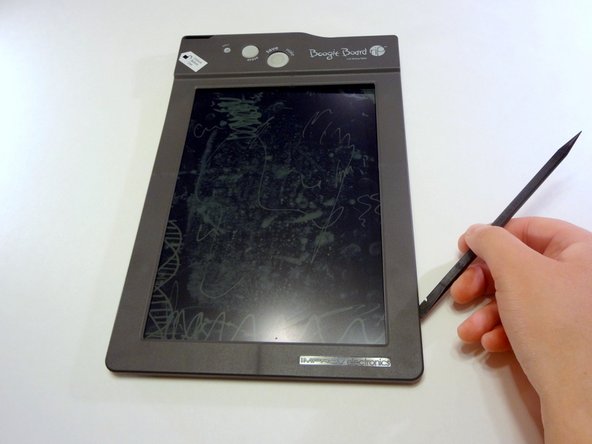
      • Remove the stylus if it is in the housing at the top of the device.

      • Turn the device so you are looking at it from the top down.

      • Using your thumbs on each wall of the stylus housing, open the frame of the device by gently pulling the two sides apart.

      Chiedi a FixBot

      Aggiungi Commento

    3. Boogie Board Rip Copper Button Plate Replacement: passo 3, immagine 1 di 3 Boogie Board Rip Copper Button Plate Replacement: passo 3, immagine 2 di 3 Boogie Board Rip Copper Button Plate Replacement: passo 3, immagine 3 di 3
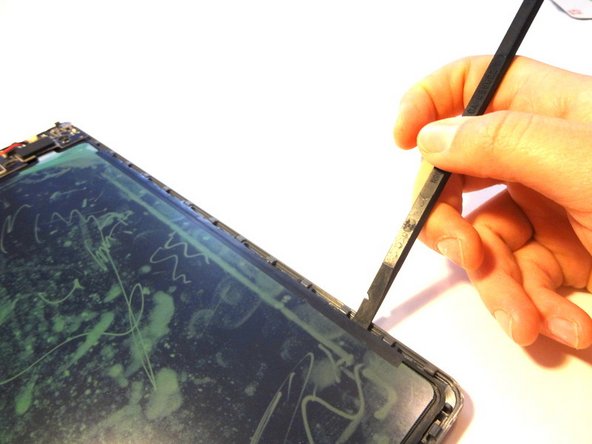
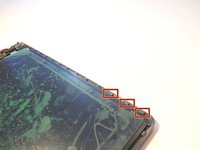
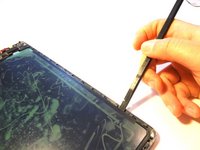
      • Insert a spudger into the seam between the front and back plates of the frame. Unsnap the snaps around the entire frame of the device.

      • Remove the front face plate by pulling it straight up.

      • The unlock switch on the device's side might come off while undoing the internal snaps or removing the face plate. This is perfectly normal.

      Chiedi a FixBot

      Aggiungi Commento

    4. Boogie Board Rip Copper Button Plate Replacement: passo 4, immagine 1 di 2 Boogie Board Rip Copper Button Plate Replacement: passo 4, immagine 2 di 2
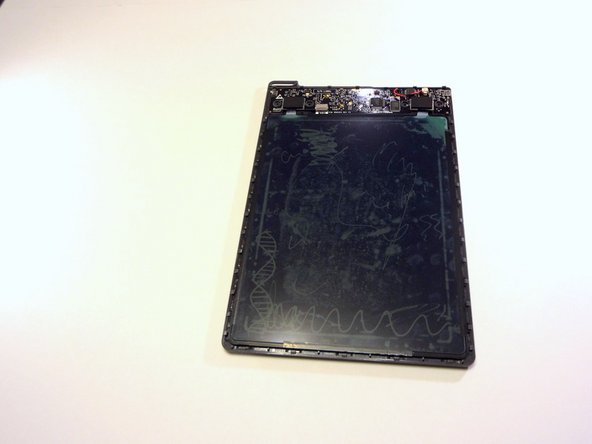
      • Use a spudger (or gently bend the back plate of the device) to unsnap the snaps holding the screen in place.

      Chiedi a FixBot

      Aggiungi Commento

    5. Boogie Board Rip Copper Button Plate Replacement: passo 5, immagine 1 di 2 Boogie Board Rip Copper Button Plate Replacement: passo 5, immagine 2 di 2
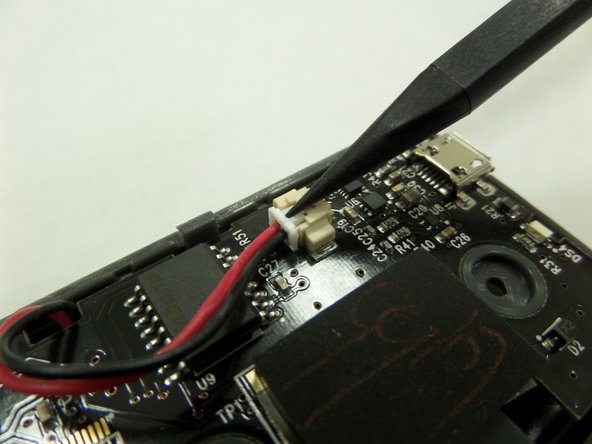
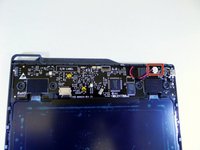
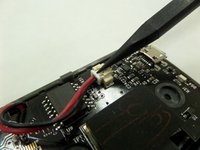
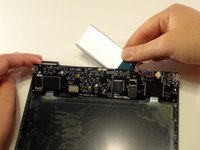
      • With a spudger, press against the lip of the connector closest to the wires to remove the battery connector from the motherboard.

      Chiedi a FixBot

      Aggiungi Commento

    6. Boogie Board Rip Copper Button Plate Replacement: passo 6, immagine 1 di 2 Boogie Board Rip Copper Button Plate Replacement: passo 6, immagine 2 di 2
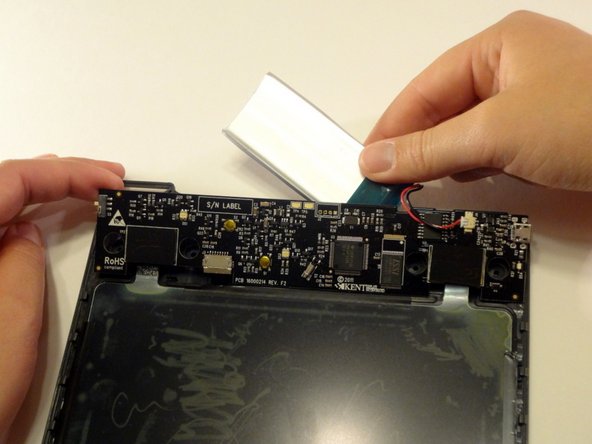
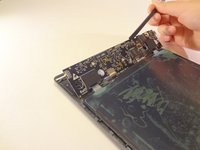
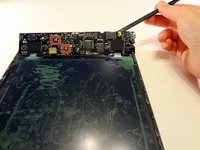
      • Gently lift the motherboard with a spudger or small object by inserting it in the seam between the back frame and the motherboard.

      • Remove the battery hidden behind the motherboard.

      Chiedi a FixBot

      Aggiungi Commento

    1. Boogie Board Rip Copper Button Plate Replacement, Copper Button Plate: passo 7, immagine 1 di 2 Boogie Board Rip Copper Button Plate Replacement, Copper Button Plate: passo 7, immagine 2 di 2
      Strumento utilizzato in questo passaggio:
      Tweezers
      $4.99
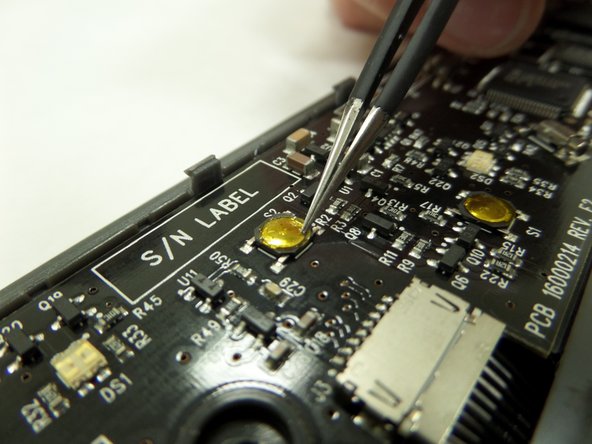
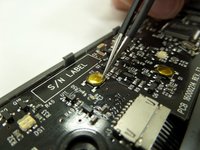
      • Using tweezers gently go around the edges of the copper plate to remove the adhesive.

      Chiedi a FixBot

      Aggiungi Commento

    2. Boogie Board Rip Copper Button Plate Replacement: passo 8, immagine 1 di 2 Boogie Board Rip Copper Button Plate Replacement: passo 8, immagine 2 di 2
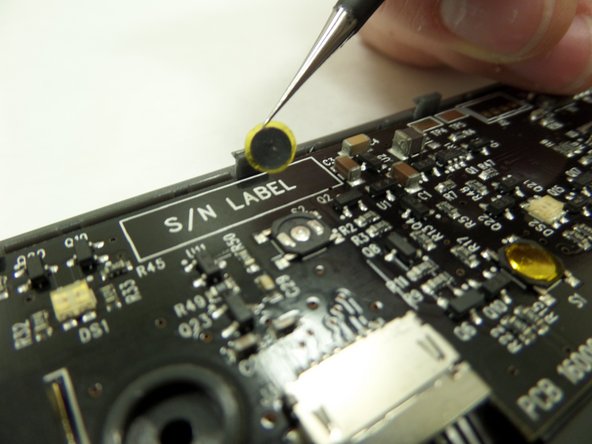
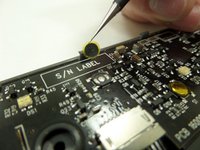
      • Use tweezers to grip the outer edge of the copper plate and lift the button straight off.

      Chiedi a FixBot

      Aggiungi Commento

Conclusione

To reassemble your device, follow these instructions in reverse order.

Annulla: non ho completato questa guida.

Gareth

Membro da: 09/09/14

360 Reputazione

3 guide realizzate

Team

CSU Fullerton, Team 2-6, Bruce Fall 2014 Membro di CSU Fullerton, Team 2-6, Bruce Fall 2014

CSUF-BRUCE-F14S2G6

4 Membri

6 guide realizzate

0Commenti sulla guida

Aggiungi Commento

Visualizza statistiche:

Ultime 24 ore: 2

Ultimi 7 giorni: 9

Ultimi 30 giorni: 32

Tutti i Tempi: 3,000