Introduzione
Use this guide to fix a broken or cracked screen on the BLU Studio G. The replacement will require a near complete disassembly of the phone since the connections to the motherboard will have to be disengaged.
Cosa ti serve
-
Passo 1 Motherboard Prerequisite
Attenzione: i passaggi 1-8 provengono da una guida contrassegnata come in corso.
-
To remove the back cover, turn the device over, locate the safety indented notch on the bottom left corner as the screen is facing down.
-
Using your finger (or spudger), prop upwards to detach the back cover properly from the rest of the device.
 Chiedi a FixBot
-
-
-
Locate the notch at the bottom of the battery for safe removal.
-
Carefully lift battery from the notch making sure not to puncture the battery rubber casting.
-
-
-
To remove the back panel, slide the metal spudger into 3 notches on left and right side outside edges of the device.
-
With some slow but strong pressure insert and dislodge the panel from the rest of the device. These are tough but small clips that hold together the back panel.
-
-
-
-
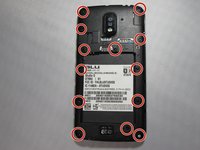
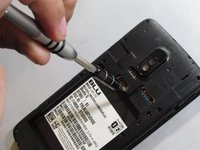
Remove all 8 3.175 mm screws that secure the motherboard in place.
-
Remove by turning counter clockwise using a Phillips #0 bit with the correct screwdriver using medium/ firm pressure, assuring that you don't strip the screws.
-
Set aside
-
-
-
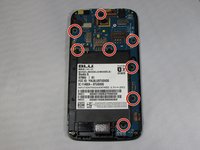
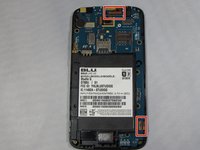
Locate the two connector clamps on the motherboard.
-
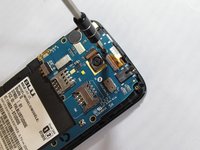
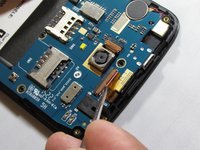
Carefully place the tip of a precision tweezer or metal spudger under the short light brown plastic clamp. This will release the connectors.
-
Gently pull out the connectors from the clamp inserts by pulling slowly away from of device using precision tweezers.
-
-
-
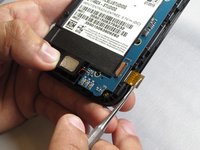
Locate the speaker on the bottom of the device and slowly pry upwards and to the right as its wired to the motherboard.
-
-
-
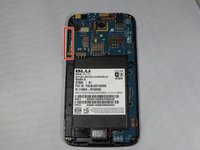
Locate the volume button strip on the left side of the device and slowly pry outwards from one end to the other from the device.
-
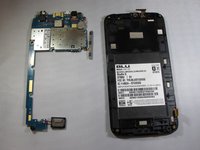
Carefully pull over the motherboard.
-
-
Strumento utilizzato in questo passaggio:Tweezers$4.99
-
Turn the phone over after detaching the connectors that were attached to the motherboard
-
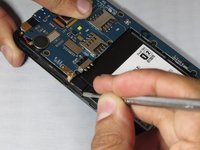
Carefully pry between the screen and the bevel with precision tweezers lifting slowly separating the screen.
-
Use of another thin tool will help support the lifting
-
-
-
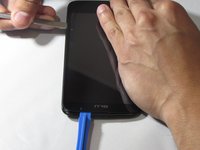
Insert the metal spudger between the screen and the frame, using the blue plastic tool as a brace to prevent the screen from reattaching to the frame.
-
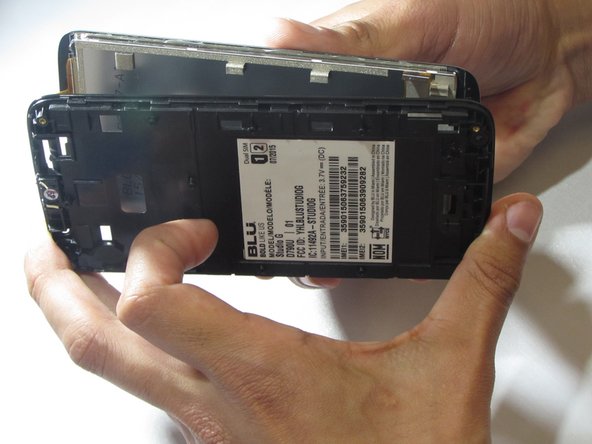
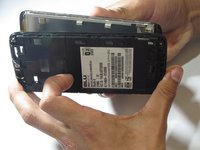
To fully remove the screen from the frame, repeat the previous step around the entire perimeter of the device.
-
Carefully remove the screen.
-










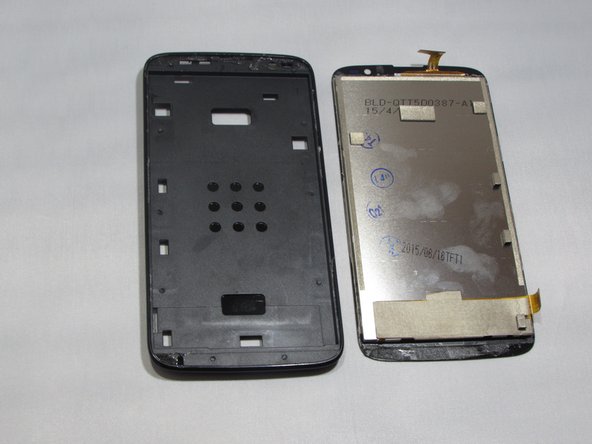
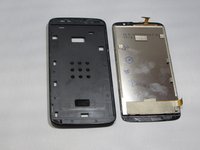
To reassemble your device, follow these instructions in reverse order.
Annulla: non ho completato questa guida.
Altre 4 persone hanno completato questa guida.

Team

Eastern Washington University, Team S1-G3, Rowley Spring 2019 Membro di Eastern Washington University, Team S1-G3, Rowley Spring 2019
EWU-ROWLEY-S19S1G3
4 Membri
11 guide realizzate
5Commenti sulla guida
Can anyone tell me where I can buy a screen for a blu view 3
Thank you
mrcblake50@gmail.com
I need screen fue the sam3 ministerio blu.where to buy
