Introduzione
The back camera may become damaged or scratched over time, causing poor quality pictures. This guide will explain how to access, remove, and replace your BLU Life X8 back camera.
Cosa ti serve
-
-
Flip the phone over so that the screen is facing down.
-
Slide the opening tool between the micro-USB port and the back cover.
-
Use the opening tool to create a gap.
 Chiedi a FixBot
-
-
-
Use your thumb to pry off the back panel once the gap is large enough.
-
-
-
Once the back panel is off, locate the indent at the bottom of the battery.
-
Use your thumb to slip the battery out of the case.
-
-
-
-
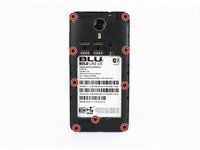
Use the Phillips #00 (1.5mm) bit to undo the (9) screws from the back of the device.
-
-
-
Wedge the opening tool into the seam of between the screen and the gray frame.
-
Run the opening tool along the seam to release the clips that hold the two pieces together.
-
-
-
Once all the clips have been released, pull back the frame and set it aside.
-
-
Strumento utilizzato in questo passaggio:Tweezers$4.99
-
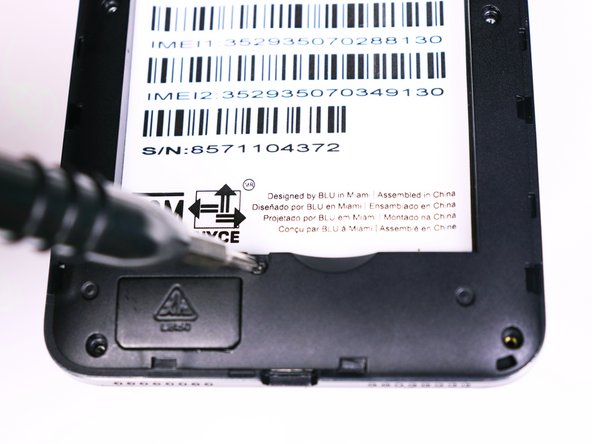
Use the tweezers to unlock the ribbon cable from the motherboard
-
The ribbon cable should be free. Pull back on the ribbons to release it from the connector
-




To reassemble your device, follow these instructions in reverse order.
Annulla: non ho completato questa guida.
Un'altra persona ha completato questa guida.

Team

USF Tampa, Team S1-G2, Nance Fall 2017 Membro di USF Tampa, Team S1-G2, Nance Fall 2017
USFT-NANCE-F17S1G2
4 Membri
12 guide realizzate
