Introduzione
The display for the tablet is one of the hardest parts to replace as it is attached by glued and you will need a hair dryer. The broken screen affects the display's functionality and will need replacement.
Cosa ti serve
-
-
-
Disconnect the dock and make sure the power is turned off.
-
Use plastic opening tool to pry screen up and remove from outer casing.
 Chiedi a FixBot
-
-
-
Pull up on the black circuit board protector.
-
Turn off the hard power switch before working with the tablet. Use a tool to slide the switch to the position marked "off".
-
-
-
Strumento utilizzato in questo passaggio:Tweezers$4.99
-
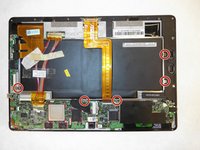
Use a Phillips #00 screwdriver to remove the 3mm screws connecting the battery to the motherboard.
-
Use the same screwdriver to remove two 3mm screws connecting the clips.
-
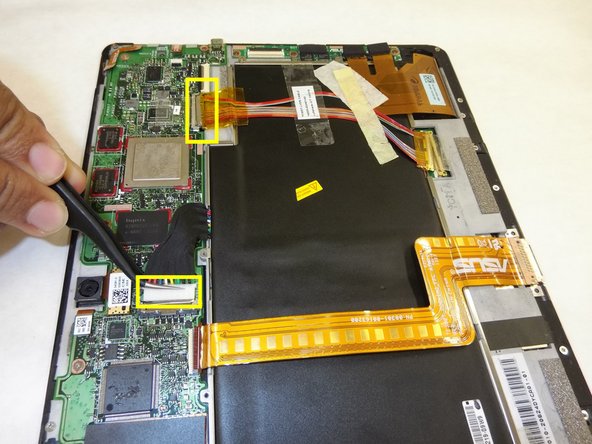
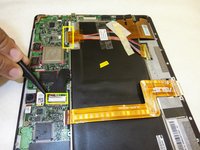
Use tweezers to remove two wires connected from the battery to the motherboard.
-
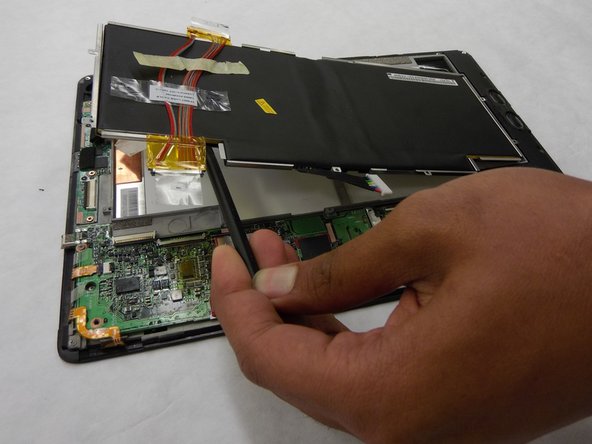
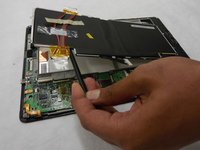
Use the spudger to remove the battery from the case.
-
-
-
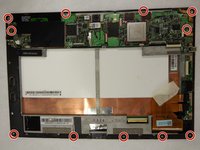
Use a Phillips #00 Screwdriver to remove the 3mm screws that connect the metal board with the screen.
-
-
-
Use a hairdryer on high and heat the edges of the screen. Melt the adhesive holding the screen to the casing of the tablet.
-
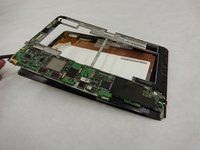
Take out the display away from the screen.
-
-





To reassemble your device, follow these instructions in reverse order.

Team

IUPUI, Team S2-G2, Wilson Summer 2017 Membro di IUPUI, Team S2-G2, Wilson Summer 2017
IUPUI-WILSON-SU17S2G2
3 Membri
8 guide realizzate
