Introduzione
This guide will walk you through replacing the fans in the Asus ROG G20CB gaming desktop. When replacing damaged or loud fans, these steps will help you safely remove and replace them without damaging internal components.
Warning:
Before beginning any work on your desktop, power down your PC and unplug all cables to avoid electric shock or component damage.
Cosa ti serve
-
-
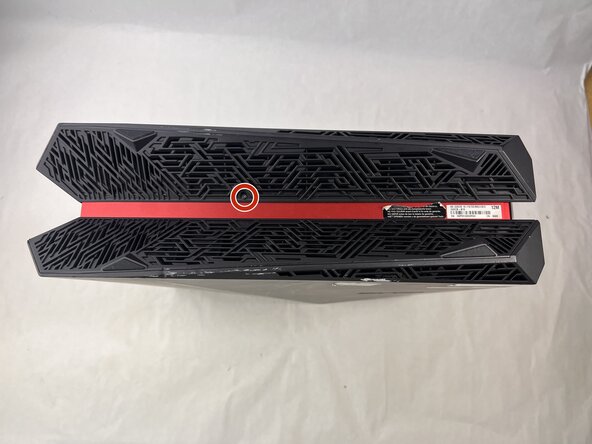
Remove each of the two 4.6 mm Phillips screws on the top and bottom of the tower.
 Chiedi a FixBot
-
-
-
-
Disconnect the cable carefully by pulling gently on both sides of the connector.
-
-
-
Remove the five 4.6 mm Phillips screws holding down the fan tray and then pull the fan tray out of the system.
-
-
-
Carefully unplug the two fan cables from the motherboard by pulling straight up from the base of the connector.
-
-
-
Remove the six 4.6 mm Phillips screws connecting the fans to the fan tray.
-



To reassemble your device, follow the above steps in reverse order.
Take your e-waste to an R2 or e-Stewards certified recycler.
Repair didn’t go as planned? Try some basic troubleshooting or ask our Answers community for help.

Team

UMass Dartmouth, Team 3-3, Botvin Spring 2025 Membro di UMass Dartmouth, Team 3-3, Botvin Spring 2025
UMASSD-BOTVIN-S25S3G3
3 Membri
5 guide realizzate
