Questa traduzione è stata generata automaticamente e non è stata ancora revisionata da una persona. Parli questa lingua? Dai un’occhiata.
Introduzione
Questa guida ha lo scopo di mostrare come rimuovere uno schermo danneggiato dal portatile. Seguendo i passaggi al contrario, descriverai le operazioni necessarie per sostituire lo schermo del portatile con uno nuovo.
Cosa ti serve
-
-
-
Svita le 10 viti lungo il bordo del pannello posteriore. Otto delle viti sono T5 da 0,0793 mm, due sono JIS #0 da 0,0793 mm.
 Chiedi a FixBot
-
-
-
Usa lo strumento di apertura in plastica per fare leva e rimuovere il pannello posteriore dalla base del portatile.
-
-
-
-
-
-
Sgancia entrambe le clip del cablaggio sul lato superiore e destro della batteria.
-
Solleva la batteria ed estraila dal dispositivo.
-
-
-
-
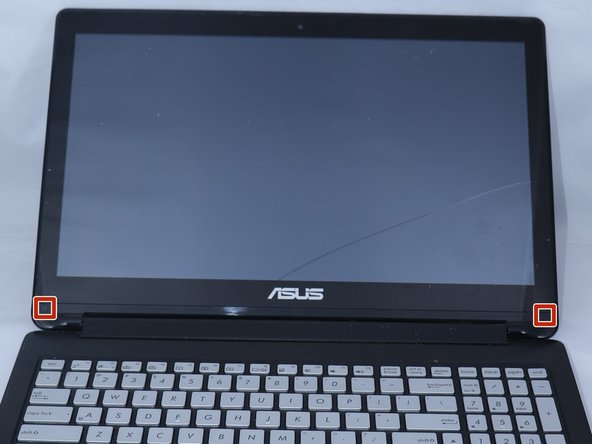
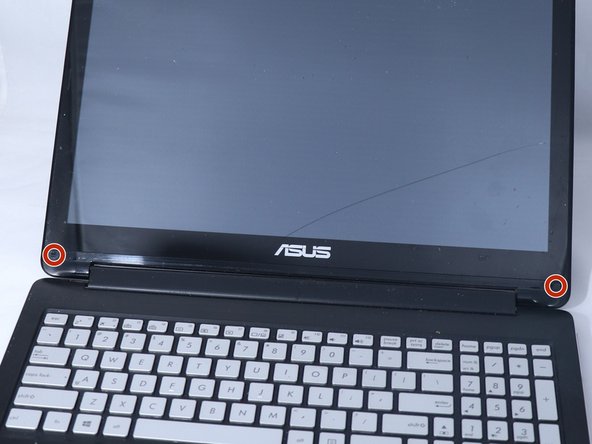
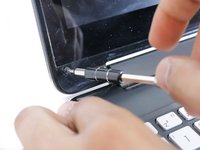
Usa lo spudger in metallo per sollevare delicatamente i due quadratini di plastica dallo schermo.
-
-
-
Usa lo strumento di apertura in plastica per fare leva sui bordi anteriori dello schermo e separarlo dal retro.
-
-
-
Rimuovi i nastri.
-
Fai leva delicatamente sull'LCD per separarlo dal telaio anteriore.
-
-


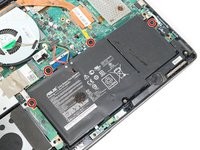
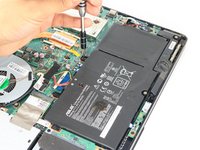


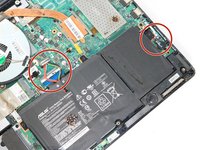
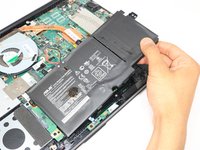







Per rimontare il dispositivo, segui queste istruzioni in ordine inverso.
Annulla: non ho completato questa guida.
Altre 4 persone hanno completato questa guida.

Team

Eastern Washington University, Team S3-G2, Rowley Spring 2018 Membro di Eastern Washington University, Team S3-G2, Rowley Spring 2018
EWU-ROWLEY-S18S3G2
3 Membri
35 guide realizzate
