Salta al contenuto principale
Unisciti alla Community delle riparazioni - Crea un account

Asus MeMO Pad 7 ME170C Microphone Replacement

Cosa ti serve

    1. Asus MeMO Pad 7 ME170C  Microphone  Replacement, Microphone: passo 1, immagine 1 di 3 Asus MeMO Pad 7 ME170C  Microphone  Replacement, Microphone: passo 1, immagine 2 di 3 Asus MeMO Pad 7 ME170C  Microphone  Replacement, Microphone: passo 1, immagine 3 di 3
      • Before beginning to dissemble, power off the device.

      • Excessive force can result in damaged or cracked screen. Be Gentle.

      • Using the Jimmy tool, gently wedge it into the seam of the device.

      • Gently pry the Jimmy tool all around the seam until the back panel is detached.

      Chiedi a FixBot

      Aggiungi Commento

    2. Asus MeMO Pad 7 ME170C  Microphone  Replacement: passo 2, immagine 1 di 3 Asus MeMO Pad 7 ME170C  Microphone  Replacement: passo 2, immagine 2 di 3 Asus MeMO Pad 7 ME170C  Microphone  Replacement: passo 2, immagine 3 di 3
      • Inserted in a black port on the motherboard, locate the white cable connector on the left side of the tablet.

      • In a side to side motion, using the smallest opening tool, slide the white cable box completely out of the port towards the bottom of the device.

      Chiedi a FixBot

      Aggiungi Commento

    3. Asus MeMO Pad 7 ME170C  Microphone  Replacement: passo 3, immagine 1 di 2 Asus MeMO Pad 7 ME170C  Microphone  Replacement: passo 3, immagine 2 di 2
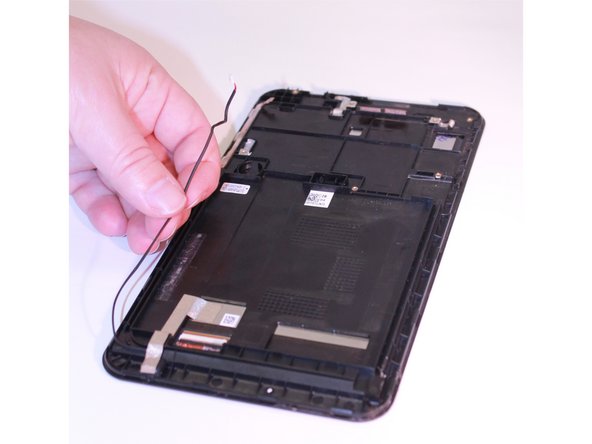
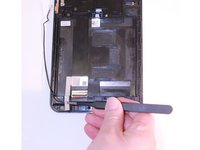
      • Pull the wire out of its tracking panel gently.

      • Note: This wire should be fairly easy to pull out of the panel.

      Chiedi a FixBot

      Aggiungi Commento

    4. Asus MeMO Pad 7 ME170C  Microphone  Replacement: passo 4, immagine 1 di 3 Asus MeMO Pad 7 ME170C  Microphone  Replacement: passo 4, immagine 2 di 3 Asus MeMO Pad 7 ME170C  Microphone  Replacement: passo 4, immagine 3 di 3
      Strumento utilizzato in questo passaggio:
      Tweezers
      $4.99
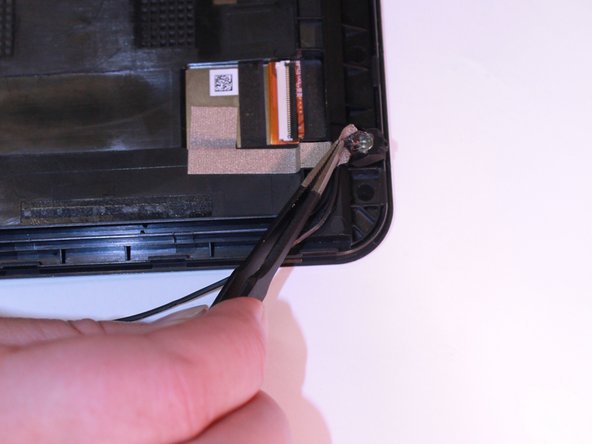
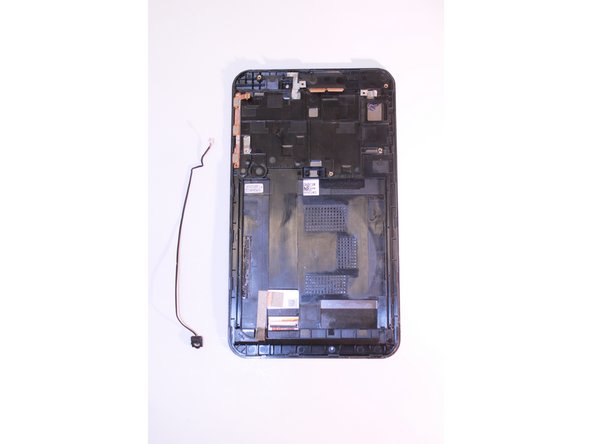
      • Note: The end of the wire is attached to a small taped black box.

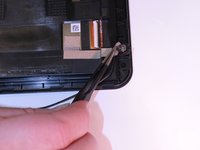
      • Using wide nosed tweezers, lift up the tape and remove from black box.

      • Note: Black box will loosen up once the tape is removed.

      • Remove the component completely from the device.

      Chiedi a FixBot

      Aggiungi Commento

Conclusione

To reassemble your device, follow these instructions in reverse order.

Annulla: non ho completato questa guida.

Un'altra persona ha completato questa guida.

0Commenti sulla guida

Aggiungi Commento

Visualizza statistiche:

Ultime 24 ore: 0

Ultimi 7 giorni: 4

Ultimi 30 giorni: 15

Tutti i Tempi: 1,297