Salta al contenuto principale
Unisciti alla Community delle riparazioni - Crea un account

ArmorAll AA255 Switch Replacement

Cosa ti serve

  1. ArmorAll AA255 Switch Replacement, Lower Motor Housing: passo 1, immagine 1 di 1
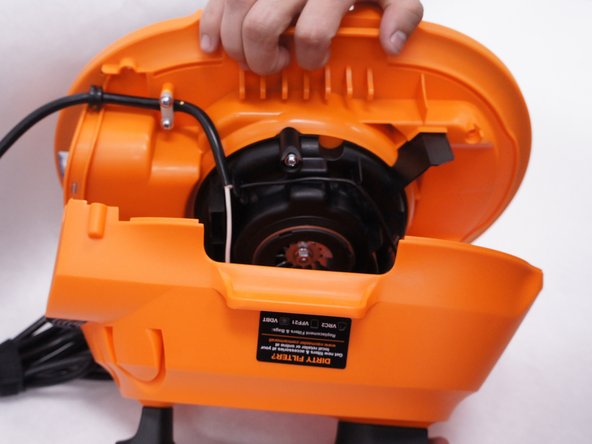
    • Remove the orange main housing unit from the vacuum bucket by pulling outward on the handle tabs while lifting upward as shown.

    Chiedi a FixBot

    Aggiungi Commento

  2. ArmorAll AA255 Switch Replacement: passo 2, immagine 1 di 1
    • Remove the five 15mm PH2 screws.

    Chiedi a FixBot

    Aggiungi Commento

  3. ArmorAll AA255 Switch Replacement: passo 3, immagine 1 di 1
    • Remove the 15 mm T20 screw. This screw is located nearest the power cord.

    Chiedi a FixBot

    Aggiungi Commento

  4. ArmorAll AA255 Switch Replacement: passo 4, immagine 1 di 2 ArmorAll AA255 Switch Replacement: passo 4, immagine 2 di 2
    • Gently separate the upper and lower sections of the main housing.

    Chiedi a FixBot

    Aggiungi Commento

  5. ArmorAll AA255 Switch Replacement, Switch: passo 5, immagine 1 di 1
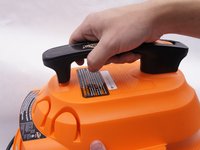
    • Using a PH2 screw head, unscrew the two 15mm screws as shown.

    Chiedi a FixBot

    Aggiungi Commento

  6. ArmorAll AA255 Switch Replacement: passo 6, immagine 1 di 3 ArmorAll AA255 Switch Replacement: passo 6, immagine 2 di 3 ArmorAll AA255 Switch Replacement: passo 6, immagine 3 di 3
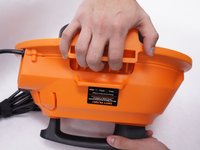
    • Pull the black handle.

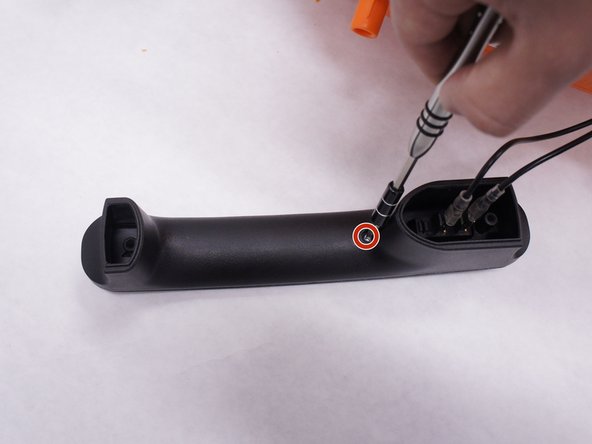
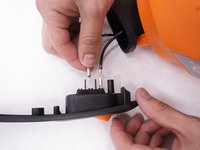
    • Using a PH2 screwdriver, unscrew the single 12mm screw shown.

    Chiedi a FixBot

    Aggiungi Commento

  7. ArmorAll AA255 Switch Replacement: passo 7, immagine 1 di 2 ArmorAll AA255 Switch Replacement: passo 7, immagine 2 di 2
    • Use the blue opening tool to open up the black handle.

    Chiedi a FixBot

    Aggiungi Commento

  8. ArmorAll AA255 Switch Replacement: passo 8, immagine 1 di 2 ArmorAll AA255 Switch Replacement: passo 8, immagine 2 di 2
    • Using your fingers, gently take out the black cords.

    • Careful to not break the black cords.

    Chiedi a FixBot

    Aggiungi Commento

  9. ArmorAll AA255 Switch Replacement: passo 9, immagine 1 di 2 ArmorAll AA255 Switch Replacement: passo 9, immagine 2 di 2
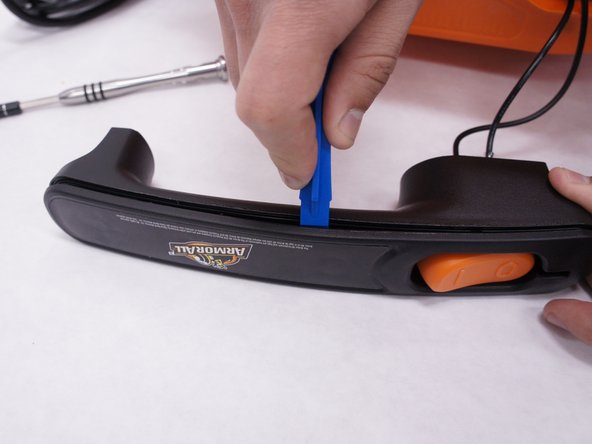
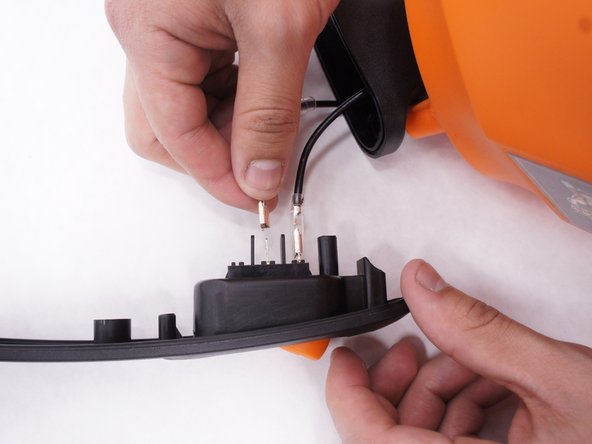
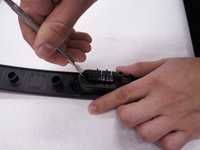
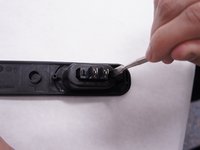
    • Using the spudger, take out the switch. Do this by pushing the spudger against the switch on both sides as shown and then pull the switch out.

    Chiedi a FixBot

    Aggiungi Commento

  10. ArmorAll AA255 Switch Replacement: passo 10, immagine 1 di 1
    • Replace the switch shown.

    Chiedi a FixBot

    Aggiungi Commento

Conclusione

To reassemble your device, follow these instructions in reverse order.

Annulla: non ho completato questa guida.

Altre 2 persone hanno completato questa guida.

Renzo La Rosa

Membro da: 02/09/16

224 Reputazione

Una guida realizzata

Team

IUPUI, Team 2-1, Baechle Spring 2016 Membro di IUPUI, Team 2-1, Baechle Spring 2016

IUPUI-BAECHLE-S16S2G1

4 Membri

6 guide realizzate

1Commento della guida

Any idea where to find a replacement switch? I did not see one on Amazon or eBay.

Mitchell Taylor - Rispondi Condividi

Aggiungi Commento

Visualizza statistiche:

Ultime 24 ore: 4

Ultimi 7 giorni: 40

Ultimi 30 giorni: 82

Tutti i Tempi: 3,481