Salta al contenuto principale

Apple Watch Ultra Sensor Assembly Replacement

Cosa ti serve

  1. Apple Watch Ultra Sensor Assembly Replacement, Power down your watch: passo 1, immagine 1 di 2 Apple Watch Ultra Sensor Assembly Replacement, Power down your watch: passo 1, immagine 2 di 2
    • Drain your watch battery below 25% before starting this repair. A charged battery may catch fire if damaged.

    • Take your watch off the charger and power it down.

    • If your touchscreen is broken and you can't power off the watch, use this alternate method to power it down.

  2. Apple Watch Ultra Sensor Assembly Replacement, Safety details: passo 2, immagine 1 di 3 Apple Watch Ultra Sensor Assembly Replacement, Safety details: passo 2, immagine 2 di 3 Apple Watch Ultra Sensor Assembly Replacement, Safety details: passo 2, immagine 3 di 3
    Attrezzo utilizzato in questo passaggio:
    Safety Glasses
    $3.19
    Compra
    • Because the gap between the screen assembly and frame is so small, a thin metal tool is needed to pry the screen up. Read the following warnings before you start disassembly:

    • Protect your fingers by keeping them completely clear of the front end of your tool. You can protect your free hand with a heavy glove, such as a leather shop glove or gardening glove.

    • Be careful not to apply too much pressure, as this might cause the iFlex to slip and cut you, or damage the watch.

    • Wear eye protection. The glass may break, sending pieces flying.

    • Attach or remove the watch bands as needed to provide more control as you make repairs.

  3. Apple Watch Ultra Sensor Assembly Replacement, Unfasten the sensor assembly screws: passo 3, immagine 1 di 2 Apple Watch Ultra Sensor Assembly Replacement, Unfasten the sensor assembly screws: passo 3, immagine 2 di 2
    • Use a P5 Pentalobe driver to remove the four 2.2 mm‑long screws securing the sensor assembly.

  4. Apple Watch Ultra Sensor Assembly Replacement, Soften the sensor assembly adhesive: passo 4, immagine 1 di 1
    • Heat an iOpener and apply it to the sensor assembly for at least two minutes to loosen the adhesive underneath.

    • You can also use a hair dryer, heat gun, or hot plate, but be careful not to overheat the watch—the screen and internal battery are both susceptible to heat damage.

  5. Apple Watch Ultra Sensor Assembly Replacement, Create a gap: passo 5, immagine 1 di 3 Apple Watch Ultra Sensor Assembly Replacement, Create a gap: passo 5, immagine 2 di 3 Apple Watch Ultra Sensor Assembly Replacement, Create a gap: passo 5, immagine 3 di 3
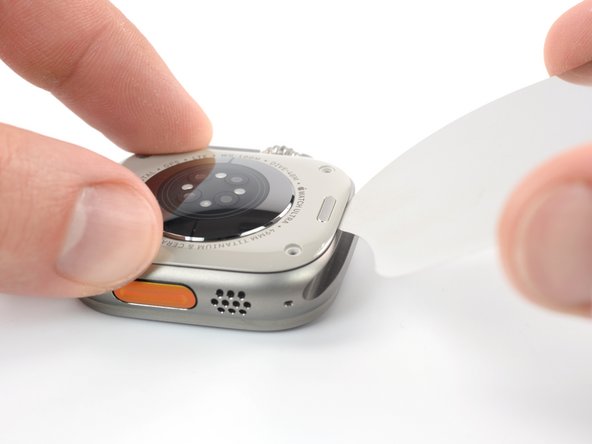
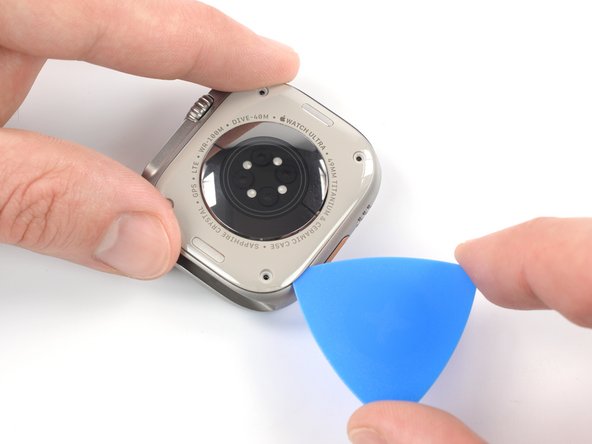
    • Insert an iFlex in the seam between the watch frame and the top edge of the sensor assembly to create a gap.

    • Carefully twist the iFlex to widen the gap.

    • Don't apply too much force, or you'll cause the sensor assembly to pop off and tear the sensor assembly cables.

  6. Apple Watch Ultra Sensor Assembly Replacement, Insert an opening pick: passo 6, immagine 1 di 3 Apple Watch Ultra Sensor Assembly Replacement, Insert an opening pick: passo 6, immagine 2 di 3 Apple Watch Ultra Sensor Assembly Replacement, Insert an opening pick: passo 6, immagine 3 di 3
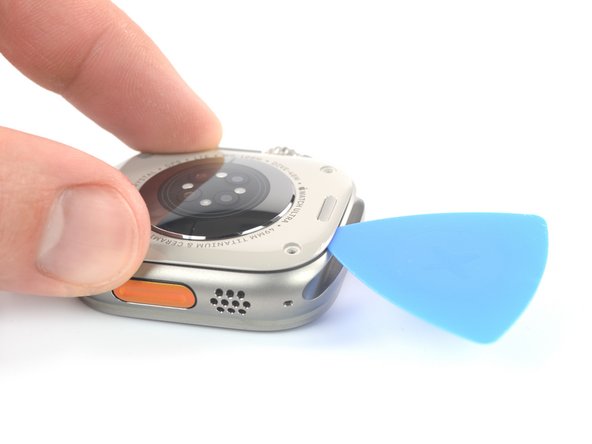
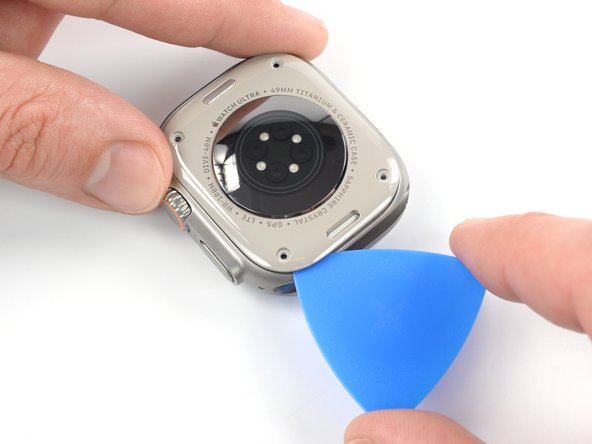
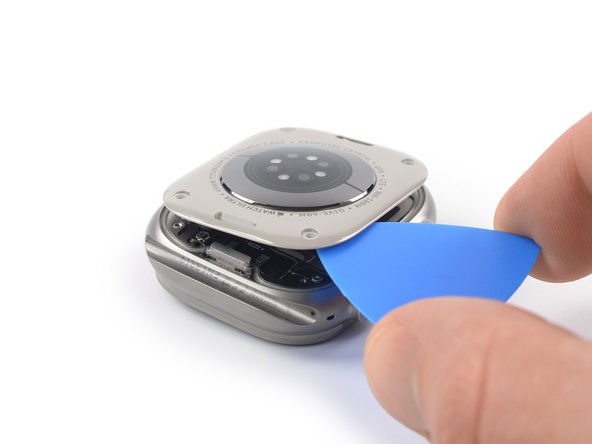
    • Insert an opening pick into the gap you created.

    • Do not insert the opening pick deeper than 3 mm to avoid tearing the sensor assembly cables.

    • Remove the iFlex.

  7. Apple Watch Ultra Sensor Assembly Replacement, Slice the sensor assembly adhesive: passo 7, immagine 1 di 3 Apple Watch Ultra Sensor Assembly Replacement, Slice the sensor assembly adhesive: passo 7, immagine 2 di 3 Apple Watch Ultra Sensor Assembly Replacement, Slice the sensor assembly adhesive: passo 7, immagine 3 di 3
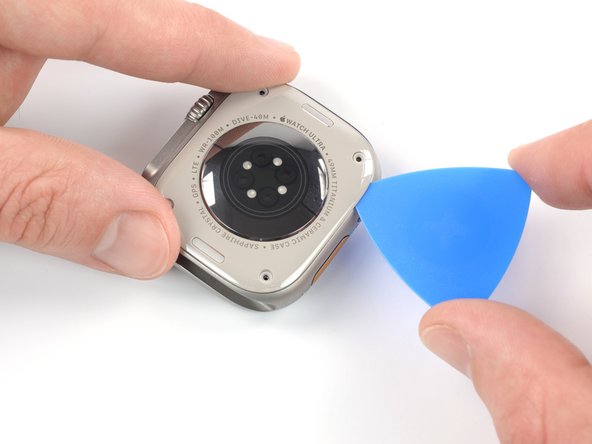
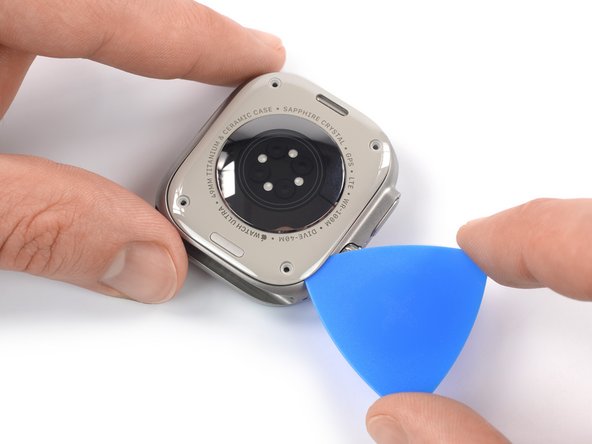
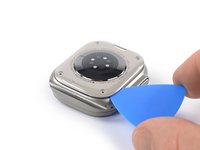
    • Slide the opening pick around the top right corner of the sensor assembly and along the right edge to slice its adhesive.
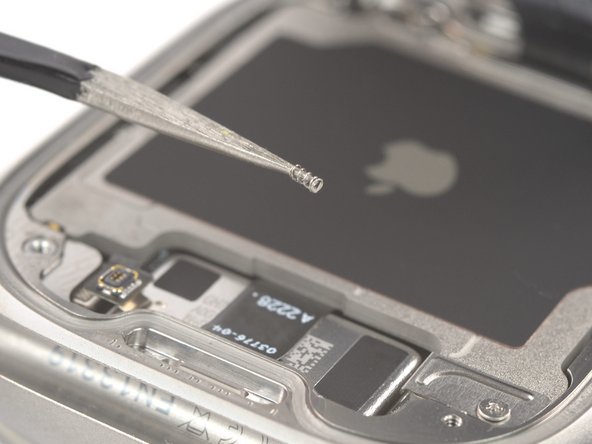
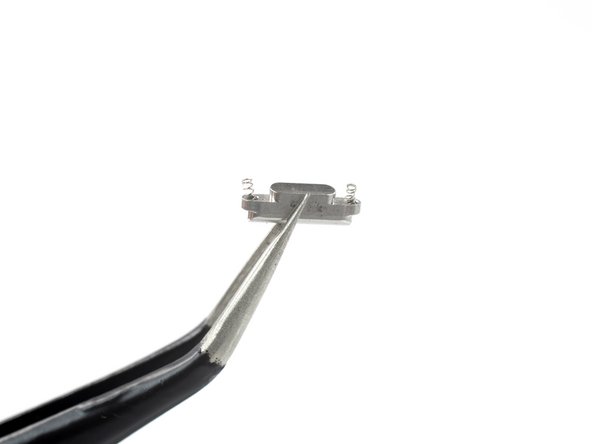
  8. Apple Watch Ultra Sensor Assembly Replacement: passo 8, immagine 1 di 2 Apple Watch Ultra Sensor Assembly Replacement: passo 8, immagine 2 di 2
    • Slide the opening pick around the bottom right corner and along the bottom edge to slice the rear assembly adhesive.

  9. Apple Watch Ultra Sensor Assembly Replacement: passo 9, immagine 1 di 2 Apple Watch Ultra Sensor Assembly Replacement: passo 9, immagine 2 di 2
    • Slide the opening around the bottom left corner and along the left edge to slice the remaining adhesive.

  10. Apple Watch Ultra Sensor Assembly Replacement, Band release button information: passo 10, immagine 1 di 3 Apple Watch Ultra Sensor Assembly Replacement, Band release button information: passo 10, immagine 2 di 3 Apple Watch Ultra Sensor Assembly Replacement, Band release button information: passo 10, immagine 3 di 3
    • In the following steps, the band release buttons and springs may fall out. Be careful during the disassembly, as they are very easy to lose.

    • The band release buttons are equipped with a tiny spring on each end. The springs are mandatory for the buttons to function properly.

    • During reassembly, make sure each band release button has its two springs, and the buttons are repositioned in their recesses.

    • If a band release button falls out and the springs aren't on the button, they may have gotten stuck in the watch during disassembly. Use a pair of tweezers to remove them from the watch and place them upright into their recess on the button for reassembly.

  11. Apple Watch Ultra Sensor Assembly Replacement, Lift the sensor assembly: passo 11, immagine 1 di 2 Apple Watch Ultra Sensor Assembly Replacement, Lift the sensor assembly: passo 11, immagine 2 di 2
    • The sensor assembly is connected to the watch body with two cables. One of the cables is extremely short and its connector will automatically disconnect when lifting the sensor assembly.

    • To reconnect the short press connector during reassembly, line up the sensor assembly to the frame and squeeze gently.

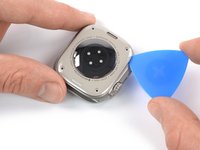
    • Carefully lift the top edge of the sensor assembly with your opening pick until you can get a good grip with your fingers.

    • Don't try to remove the sensor assembly all the way yet. It's still connected to the watch body.

  12. Apple Watch Ultra Sensor Assembly Replacement, Swing open the sensor assembly: passo 12, immagine 1 di 3 Apple Watch Ultra Sensor Assembly Replacement, Swing open the sensor assembly: passo 12, immagine 2 di 3 Apple Watch Ultra Sensor Assembly Replacement, Swing open the sensor assembly: passo 12, immagine 3 di 3
    • Be careful not to strain the sensor assembly cable when you lift the assembly up.

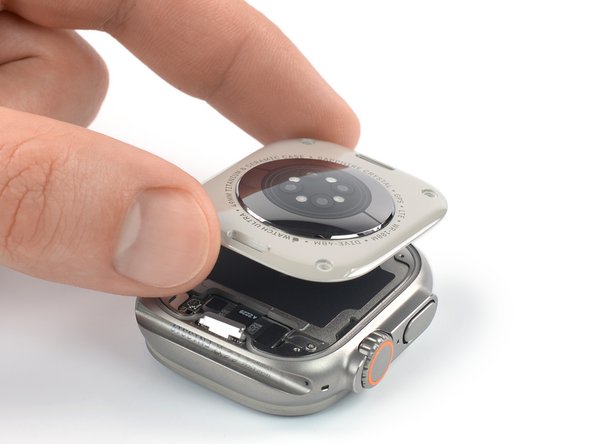
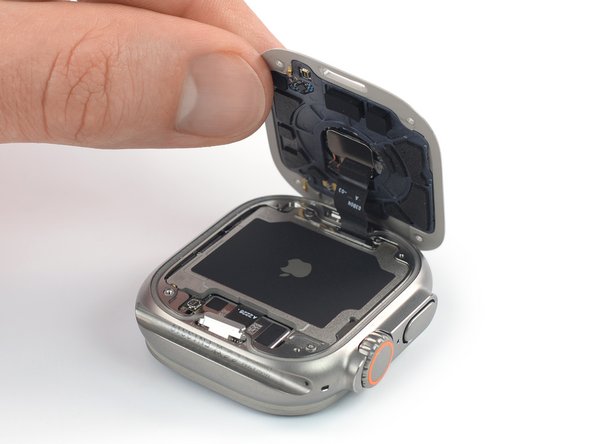
    • Lift the sensor assembly and carefully pull it towards the bottom edge of the watch.

    • Swing the sensor assembly open to an upward position.

  13. Apple Watch Ultra Sensor Assembly Replacement, Disconnect the sensor assembly cable: passo 13, immagine 1 di 2 Apple Watch Ultra Sensor Assembly Replacement, Disconnect the sensor assembly cable: passo 13, immagine 2 di 2
    • The band release button near the sensor assembly cable is equipped with a tiny spring on each end. Be careful not to lose the button or its springs.

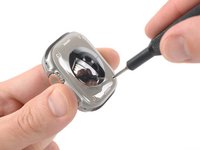
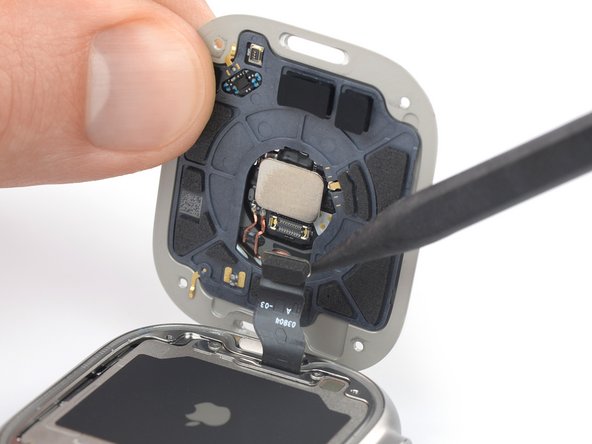
    • Use a spudger to pry and disconnect the sensor assembly cable from its socket.

  14. Apple Watch Ultra Sensor Assembly Replacement, Remove the sensor assembly: passo 14, immagine 1 di 1
    • Remove the sensor assembly.

Conclusione

To reassemble your Apple Watch Ultra follow these instructions in reverse order to reattach the screen and the battery.

Apply a little bit of high isopropyl alcohol (>90%) to a Q-tip or use a cleaning pad to gently remove the leftover adhesive on the edges of the watch case and the screen before installing new adhesive.

Take your e-waste to an R2 or e-Stewards certified recycler.

Repair didn’t go as planned? Check out our Answers community for troubleshooting help.

Team

iFixit Membro di iFixit

Staff

135 Membri

16.757 Guide realizzate

6 Commenti

The back of the apple watch not the sensor what is that material.i know the sensors are ceramic coated but what about the surrounding area of the watch in which the screws go in ??

HUNTER - - Replica

Woher bekomme ich diesen Bauteil?

Mein Sensor Glas ist defekt, habe in Euren Store nichts gefunden

Danke Lg

Ge Zw - Replica

Where can you purchase another sensor? My sensor is cracked after 3 months from purchase, did not drop it and Apple not willing to replace. I'm not willing to spend another $500 for it. Thoughts?

Jesse Burlingham - Replica

I have the same problem. cracked after a few months from purchase. ceramic and sensors material is weak compared to the front (titanium material). Its weak point in ultra watch need to be fixed by Apple

Abdulghani Aldhufeeri -

The back casing is a huge Achillies heal of the Ultra watch. When the crack first occurred (two months after purchase, and occurred simply while removing the watch over a bathroom counter), it was so minor that I noticed no loss of functionality. After six more months, the heart rate monitor stopped working. Then the battery life plummeted. Now at 10 months since purchase, I'm deciding between $500 Apple service, NYC-based repair services, or do it yourself repair.

mnoll02 - Replica

Aggiungi Commento

Visualizza Statistiche:

Ultime 24 Ore: 7

Ultimi 7 Giorni: 76

Ultimi 30 Giorni: 332

Tutti i Tempi: 6,202