Questa traduzione è stata generata automaticamente e non è stata ancora revisionata da una persona. Parli questa lingua? Dai un’occhiata.
Introduzione
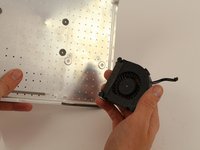
La ventola regola il flusso d'aria all'interno della Time Capsule, permettendo ai componenti interni di mantenere una temperatura ottimale. Se la ventola è guasta, è molto facile da sostituire e richiede pochi strumenti.
Cosa ti serve
-
-
-
Capovolgi il dispositivo per esporre la sezione in gomma della piastra posteriore. Utilizzando uno spudger in metallo, inserisci con cautela la punta smussata nello spazio tra la piastra posteriore in alluminio e la gomma, separando i due pezzi.
-
A seconda della temperatura dell'aria e di quanto sia fissato l'adesivo, potrebbe essere necessario scaldare la piastra posteriore con una piastra riscaldante (al minimo) o con un asciugacapelli.
 Chiedi a FixBot
-
-
-
Rimuovi le dieci viti da 3 mm con un cacciavite a croce Phillips #00.
-
-
-
-
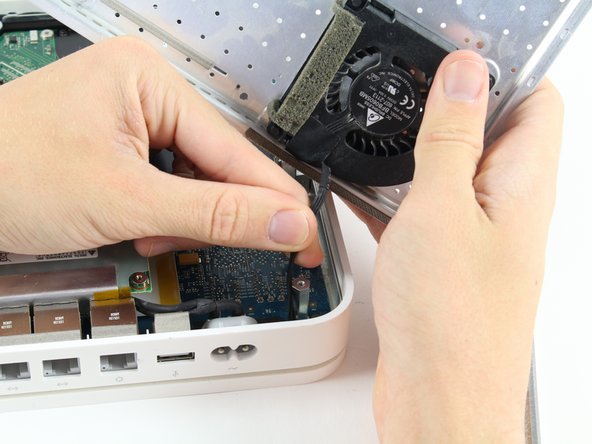
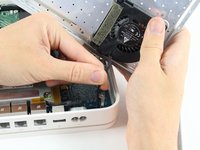
La ventola fissata alla piastra posteriore è collegata alla scheda logica. Un piccolo cavo deve essere scollegato per rimuovere completamente la piastra posteriore.
-
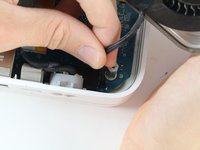
Tira la base del cavo vicino alla scheda logica e il connettore si sgancerà.
-
-
-
-
-
Orienta la piastra posteriore in modo che la ventola sia rivolta verso l'esterno rispetto a te.
-
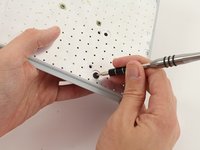
Usa il cacciavite Phillips #0 per spingere i supporti antivibranti in gomma attraverso la piastra posteriore.
-
-




Per rimontare il dispositivo, segui queste istruzioni in ordine inverso.
Annulla: non ho completato questa guida.
Altre 3 persone hanno completato questa guida.

Team

Cal Poly, Team 4-2, Livingston Fall 2016 Membro di Cal Poly, Team 4-2, Livingston Fall 2016
CPSU-LIVINGSTON-F16S4G2
4 Membri
35 guide realizzate
