Questa traduzione è stata generata automaticamente e non è stata ancora revisionata da una persona. Parli questa lingua? Dai un’occhiata.
Introduzione
Il cavo di alimentazione è ciò che alimenta l'AmazonBasics. È collegato direttamente alla scheda madre e richiederà una saldatura per essere rimosso e sostituito.
Cosa ti serve
-
-
-
Rimuovi il gruppo del trituratore dal cestino della carta.
 Chiedi a FixBot
-
-
-
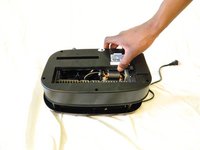
Rimuovi le due viti PH1 da 10 mm che fissano il piccolo pannello nero.
-
-
-
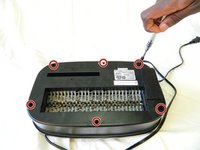
Rimuovi le sei viti PH1 da 14 mm che fissano la copertura inferiore.
-
Rimuovi la copertura sollevandola direttamente verso l'alto.
-
-
-
Rimuovi il gruppo lama/motore dal coperchio superiore sollevandolo verso l'alto. Non scollegare ancora il cablaggio.
-
-
-
-
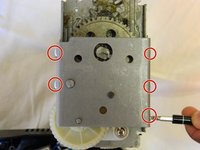
Rimuovi le cinque viti PH2 da 8 mm dalla staffa che fissa gli ingranaggi in posizione.
-
-
-
Usa uno spudger in metallo per fare leva e rimuovere la staffa dal gruppo sminuzzatore principale.
-
-
-
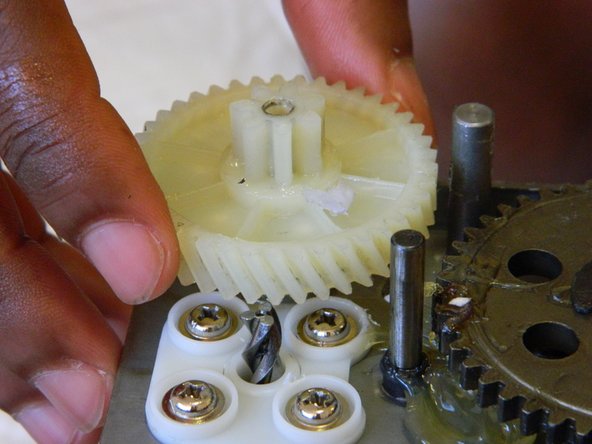
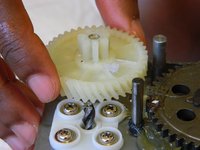
Rimuovi i due ingranaggi in plastica dal gruppo del trituratore sollevandoli verticalmente verso l'alto.
-
-
-
-
-
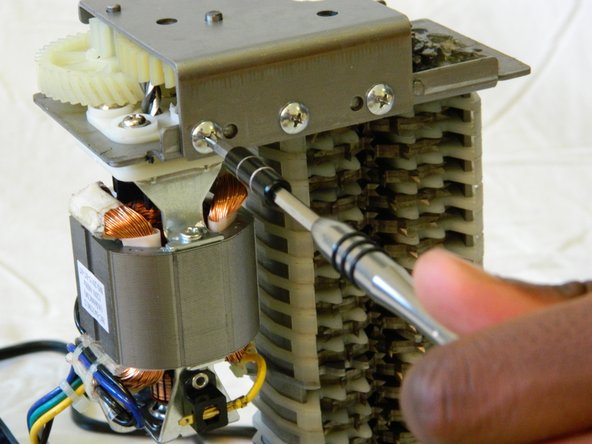
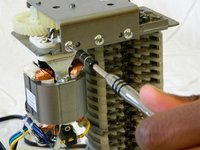
Rimuovi le quattro viti PH2 da 18 mm che fissano il motore al gruppo principale del trituratore.
-
-
-
Scollega il motore dalla scheda madre tagliando i fili del cablaggio, oppure usando un saldatore per scollegare i fili direttamente sulla scheda.
-
-
-
-
-
Rimuovi le due viti PH1 da 8 mm che fissano il cablaggio del sensore a infrarossi. Questo ti darà più spazio per lavorare in seguito.
-
-
-
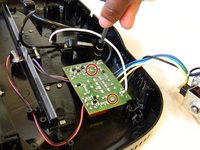
Rimuovi le due viti PH1 da 10 mm che fissano la scheda madre.
-
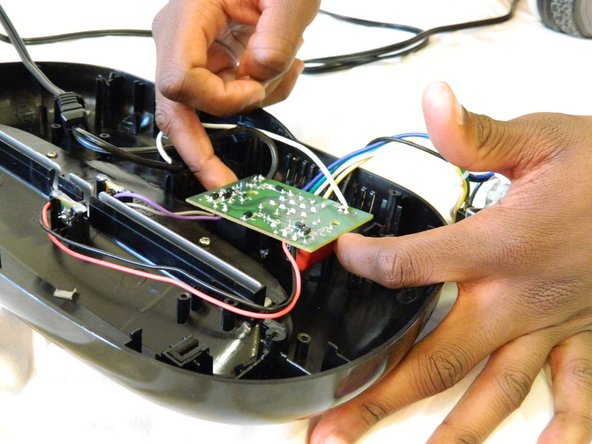
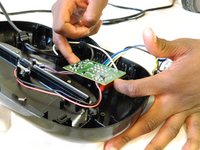
Rimuovi la scheda madre sollevandola verticalmente dal coperchio superiore.
-
-
-
Per scollegare il cavo di alimentazione, rimuovi i fili bianco e nero sulle estremità esterne della scheda madre.
-
-









Per rimontare il dispositivo, segui queste istruzioni in ordine inverso.

Team

UMass Dartmouth, Team 1-3, Miles Spring 2016 Membro di UMass Dartmouth, Team 1-3, Miles Spring 2016
UMASSD-MILES-S16S1G3
2 Membri
12 guide realizzate
