Introduzione
Over time, the buttons on your Amazon Luna gaming controller can wear out, become less responsive, or stop functioning entirely due to regular use, dirt buildup, or mechanical issues. To maintain optimal performance and extend the lifespan of your controller, it's essential to address these issues through proper cleaning, maintenance, or button replacement when needed. This guide offers a detailed, step-by-step process to safely remove and care for your controller's buttons. Following these instructions will help restore your device's functionality, ensuring a smoother gaming experience while preventing further damage during disassembly or repair.
Cosa ti serve
-
-
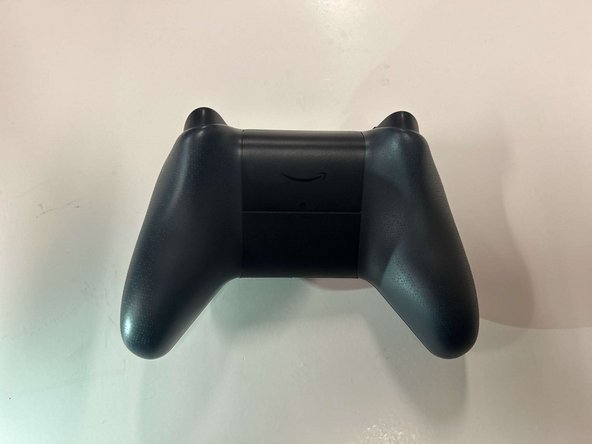
Flip the controller over so that the back panel is facing up.
 Chiedi a FixBot
-
-
-
Locate the latch on the back panel.
-
Pull down gently to open the compartment and expose the battery slots.
-
Remove batteries.
-
-
-
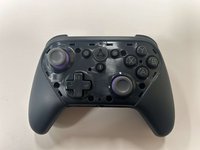
Flip the controller over to its front and locate the seam where the front plate connects to the rest of the body.
-
-
-
Hold the controller firmly.
-
Insert the thin edge of an iFixit opening tool into the seam at the edge of the front plate close to the A button.
-
Work slowly and carefully around all sides to avoid snapping the clips.
-
-
-
-
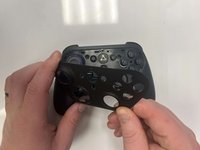
Once all clips are released, lift the front plate away from the controller.
-
-
-
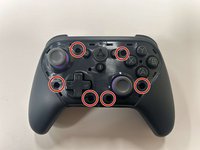
Remove the six 8 mm screws securing the controller's body using a TR9 Torx screwdriver.
-
-
-
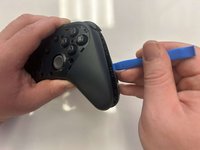
Gently pry along the seam that separates the two halves of the controller using an opening tool.
-
Work your way around the perimeter to carefully release the clips securing the two halves.
-
-
-
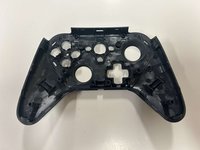
Lay the front of the controller shell downward.
-
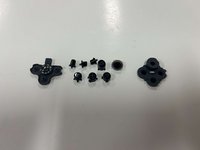
Remove the rubber padding that keeps the buttons in place.
-
Remove the buttons from the shell housing.
-
-
-
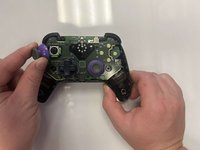
Gently pull the joystick thumbstick straight up to remove it from the controller.
-
-
-
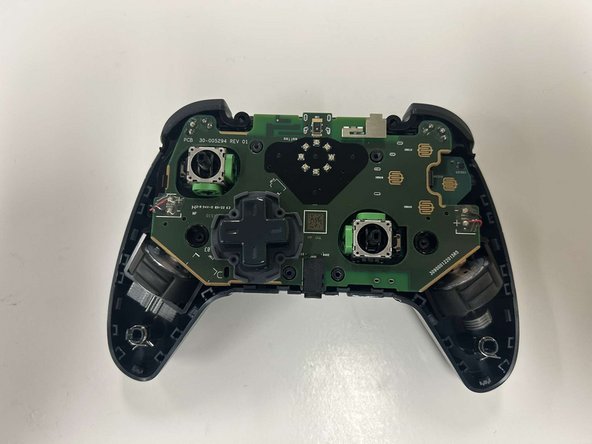
Gently grab the controller's circuitry and hold the bottom shell.
-
Pull the circuitry gently out from the shell.
-




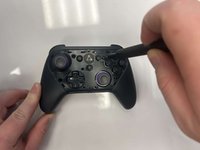


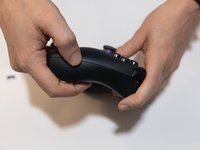


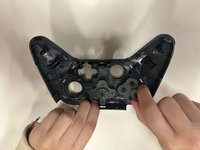

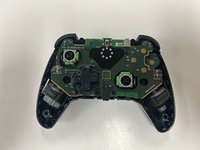


To reassemble your device, follow these instructions in reverse order.
Annulla: non ho completato questa guida.
Un'altra persona ha completato questa guida.

Team

Western Carolina University, Team 1-4, Virtue Fall 2024 Membro di Western Carolina University, Team 1-4, Virtue Fall 2024
WCU-VIRTUE-F24S1G4
3 Membri
5 guide realizzate
2Commenti sulla guida
After putting it together, did your B button work again? I can't get mines to function anymore. The joysticks are also moving around a lot on their on.
I would check your reassembly and make sure none of the pads are damaged under the buttons
