Questa traduzione è stata generata automaticamente e non è stata ancora revisionata da una persona. Parli questa lingua? Dai un’occhiata.
Introduzione
Se lo schermo è danneggiato ed è giunto il momento di sostituirlo, questa guida ti mostrerà quanto può essere semplice e veloce far tornare il dispositivo pienamente operativo. Buona fortuna!
Cosa ti serve
-
-
-
Assicurati che il dispositivo sia spento.
-
Tenendo saldamente il dispositivo, inserisci uno strumento di apertura in plastica tra la copertura dell'altoparlante e il dispositivo. Fai quindi leva verso l'alto per separarla dal dispositivo.
-
Inizia quindi a fare leva con decisione sulla copertura in plastica utilizzando lo strumento di apertura in plastica.
-
Una volta che riesci a inserire il dito sotto la copertura in plastica, inizia a farlo scorrere lungo la copertura facendo contemporaneamente leva verso l'alto.
 Chiedi a FixBot
-
-
-
Una volta raggiunta l'estremità della copertura in plastica, dovresti essere in grado di rimuoverla completamente dal dispositivo.
-
-
-
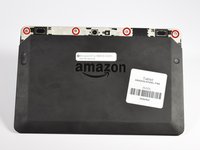
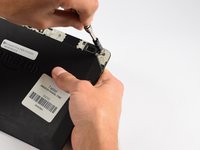
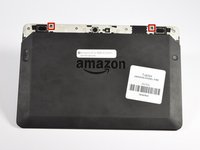
Usa un cacciavite T5 per rimuovere le quattro viti T5 da 3,5 mm sulla parte superiore del dispositivo, dove si trovava la cornice in plastica nera.
-
-
-
-
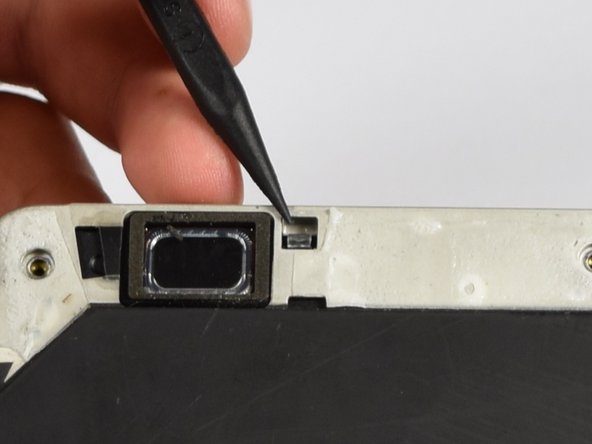
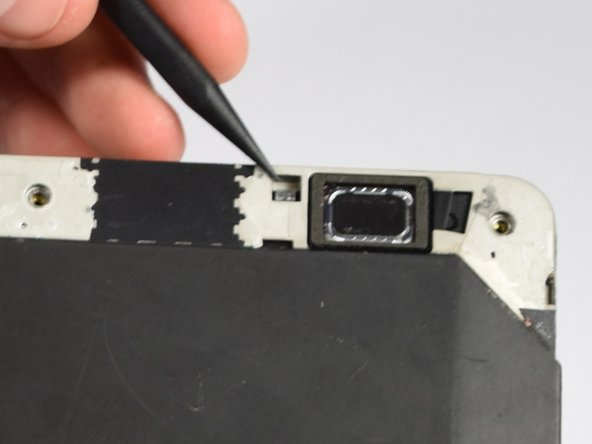
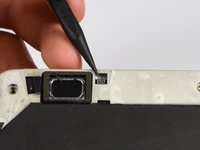
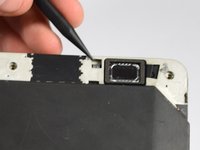
Sgancia le due clip in plastica trasparente sulla parte superiore del dispositivo, vicino all'altoparlante, usando lo spudger.
-
Premi semplicemente la clip verso il basso con la punta dello spudger.
-
-
-
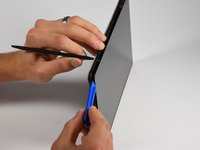
Usa uno strumento di apertura in plastica per fare leva tra lo schermo e il dispositivo, tenendo contemporaneamente aperta la clip del passaggio 4.
-
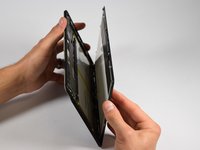
Inizia a rimuovere lo schermo dal punto in cui è stata rimossa la cornice in plastica nera e fai scorrere lo strumento lungo i lati del dispositivo. Sentirai dei piccoli schiocchi dovuti al rilascio delle clip laterali.
-
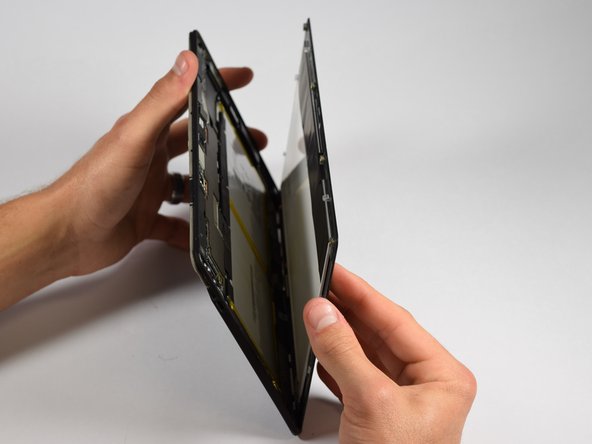
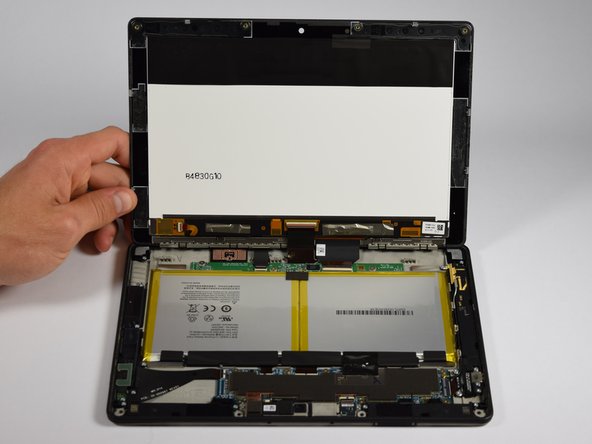
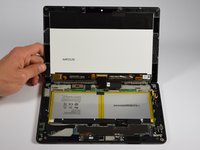
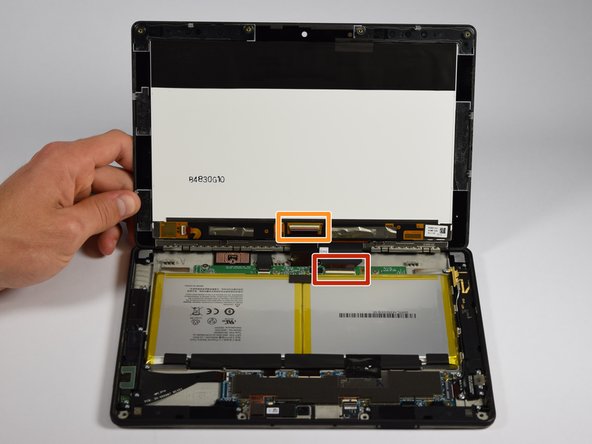
L'Amazon Fire può ora essere aperto con i due cavi flessibili alla base ancora collegati.
-
-
-
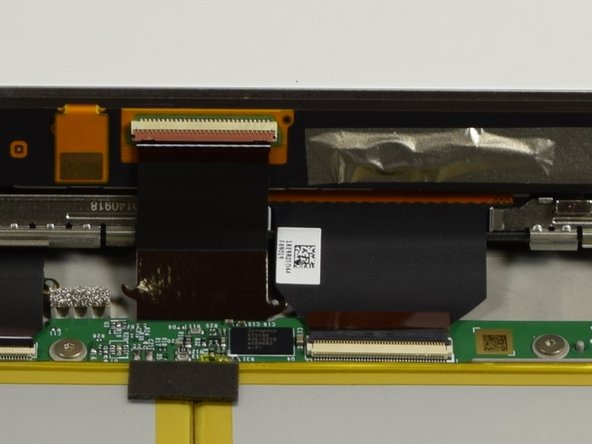
Ora dobbiamo rimuovere i due cavi flessibili collegati sia al gruppo schermo che al corpo del dispositivo.
-
-
-
Ruota innanzitutto il dispositivo di 90 gradi in senso antiorario.
-
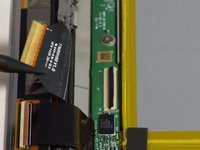
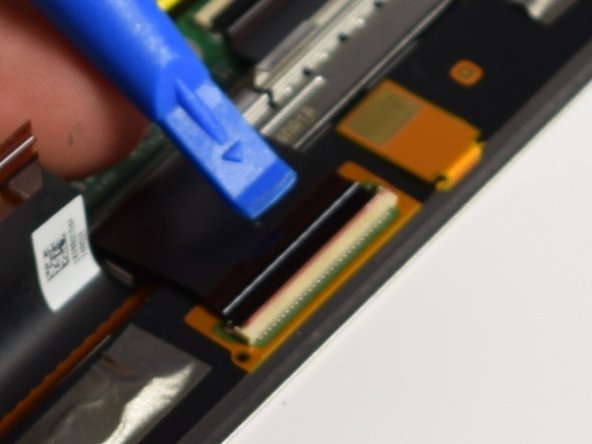
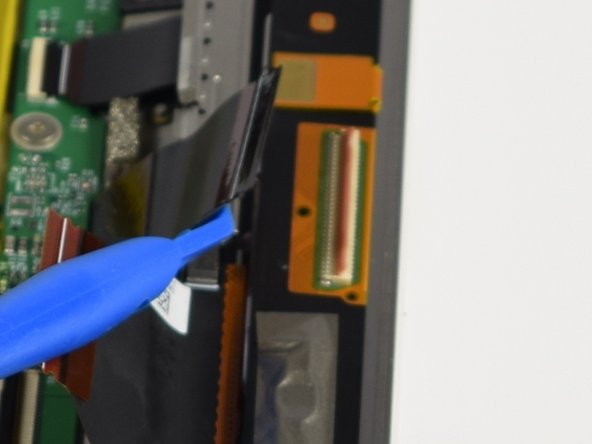
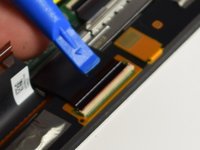
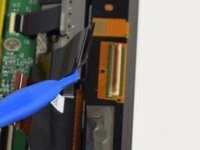
Inserisci uno spudger o uno strumento di apertura in plastica sotto la linguetta nera del connettore più grande e sollevala.
-
Estrai la cinghia dal connettore e sollevala.
-
-
-
Ruota il dispositivo di 180 gradi.
-
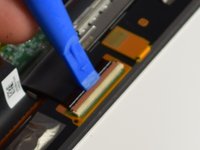
Ripeti il passaggio 7 per il collegamento del cavo flessibile più piccolo.
-
-





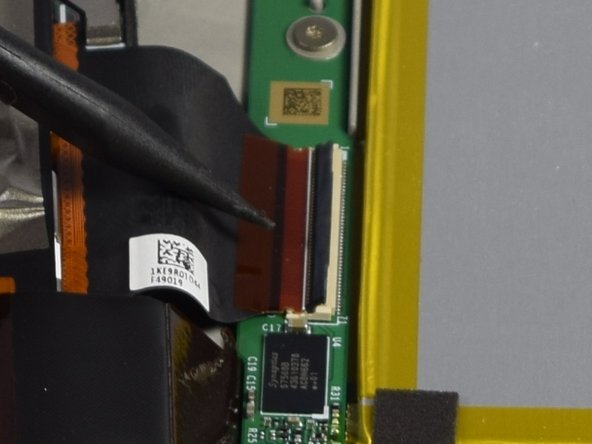
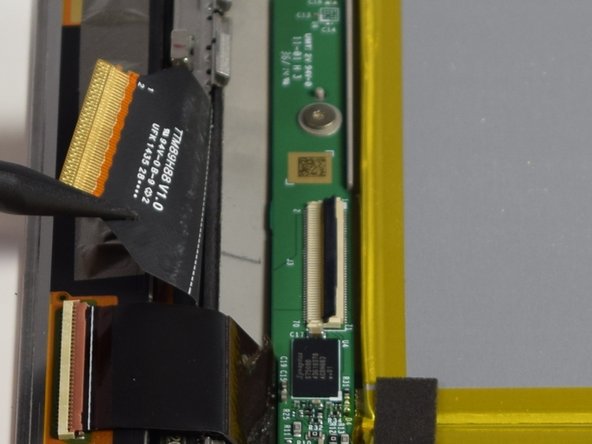


Per rimontare il dispositivo, segui queste istruzioni in ordine inverso.
Annulla: non ho completato questa guida.
Altre 4 persone hanno completato questa guida.

Team

Cal Poly, Team 1-8, Maness Spring 2016 Membro di Cal Poly, Team 1-8, Maness Spring 2016
CPSU-MANESS-S16S1G8
5 Membri
72 guide realizzate
