Introduzione
If the camera to your Amazon Echo Show 15 (model H6Y2A5) is visibly damaged or non-functional, use this guide to replace your camera.
The camera on the Amazon Echo Show 15 plays a crucial role in capturing and recording images or objects in day-to-day life. Issues with an unresponsive (or cloudy) lens can disrupt the user experience.
Before diving into the replacement process, ensure your device is completely powered off and disconnected from any external power sources. This guide provides a step-by-step walkthrough to address your camera replacement and restore optimal functionality to your Amazon Echo Show 15.
Cosa ti serve
-
-
-
Remove the four white stickers on your device's back panel.
-
Due to the strong adhesive supporting the stickers, we recommend heating them up to make removal easier.
 Chiedi a FixBot
-
-
-
Unscrew the four 50 mm screws with a T3 Torx screwdriver.
-
Pop the sides and remove the back panel of the device.
-
-
-
-
-
-
Remove the five 2 mm screws with a Torx T5 screwdriver.
-
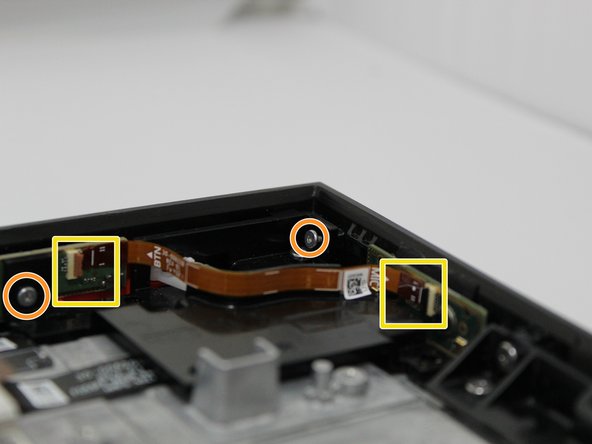
Remove the two 5 mm with a Torx T3 screwdriver.
-
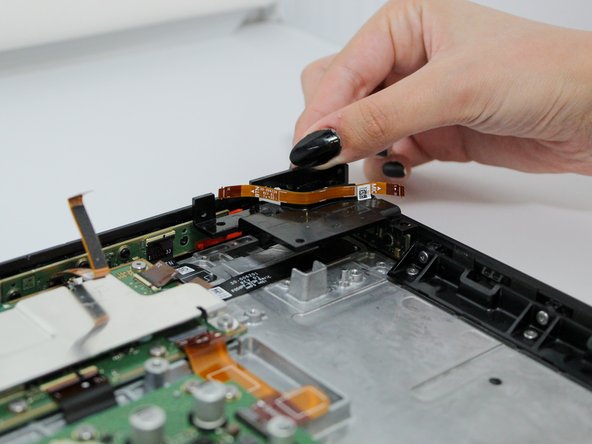
Remove both ends of the connector from the main device.
-
Remove the black panel.
-
-
-
-
-
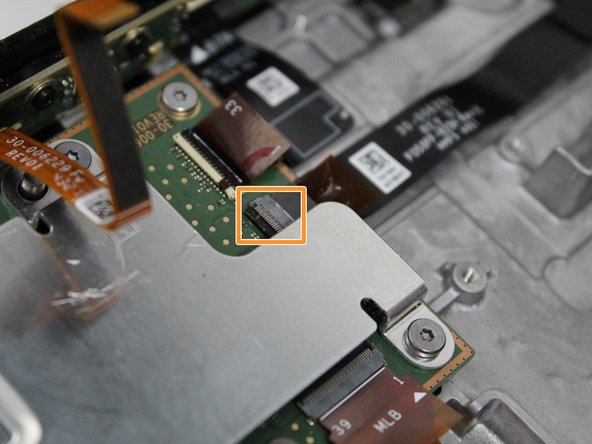
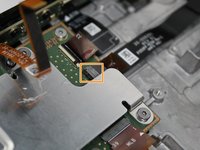
Remove the small connector from the main device.
-
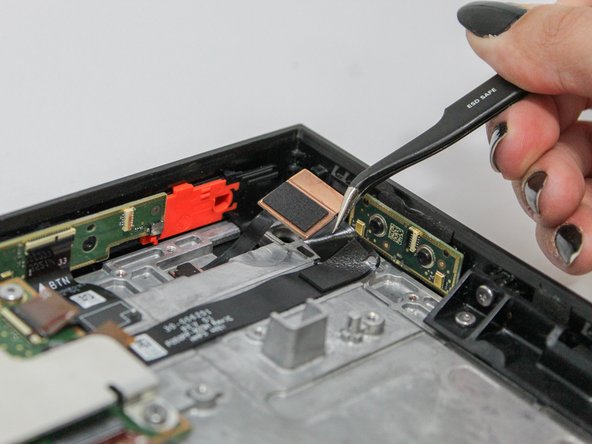
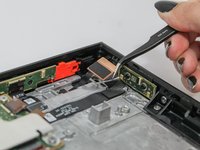
Disconnect the camera cord from the motherboard.
-
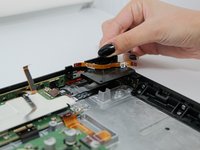
Pull the camera out of the main device.
-
-



To reassemble your device, follow these instructions in reverse order.

Team

Utah Tech University, Team 1-4, McMurrin Fall 2023 Membro di Utah Tech University, Team 1-4, McMurrin Fall 2023
UTAHTECH-MCMURRIN-F23S1G4
3 Membri
21 guide realizzate
