Questa traduzione è stata generata automaticamente e non è stata ancora revisionata da una persona. Parli questa lingua? Dai un’occhiata.
Introduzione
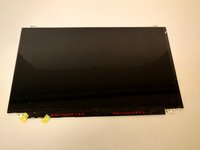
Il monitor del display è un dispositivo di output che presenta i dati sullo schermo. È ciò che permette all'utente di vedere gli input che inserisce nel dispositivo.
Cosa ti serve
-
-
-
Apri il portatile con lo schermo rivolto verso di te.
-
Utilizzando lo strumento di apertura in plastica, rimuovi il nastro quadrato dalle posizioni contrassegnate.
-
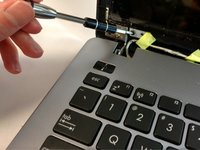
Usa il cacciavite a croce Phillips #0 per rimuovere le due viti da 2 mm da quelle posizioni.
 Chiedi a FixBot
-
-
-
Utilizzando lo strumento di apertura in plastica, apri la copertura anteriore del portatile.
-
-
-
-
Stacca il nastro adesivo situato sul lato sinistro e su quello destro del monitor del display.
-
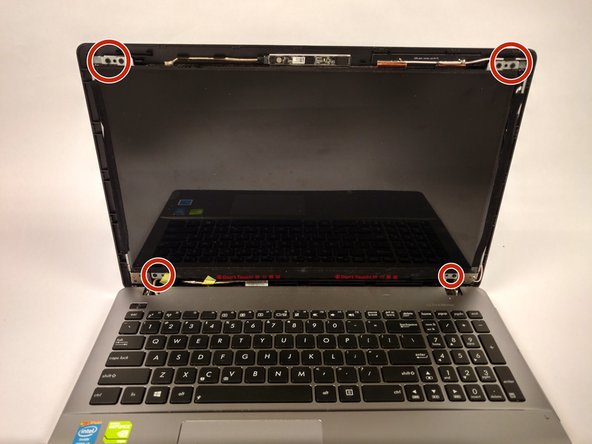
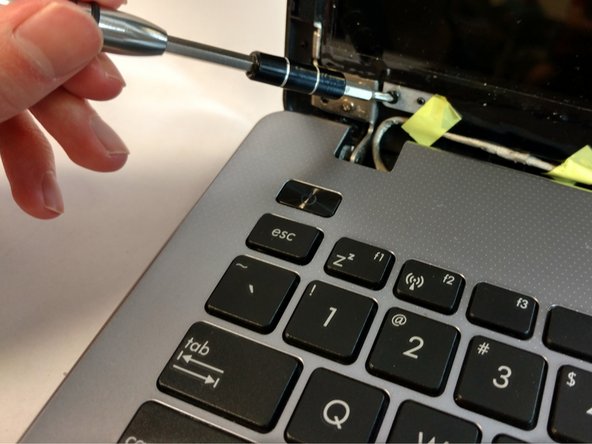
Usa il cacciavite a croce Phillips #0 per rimuovere le viti nelle posizioni contrassegnate in ogni angolo del display.
-
-
-
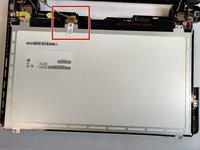
Posiziona il monitor del display rivolto verso il basso per esporre il connettore a nastro.
-
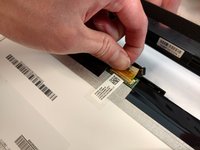
Rimuovi il connettore a nastro per separare il monitor del display dal resto del dispositivo.
-
-




Per rimontare il dispositivo, segui queste istruzioni in ordine inverso.
Un ringraziamento speciale a questi traduttori:
100%

Translation Bot ci sta aiutando ad aggiustare il mondo! Vuoi partecipare?
Inizia a tradurre ›

Team

USF Tampa, Team S16-G1, Eyestone Fall 2017 Membro di USF Tampa, Team S16-G1, Eyestone Fall 2017
USFT-EYESTONE-F17S16G1
4 Membri
25 guide realizzate
