Salta al contenuto principale
Unisciti alla Community delle riparazioni - Crea un account

ASUS K50IJ Screen replacement 15.6" Replacement

Cosa ti serve

    1. ASUS K50IJ Screen replacement 15.6" Replacement, Battery: passo 1, immagine 1 di 1
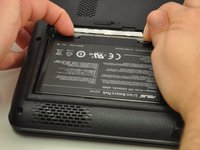
      • Slide the tab over to unlock the battery cover located on the bottom-left corner of the laptop.

      Chiedi a FixBot

      Aggiungi Commento

    2. ASUS K50IJ Screen replacement 15.6" Replacement: passo 2, immagine 1 di 3 ASUS K50IJ Screen replacement 15.6" Replacement: passo 2, immagine 2 di 3 ASUS K50IJ Screen replacement 15.6" Replacement: passo 2, immagine 3 di 3
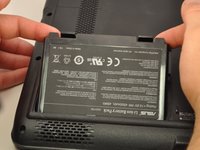
      • Lift the exposed lip and remove the battery cover.

      Chiedi a FixBot

      Aggiungi Commento

    3. ASUS K50IJ Screen replacement 15.6" Replacement: passo 3, immagine 1 di 3 ASUS K50IJ Screen replacement 15.6" Replacement: passo 3, immagine 2 di 3 ASUS K50IJ Screen replacement 15.6" Replacement: passo 3, immagine 3 di 3
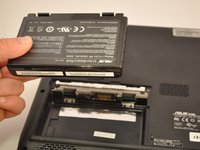
      • Press the tabs on the battery and lift them. The battery should come out easily.

      Chiedi a FixBot

      Aggiungi Commento

    1. ASUS K50IJ Screen replacement 15.6" Replacement, Fan: passo 4, immagine 1 di 3 ASUS K50IJ Screen replacement 15.6" Replacement, Fan: passo 4, immagine 2 di 3 ASUS K50IJ Screen replacement 15.6" Replacement, Fan: passo 4, immagine 3 di 3
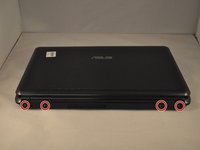
      • Using the PH1 screwdriver, remove the four 4 .75 mm screws that are located on the vent panel.

      Chiedi a FixBot

      Aggiungi Commento

    2. ASUS K50IJ Screen replacement 15.6" Replacement: passo 5, immagine 1 di 1
      • Remove the one .5 mm screw located in the top right corner of the battery compartment.

      Chiedi a FixBot

      Aggiungi Commento

    3. ASUS K50IJ Screen replacement 15.6" Replacement: passo 6, immagine 1 di 2 ASUS K50IJ Screen replacement 15.6" Replacement: passo 6, immagine 2 di 2
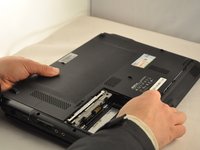
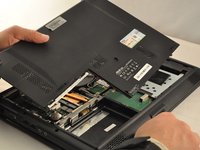
      • Remove the bottom panel by sliding it toward the hinges and lifting the back panel up.

      Chiedi a FixBot

      Aggiungi Commento

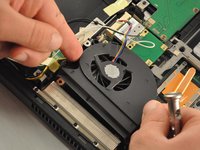
    4. ASUS K50IJ Screen replacement 15.6" Replacement: passo 7, immagine 1 di 1
      • Unplug the wire cable attached to the fan by pulling it out .

      Chiedi a FixBot

      Aggiungi Commento

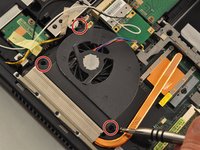
    5. ASUS K50IJ Screen replacement 15.6" Replacement: passo 8, immagine 1 di 2 ASUS K50IJ Screen replacement 15.6" Replacement: passo 8, immagine 2 di 2
      • Using the PH1 screwdriver, remove the 3 .75mm screws labeled as 1, 2, and 3 on the fan. NOTE these screws have the labels "1", "2", and "3" next to them.

      • Lift the fan up with your fingers.

      Chiedi a FixBot

      Aggiungi Commento

    1. ASUS K50IJ Screen replacement 15.6" Replacement, Charging Port: passo 9, immagine 1 di 1
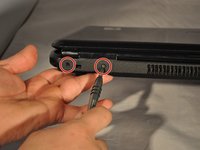
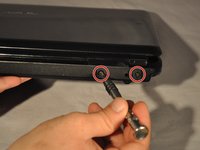
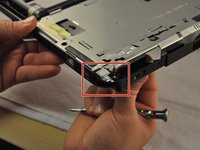
      • Using the PH1 screwdriver remove the two .75 mm screws from the hinge side of the laptop.

      Chiedi a FixBot

      Aggiungi Commento

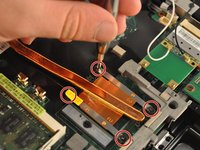
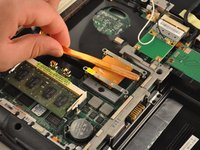
    2. ASUS K50IJ Screen replacement 15.6" Replacement: passo 10, immagine 1 di 3 ASUS K50IJ Screen replacement 15.6" Replacement: passo 10, immagine 2 di 3 ASUS K50IJ Screen replacement 15.6" Replacement: passo 10, immagine 3 di 3
      • Using the PH1 screwdriver, remove the four .75 mm screws from the copper heat sync. They will be labeled 1-4.

      • Pull the copper heat sync out of the laptop.

      Chiedi a FixBot

      Aggiungi Commento

    3. ASUS K50IJ Screen replacement 15.6" Replacement: passo 11, immagine 1 di 1
      • Using the PH1 screwdriver, remove four .75 mm screws from the driver, located in the bottom-right corner of the laptop.

      Chiedi a FixBot

      Aggiungi Commento

    4. ASUS K50IJ Screen replacement 15.6" Replacement: passo 12, immagine 1 di 3 ASUS K50IJ Screen replacement 15.6" Replacement: passo 12, immagine 2 di 3 ASUS K50IJ Screen replacement 15.6" Replacement: passo 12, immagine 3 di 3
      • Pull on the black tab on the driver to slide the driver back, and lift the driver out of the laptop.

      Chiedi a FixBot

      Aggiungi Commento

    5. ASUS K50IJ Screen replacement 15.6" Replacement: passo 13, immagine 1 di 3 ASUS K50IJ Screen replacement 15.6" Replacement: passo 13, immagine 2 di 3 ASUS K50IJ Screen replacement 15.6" Replacement: passo 13, immagine 3 di 3
      • Using the PH1 screwdriver, remove the five .5 mm screws from the SD card reader, located in the bottom-middle corner of the laptop.

      • Slide the SD card reader away and out.

      Chiedi a FixBot

      Aggiungi Commento

    6. ASUS K50IJ Screen replacement 15.6" Replacement: passo 14, immagine 1 di 3 ASUS K50IJ Screen replacement 15.6" Replacement: passo 14, immagine 2 di 3 ASUS K50IJ Screen replacement 15.6" Replacement: passo 14, immagine 3 di 3
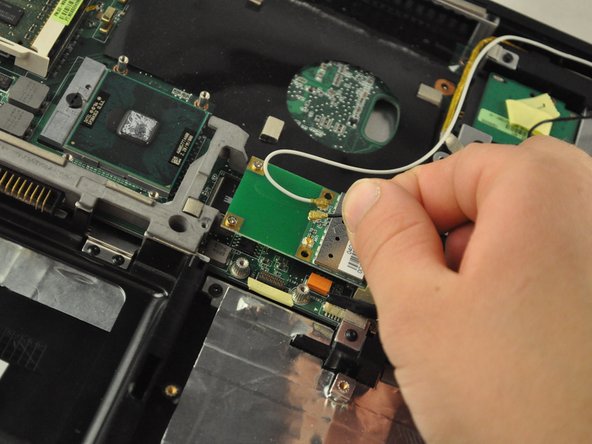
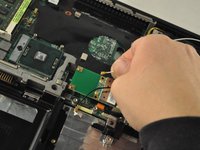
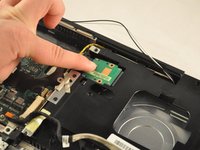
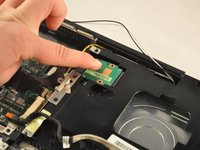
      • Detach the white and black wires from the Wi-Fi card, located in the central area of the laptop.

      Chiedi a FixBot

      Aggiungi Commento

    7. ASUS K50IJ Screen replacement 15.6" Replacement: passo 15, immagine 1 di 2 ASUS K50IJ Screen replacement 15.6" Replacement: passo 15, immagine 2 di 2
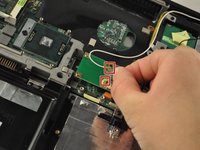
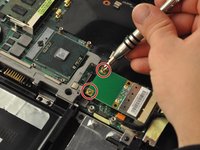
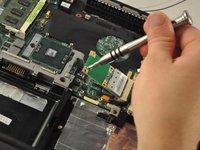
      • Using the PH 1 screwdriver, remove the two .25 mm screws from the Wi-Fi card.

      Chiedi a FixBot

      Aggiungi Commento

    8. ASUS K50IJ Screen replacement 15.6" Replacement: passo 16, immagine 1 di 1
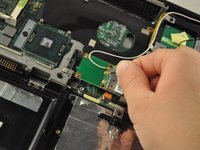
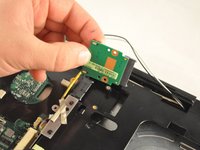
      • Slide the Wi-Fi card out of its slot to remove.

      Chiedi a FixBot

      Aggiungi Commento

    9. ASUS K50IJ Screen replacement 15.6" Replacement: passo 17, immagine 1 di 1
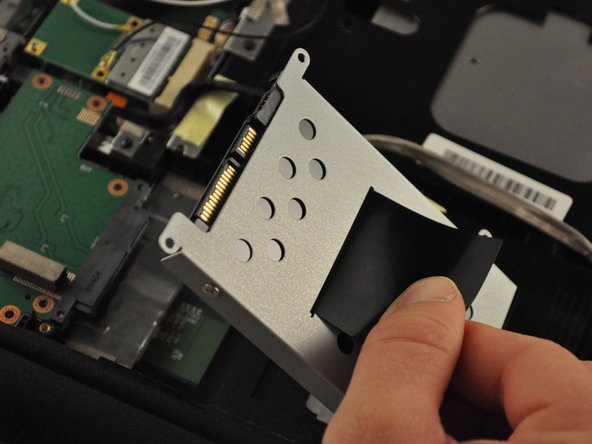
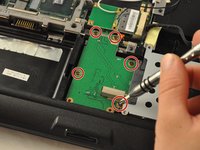
      • Using the PH1mm screwdriver, remove one .5 mm screw from the disk drive, located inthe top-right corner of the laptop.

      Chiedi a FixBot

      Aggiungi Commento

    10. ASUS K50IJ Screen replacement 15.6" Replacement: passo 18, immagine 1 di 3 ASUS K50IJ Screen replacement 15.6" Replacement: passo 18, immagine 2 di 3 ASUS K50IJ Screen replacement 15.6" Replacement: passo 18, immagine 3 di 3
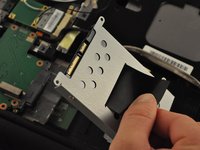
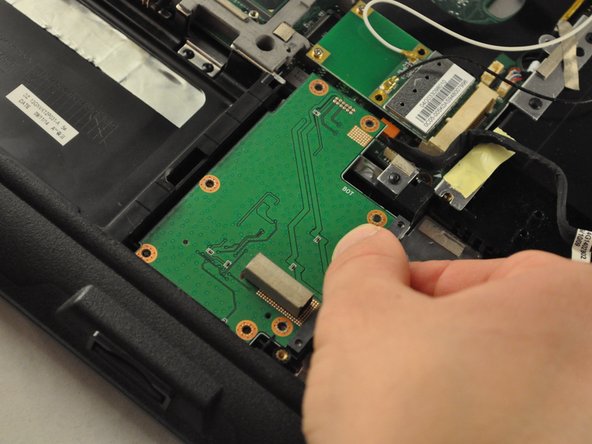
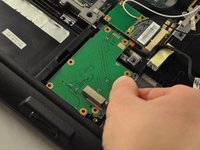
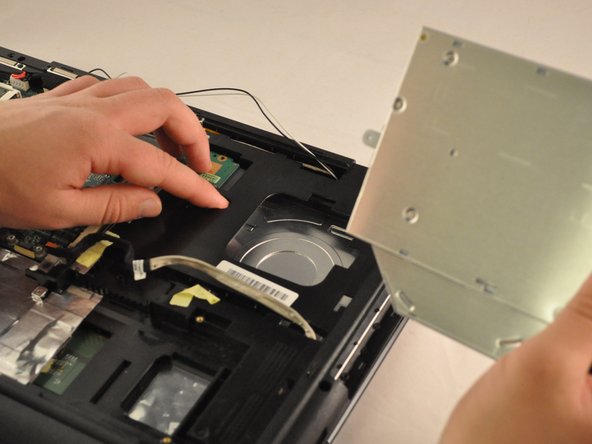
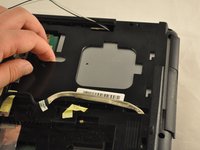
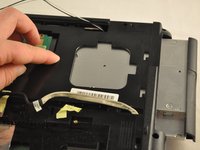
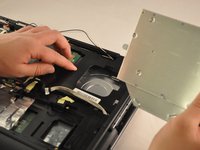
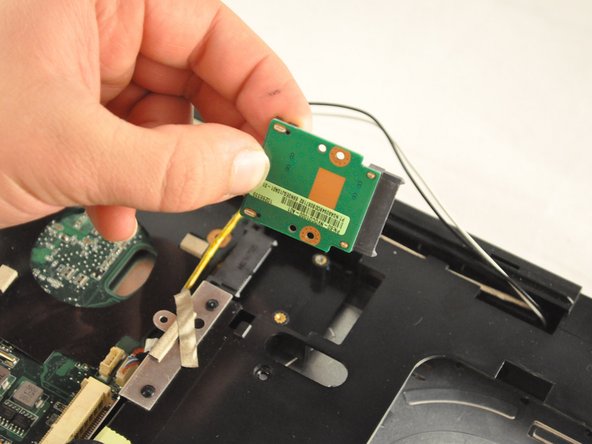
      • Slide the disc drive out of its slot.

      Chiedi a FixBot

      Aggiungi Commento

    11. ASUS K50IJ Screen replacement 15.6" Replacement: passo 19, immagine 1 di 1
      • Using the PH 1 screwdriver, remove the two .5 mm screws from the RAM drive.

      Chiedi a FixBot

      Aggiungi Commento

    12. ASUS K50IJ Screen replacement 15.6" Replacement: passo 20, immagine 1 di 3 ASUS K50IJ Screen replacement 15.6" Replacement: passo 20, immagine 2 di 3 ASUS K50IJ Screen replacement 15.6" Replacement: passo 20, immagine 3 di 3
      • Slide and lift the RAMdrive out of its port.

      Chiedi a FixBot

      Aggiungi Commento

    13. ASUS K50IJ Screen replacement 15.6" Replacement: passo 21, immagine 1 di 1
      • Using the PH1 screwdriver, remove the .75 mm screw from the plastic housing corner, located in the bottom-right corner of the laptop.

      Chiedi a FixBot

      Aggiungi Commento

    14. ASUS K50IJ Screen replacement 15.6" Replacement: passo 22, immagine 1 di 2 ASUS K50IJ Screen replacement 15.6" Replacement: passo 22, immagine 2 di 2
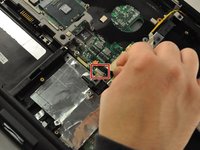
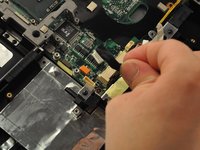
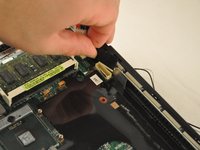
      • Unplug the black cable from the central area of the laptop.

      Chiedi a FixBot

      Aggiungi Commento

    15. ASUS K50IJ Screen replacement 15.6" Replacement: passo 23, immagine 1 di 2 ASUS K50IJ Screen replacement 15.6" Replacement: passo 23, immagine 2 di 2
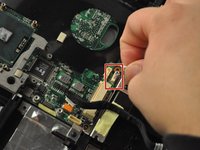
      • Unplug the wire cable in the central area of the laptop.

      Chiedi a FixBot

      Aggiungi Commento

    16. ASUS K50IJ Screen replacement 15.6" Replacement: passo 24, immagine 1 di 2 ASUS K50IJ Screen replacement 15.6" Replacement: passo 24, immagine 2 di 2
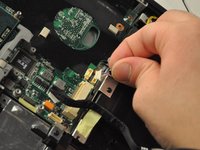
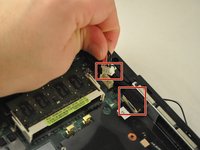
      • Unplug the wire and black cables on the motherboard, located in the upper-left corner of the laptop.

      Chiedi a FixBot

      Aggiungi Commento

    17. ASUS K50IJ Screen replacement 15.6" Replacement: passo 25, immagine 1 di 1
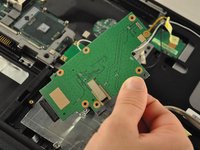
      • Using the PH1 screwdriver, unscrew the two .75 mm screws from the top-left corner of the motherboard.

      Chiedi a FixBot

      Aggiungi Commento

    18. ASUS K50IJ Screen replacement 15.6" Replacement: passo 26, immagine 1 di 1
      • Using the PH 1 screwdriver, remove the .75 cm screw from the top-middle section of the motherboard.

      Chiedi a FixBot

      Aggiungi Commento

    19. ASUS K50IJ Screen replacement 15.6" Replacement: passo 27, immagine 1 di 1
      • Using the PH1 screwdriver, remove the .75 mm screw from the top-middle corner of the motherboard.

      Chiedi a FixBot

      Aggiungi Commento

    20. ASUS K50IJ Screen replacement 15.6" Replacement: passo 28, immagine 1 di 1
      • Using the PH1 screwdriver, remove the three .75 mm screws from the bottom corner of the motherboard.

      Chiedi a FixBot

      Aggiungi Commento

    21. ASUS K50IJ Screen replacement 15.6" Replacement: passo 29, immagine 1 di 2 ASUS K50IJ Screen replacement 15.6" Replacement: passo 29, immagine 2 di 2
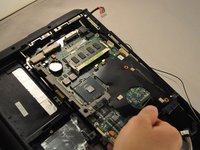
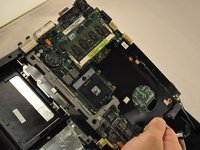
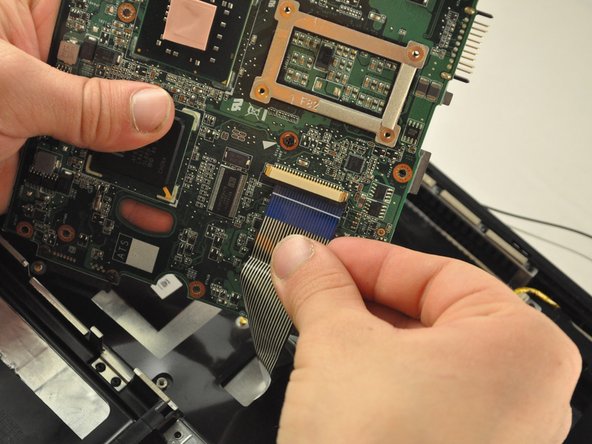
      • There is a ribbon cable connected to the back of the motherboard. Be careful not to break the ribbon cable.

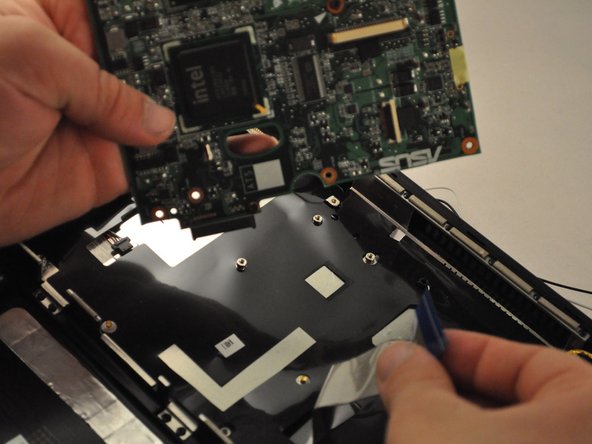
      • Slide the motherboard to the right and lift it up, but do not pull it completely out.

      Chiedi a FixBot

      Aggiungi Commento

    22. ASUS K50IJ Screen replacement 15.6" Replacement: passo 30, immagine 1 di 3 ASUS K50IJ Screen replacement 15.6" Replacement: passo 30, immagine 2 di 3 ASUS K50IJ Screen replacement 15.6" Replacement: passo 30, immagine 3 di 3
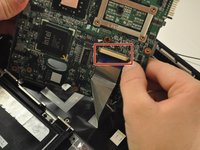
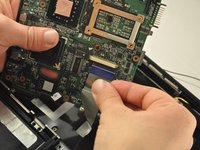
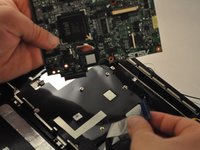
      • Gently unplug the ribbon cable from the underside of the motherboard.

      Chiedi a FixBot

      Aggiungi Commento

    23. ASUS K50IJ Screen replacement 15.6" Replacement: passo 31, immagine 1 di 3 ASUS K50IJ Screen replacement 15.6" Replacement: passo 31, immagine 2 di 3 ASUS K50IJ Screen replacement 15.6" Replacement: passo 31, immagine 3 di 3
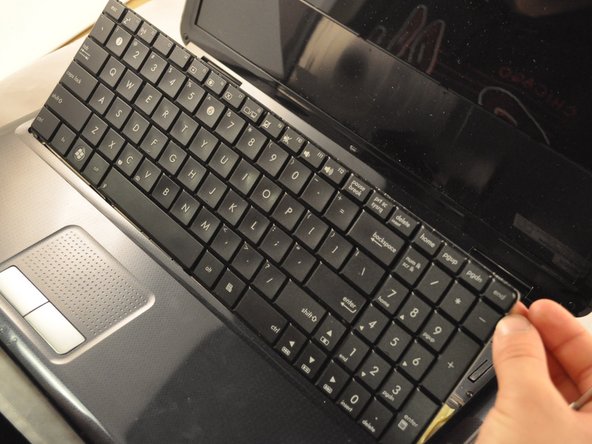
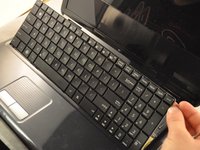
      • The ribbon cable that was plugged into the motherboard is attached to the keyboard. Be sure not to damage it.

      • Use the metal spudger or opening tool across the top edge of the keyboard to pop it out.

      Chiedi a FixBot

      Aggiungi Commento

    24. ASUS K50IJ Screen replacement 15.6" Replacement: passo 32, immagine 1 di 2 ASUS K50IJ Screen replacement 15.6" Replacement: passo 32, immagine 2 di 2
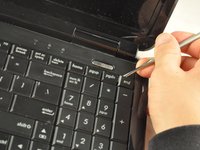
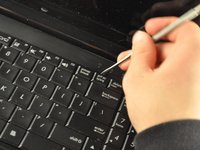
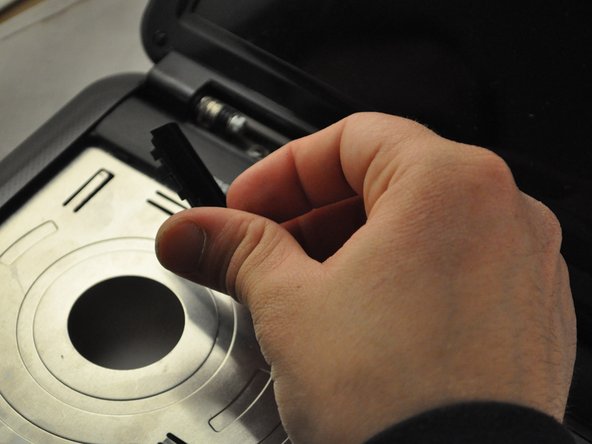
      • Use the metal spudger or opening tool to pop out the plastic hinge covers.

      Chiedi a FixBot

      Aggiungi Commento

    25. ASUS K50IJ Screen replacement 15.6" Replacement: passo 33, immagine 1 di 1
      • Use the PH1 screwdriver to remove the .75 mm screws from the hinges. Each hinge has one screw.

      Chiedi a FixBot

      Aggiungi Commento

    26. ASUS K50IJ Screen replacement 15.6" Replacement: passo 34, immagine 1 di 1
      • Be careful not to damage the cables that are attached to the screen frame. Be sure to pull them through the laptop carefully.

      • The screen should separate from the rest of the laptop.

      Chiedi a FixBot

      Aggiungi Commento

    27. ASUS K50IJ Screen replacement 15.6" Replacement: passo 35, immagine 1 di 1
      • Using the PH1 screwdriver, remove the .75 mm screw from the bottom-middle section was previously covering.

      Chiedi a FixBot

      Aggiungi Commento

    28. ASUS K50IJ Screen replacement 15.6" Replacement: passo 36, immagine 1 di 1
      • Using the PH 1 screwdriver, remove the .75 cm screw from the bottom-middle section where the keyboard was previously covering.

      Chiedi a FixBot

      Aggiungi Commento

    29. ASUS K50IJ Screen replacement 15.6" Replacement: passo 37, immagine 1 di 1
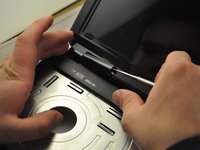
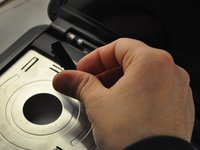
      • Lift the front cover off of the laptop.

      Chiedi a FixBot

      Aggiungi Commento

    30. ASUS K50IJ Screen replacement 15.6" Replacement: passo 38, immagine 1 di 3 ASUS K50IJ Screen replacement 15.6" Replacement: passo 38, immagine 2 di 3 ASUS K50IJ Screen replacement 15.6" Replacement: passo 38, immagine 3 di 3
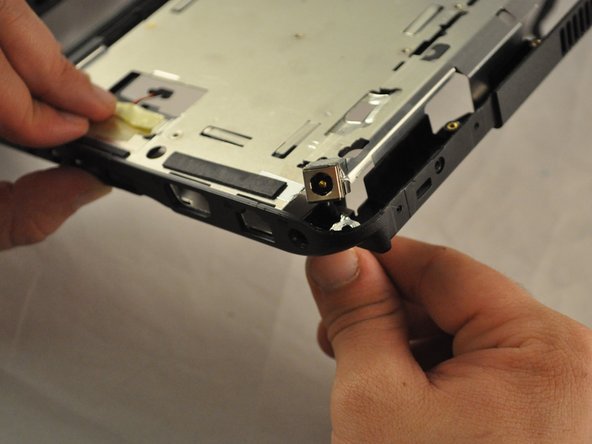
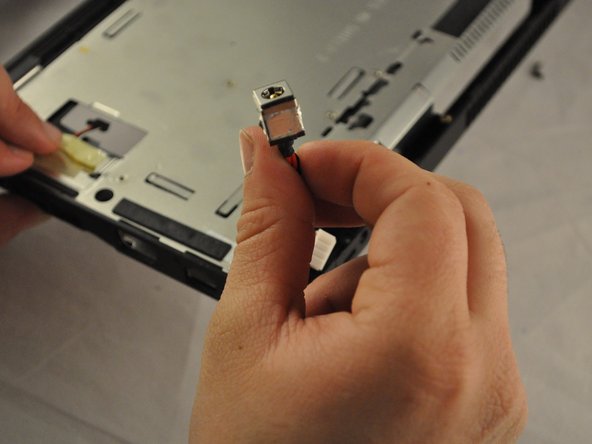
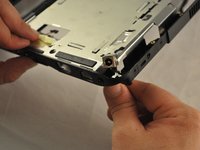
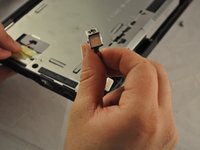
      • Flip the laptop back over. The charging port will be located in the top-right corner.

      Chiedi a FixBot

      Aggiungi Commento

    1. ASUS K50IJ Screen replacement 15.6" Replacement, Screen replacement 15.6": passo 39, immagine 1 di 2 ASUS K50IJ Screen replacement 15.6" Replacement, Screen replacement 15.6": passo 39, immagine 2 di 2
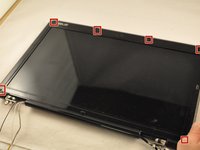
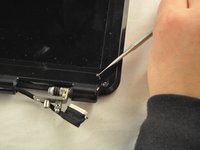
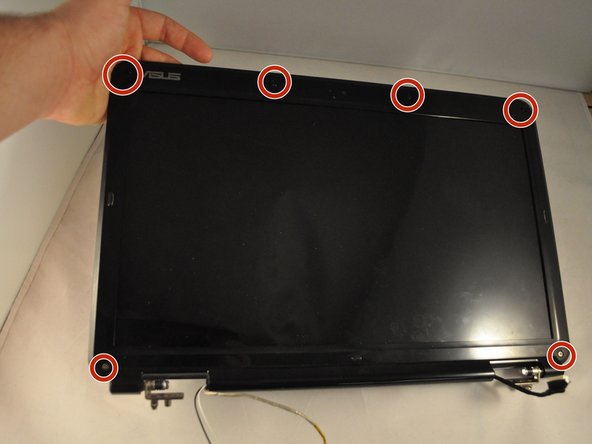
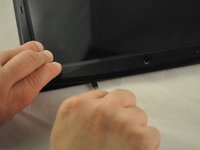
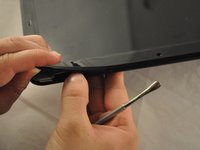
      • Using a metal spudger, pop off the six rubber screw covers.

      Chiedi a FixBot

      Aggiungi Commento

    2. ASUS K50IJ Screen replacement 15.6" Replacement: passo 40, immagine 1 di 2 ASUS K50IJ Screen replacement 15.6" Replacement: passo 40, immagine 2 di 2
      • Using the PH1mm screwdriver, remove the six .75 mm screws from the front of the screen frame.

      Chiedi a FixBot

      Aggiungi Commento

    3. ASUS K50IJ Screen replacement 15.6" Replacement: passo 41, immagine 1 di 3 ASUS K50IJ Screen replacement 15.6" Replacement: passo 41, immagine 2 di 3 ASUS K50IJ Screen replacement 15.6" Replacement: passo 41, immagine 3 di 3
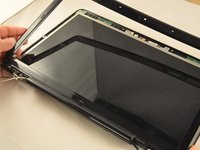
      • Use the plastic opening tool or spudger along the edge of the frame, to pry off the frame.

      Chiedi a FixBot

      Aggiungi Commento

    4. ASUS K50IJ Screen replacement 15.6" Replacement: passo 42, immagine 1 di 3 ASUS K50IJ Screen replacement 15.6" Replacement: passo 42, immagine 2 di 3 ASUS K50IJ Screen replacement 15.6" Replacement: passo 42, immagine 3 di 3
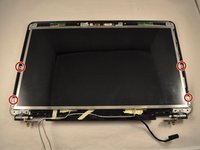
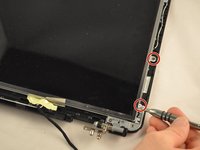
      • Using the PH1 screwdriver, remove the four bottom .75 mm screws from the screen frame.

      Chiedi a FixBot

      Aggiungi Commento

    5. ASUS K50IJ Screen replacement 15.6" Replacement: passo 43, immagine 1 di 1
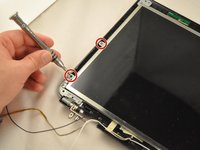
      • Using the PH1 screwdriver, remove the two .75 cm screws from the top of the screen frame.

      Chiedi a FixBot

      Aggiungi Commento

    6. ASUS K50IJ Screen replacement 15.6" Replacement: passo 44, immagine 1 di 1
      • Lift the bracket off the top of the screen frame.

      Chiedi a FixBot

      Aggiungi Commento

    7. ASUS K50IJ Screen replacement 15.6" Replacement: passo 45, immagine 1 di 1
      • Lift the screen should out.

      Chiedi a FixBot

      Aggiungi Commento

Conclusione

To reassemble your device, follow these instructions in reverse order.

Annulla: non ho completato questa guida.

Un'altra persona ha completato questa guida.

3Commenti sulla guida

Very well done. Thank You

Rc wells - Rispondi Condividi

Thank you for your time!

tatiana.morais.89 - Rispondi Condividi

Now, I don´t know how to connect the cables to the motherboard because they are too short.

tatiana.morais.89 - Rispondi Condividi
Aggiungi Commento

Visualizza statistiche:

Ultime 24 ore: 2

Ultimi 7 giorni: 12

Ultimi 30 giorni: 29

Tutti i Tempi: 1,630