Introduzione
The keyboard on the ASUS Eee PC 1018P is an important component to the computer. While you may need to repair or replace the keyboard, you may also need to access the interior which can be done by removing the keyboard. In this tutorial you will learn how to remove the keyboard to repair or to access the internal components of the laptop.
Cosa ti serve
-
-
-
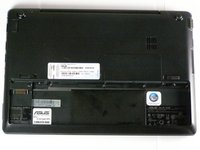
Lay the laptop flat on a hard surface with the bottom facing up and the battery pack on the side closest to you.
 Chiedi a FixBot
-
-
-
Use both index fingers to push both spring tabs inwards towards the center of the laptop.
-
-
-
With the spring tabs pressed inward, use your fingernails to lift of the edge of the battery, pivoting it up and towards you.
-
Pull the battery pack up and away from you to completely free it from its recess in the case.
-
-
-
-
-
Strumento utilizzato in questo passaggio:Tweezers$4.99
-
Remove the screws securing the bottom case to the keyboard.
-
Remove the six 3.68 mm screws and the single 4.45 mm screw that had been concealed by the battery.
-
Use a pair of tweezers to remove the two rubber covers located at the upper left and right corners.
-
With the rubber covers gone, two 4.52 mm screws should now be visible. Remove these screws.
-
-
-
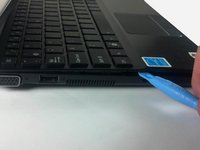
Pry the cover free from the chasis by inserting the plastic opening tool between the keyboard and the lower body of the Asus Eee PC 1018P.
-
-
-
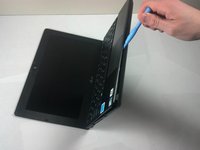
Lift the outside edge of the keyboard upward and inward towards the screen. (See warning below.)
-
-
-
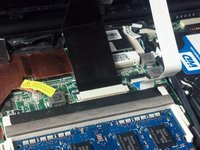
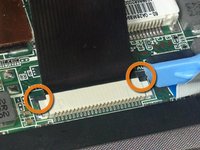
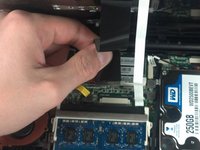
Remove the black ribbon cable from the motherboard.
-
Use the tip of the plastic opening tool to push the black tabs on both sides of the white connector forward toward the display.
-
Pushing forward on one side will push the other side back toward the touch pad. Repeat the previous step until both black tabs will not move any farther.
-
Carefully pull the black ribbon cable horizontally toward the display until it slides free from the white motherboard connector. If it does not move when pulling on it, repeat previous steps until it does.
-
-
-
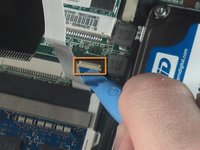
Remove the white ribbon cable from the motherboard.
-
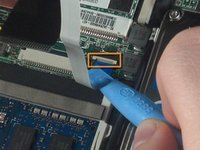
Insert the plastic opening tool under the small lip of the white ribbon connector, and pry upwards to pop the motherboard connector up.
-
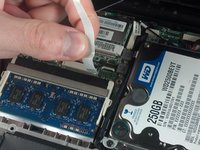
Carefully remove the white ribbon cable by pulling it horizontally towards the touch pad.
-
-
-
The keyboard is now fully disconnected and can now be removed from the main body of the Asus Eee PC 1018P.
-
-









To reassemble your device, follow these instructions in reverse order.
Annulla: non ho completato questa guida.
Un'altra persona ha completato questa guida.

Team

Cal Poly, Team 8-13, Maness Winter 2012 Membro di Cal Poly, Team 8-13, Maness Winter 2012
CPSU-MANESS-W12S8G13
4 Membri
11 guide realizzate
