Salta al contenuto principale
Unisciti alla Community delle riparazioni - Crea un account

APS Tech 101629 Power Switch Replacement

Cosa ti serve

    1. APS Tech 101629 Power Switch Replacement, External Casing: passo 1, immagine 1 di 3 APS Tech 101629 Power Switch Replacement, External Casing: passo 1, immagine 2 di 3 APS Tech 101629 Power Switch Replacement, External Casing: passo 1, immagine 3 di 3
      • Pry all four of the plastic feet off the bottom of the enclosure using the iPod opening tool.

      Chiedi a FixBot

      Aggiungi Commento

    2. APS Tech 101629 Power Switch Replacement: passo 2, immagine 1 di 2 APS Tech 101629 Power Switch Replacement: passo 2, immagine 2 di 2
      • Unscrew the four screws previously covered by the feet with a Phillips #1 screwdriver.

      Chiedi a FixBot

      Aggiungi Commento

    3. APS Tech 101629 Power Switch Replacement: passo 3, immagine 1 di 2 APS Tech 101629 Power Switch Replacement: passo 3, immagine 2 di 2
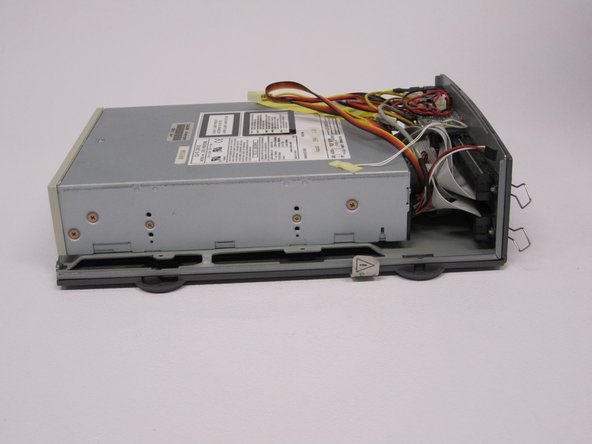
      • Flip the device right side up.

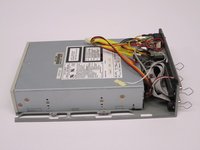
      • Gently slide the casing upwards and off the hard drive.

      Chiedi a FixBot

      Aggiungi Commento

    4. APS Tech 101629 Power Switch Replacement: passo 4, immagine 1 di 1
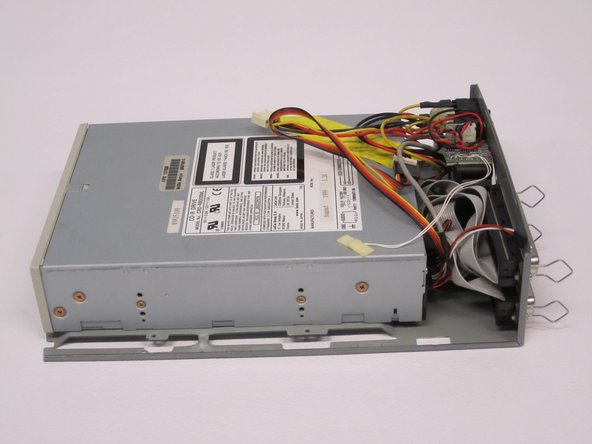
      • Flip device upside down again.

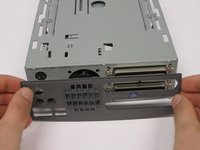
      • Gently pry the bottom gray casing away from the device.

      Chiedi a FixBot

      Aggiungi Commento

    5. APS Tech 101629 Power Switch Replacement: passo 5, immagine 1 di 2 APS Tech 101629 Power Switch Replacement: passo 5, immagine 2 di 2
      • Rotate so the back of the device is facing you.

      • Gently pry the back casing away.

      • When the back casing is removed, the fan will become loose.

      Chiedi a FixBot

      Aggiungi Commento

    1. APS Tech 101629 Power Switch Replacement, Channel Switch: passo 6, immagine 1 di 2 APS Tech 101629 Power Switch Replacement, Channel Switch: passo 6, immagine 2 di 2
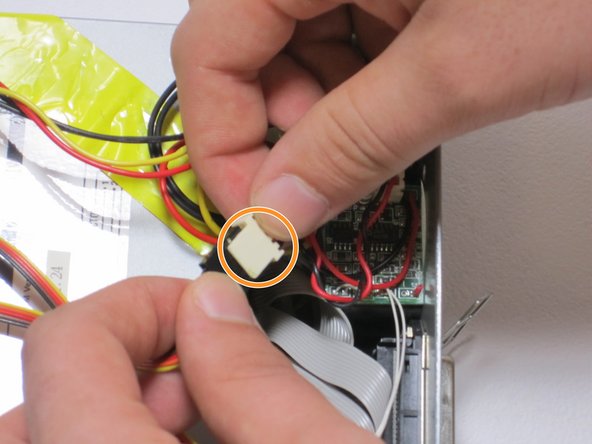
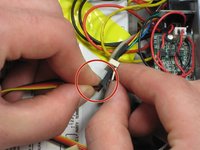
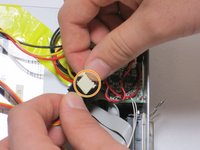
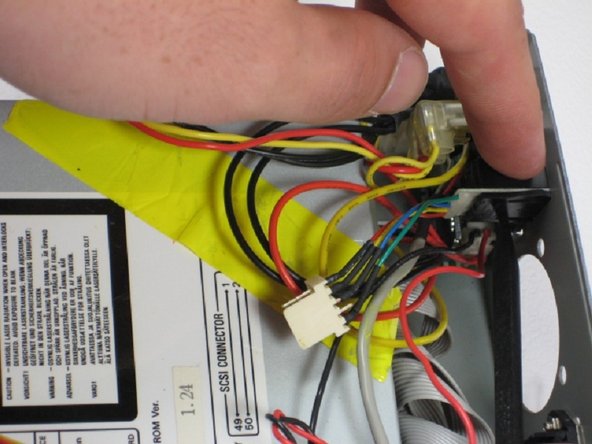
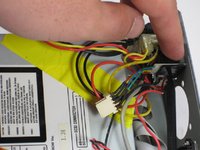
      • Find the conjoined ID cable wires that are colored black, orange, and yellow.

      • Lift white portion of cable wires to disconnect it.

      Chiedi a FixBot

      Aggiungi Commento

    2. APS Tech 101629 Power Switch Replacement: passo 7, immagine 1 di 3 APS Tech 101629 Power Switch Replacement: passo 7, immagine 2 di 3 APS Tech 101629 Power Switch Replacement: passo 7, immagine 3 di 3
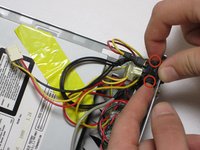
      • At this point, the fan is loose and can be easily moved but not disconnected.

      • Using the spudger, depress the pressure holders at all four corners of the fan.

      • Take out the fan and its cords, by pulling it outward from its cavity within the device.

      Chiedi a FixBot

      Aggiungi Commento

    1. APS Tech 101629 Power Switch Replacement, Power Switch: passo 8, immagine 1 di 2 APS Tech 101629 Power Switch Replacement, Power Switch: passo 8, immagine 2 di 2
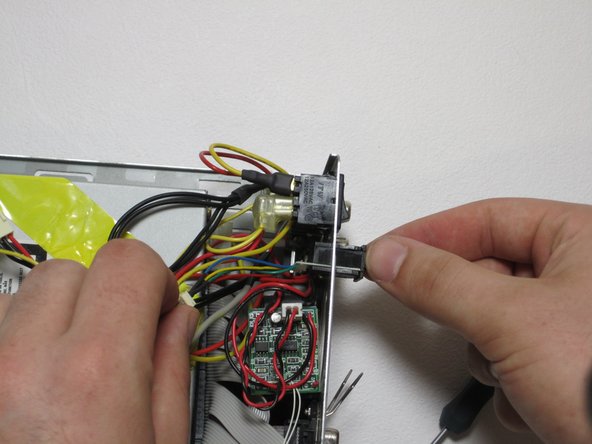
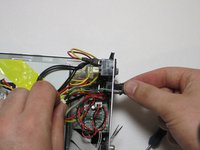
      • Depress 2 pressure holds on each side of the power switch.

      • Press out the back of the device.

      Chiedi a FixBot

      Aggiungi Commento

    2. APS Tech 101629 Power Switch Replacement: passo 9, immagine 1 di 2 APS Tech 101629 Power Switch Replacement: passo 9, immagine 2 di 2
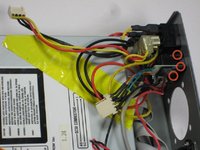
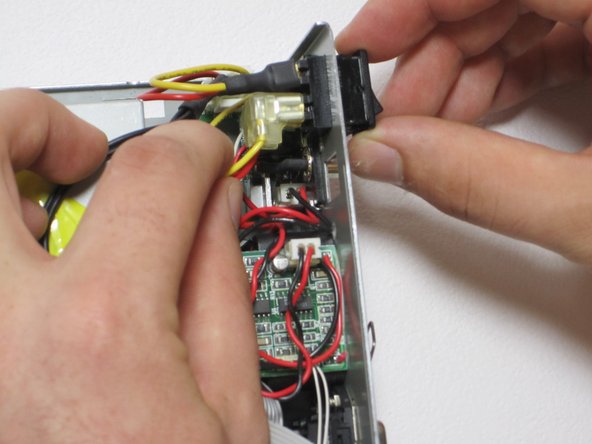
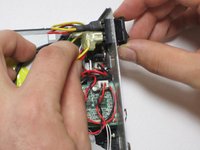
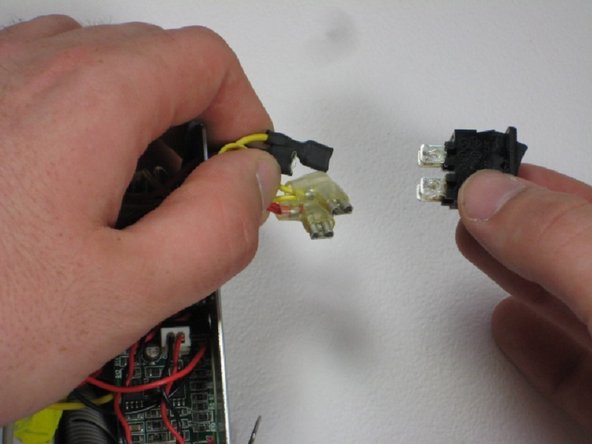
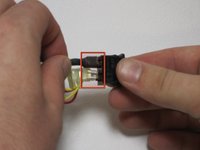
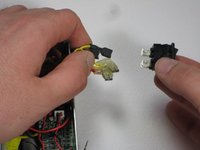
      • Remove all four 4 connections from the power switch.

      • Remember that the straight connections are on the far side, while the L-shaped connections are on the near side, and that both yellow connections are on top. This is helpful for reassembly.

      • These are very hard to get off, use patience and wiggling.

      Chiedi a FixBot

      Aggiungi Commento

Conclusione

To reassemble your device, follow these instructions in reverse order.

Annulla: non ho completato questa guida.

Team

Cal Poly, Team 24-60, Amido Spring 2011 Membro di Cal Poly, Team 24-60, Amido Spring 2011

CPSU-AMIDO-S11S24G60

5 Membri

12 guide realizzate

0Commenti sulla guida

Aggiungi Commento

Visualizza statistiche:

Ultime 24 ore: 3

Ultimi 7 giorni: 12

Ultimi 30 giorni: 39

Tutti i Tempi: 1,026